When I was tasked with creating a presentation to share with my co-workers at our weekly tech talk, I chose to use LaTeX. While I briefly considered other tools, like Google Slides or PowerPoint, using LaTeX allowed me to easily separate the styling from my content and create my own theme that I could reuse for all future presentations at Lucid.
What? LaTeX for Presentations?
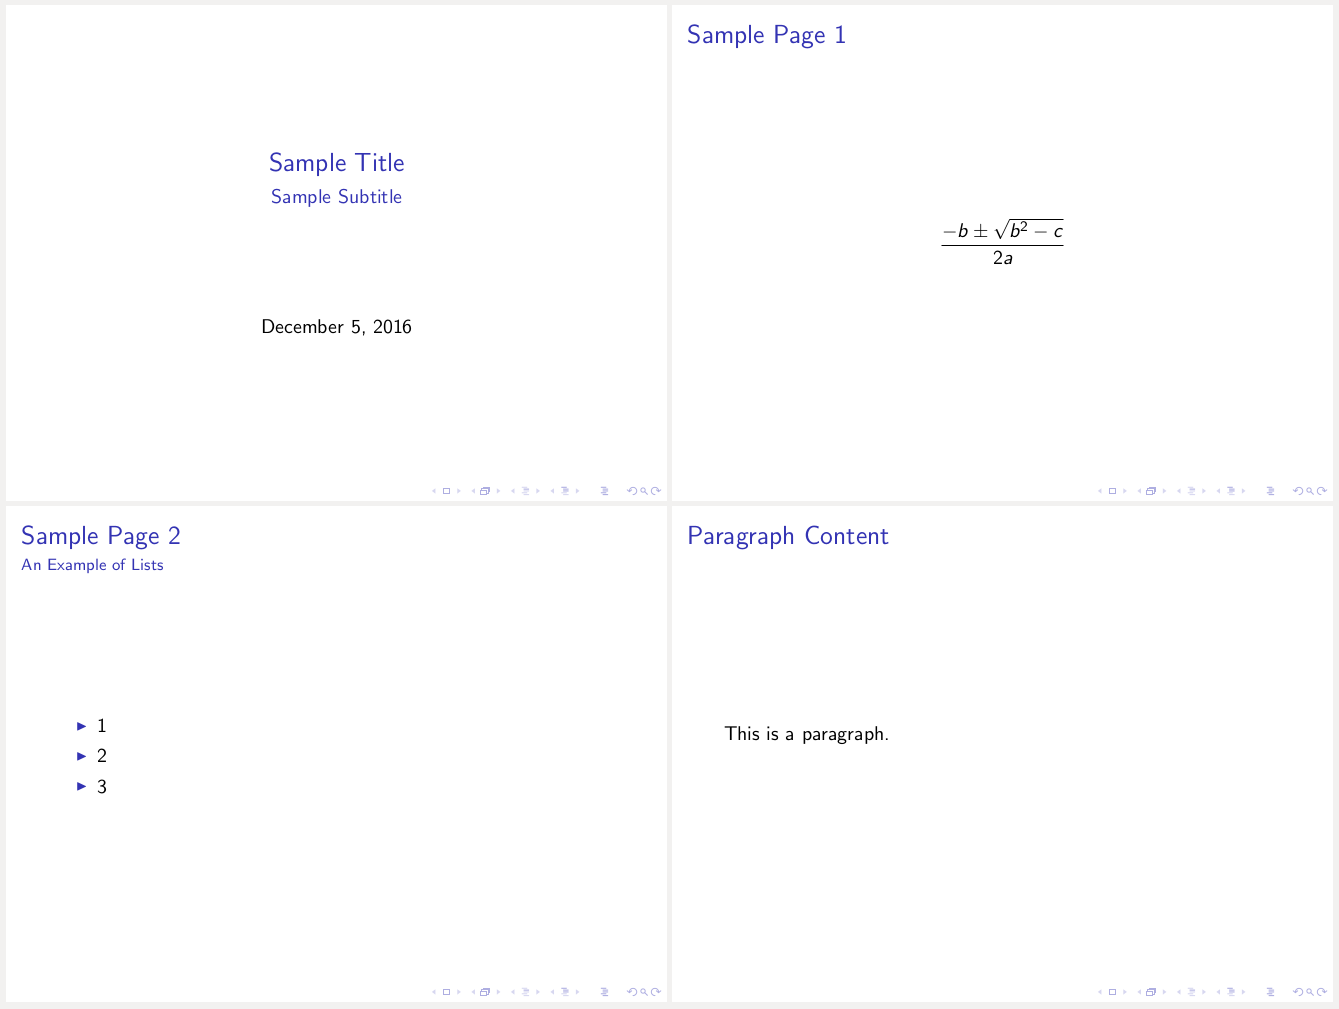
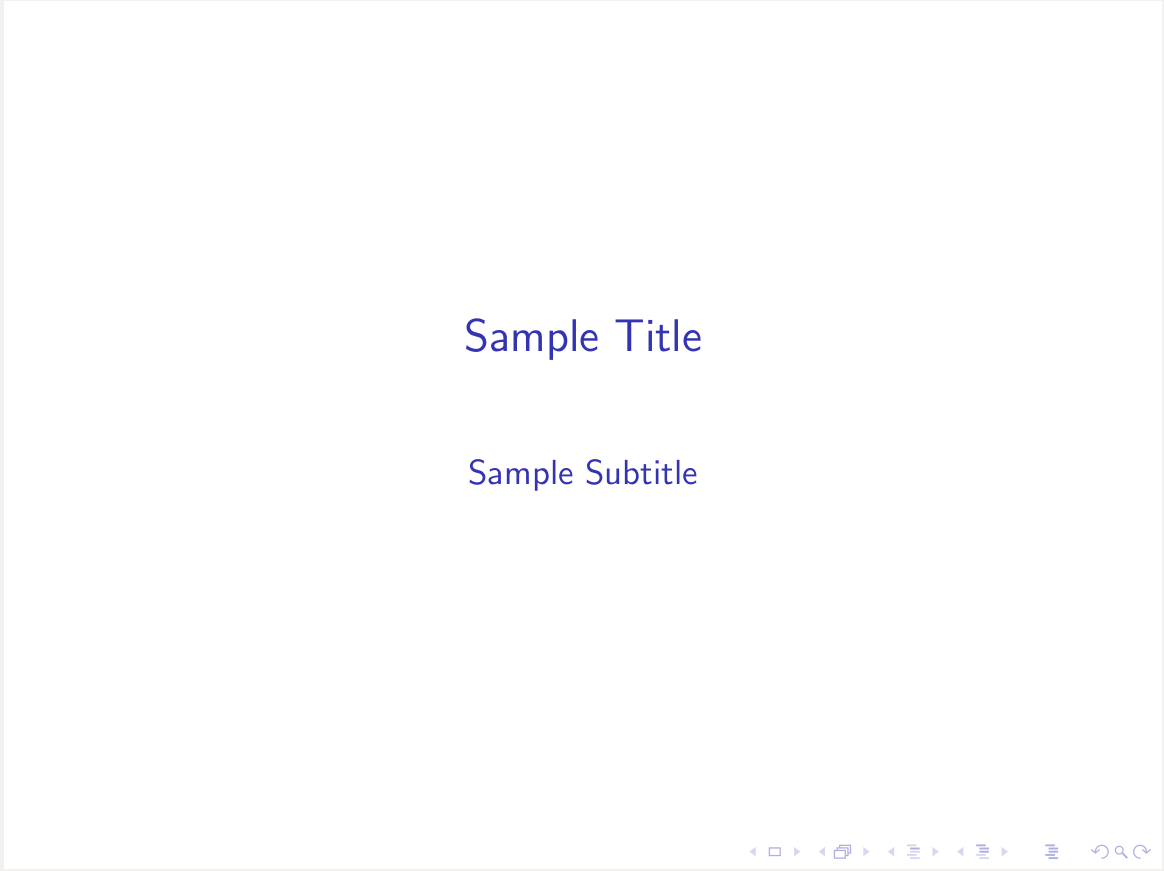
LaTeX is a typesetting and document creation tool that is often used for creating academic articles due to its ability to display mathematical equations. Beyond that, it has many other capabilities due to a large amount of packages, such as Forest, which I used for laying out sentence trees in a college Linguistics class. One such package, Beamer, allows you to create presentations. While Beamer lacks the simple click and drag functionality of a GUI tool in creating presentations, it makes up for it by automating a large portion of the stylistic work---as long as you like the default styles or are willing to write your own---and offering all the mathematical equations, graphs, and other tools available in LaTeX.A sample Beamer document:
\documentclass{beamer}
\title{Sample Title}
\subtitle{Sample Subtitle}
%\usetheme{lucid}
\begin{document}
\frame {
\titlepage
}
\frame {
\frametitle{Sample Page 1}
\[\frac{-b \pm \sqrt{b^2 - c}}{2a}\]
}
\frame{
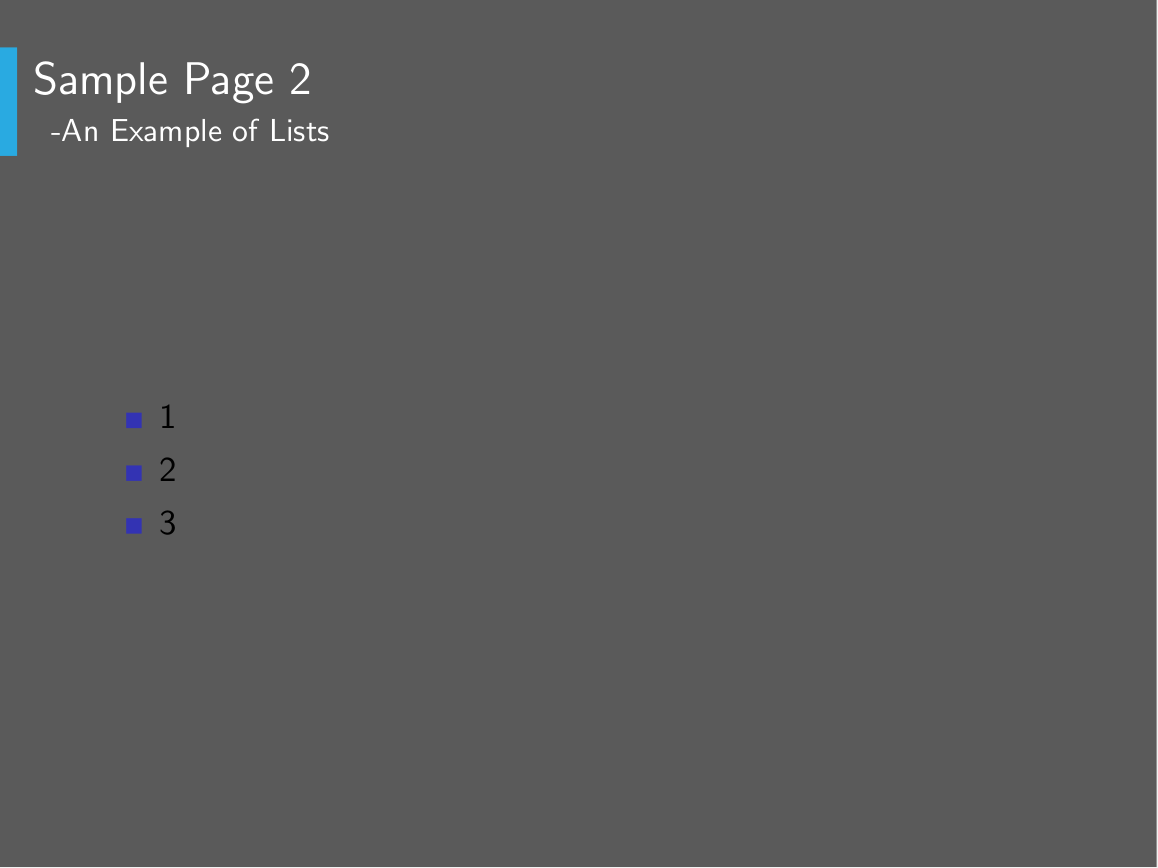
\frametitle{Sample Page 2}
\framesubtitle{An Example of Lists}
\begin{itemize}
\item 1
\item 2
\item 3
\end{itemize}
}
\frame{
\frametitle{Paragraph Content}
This is a paragraph.
}
\end{document}
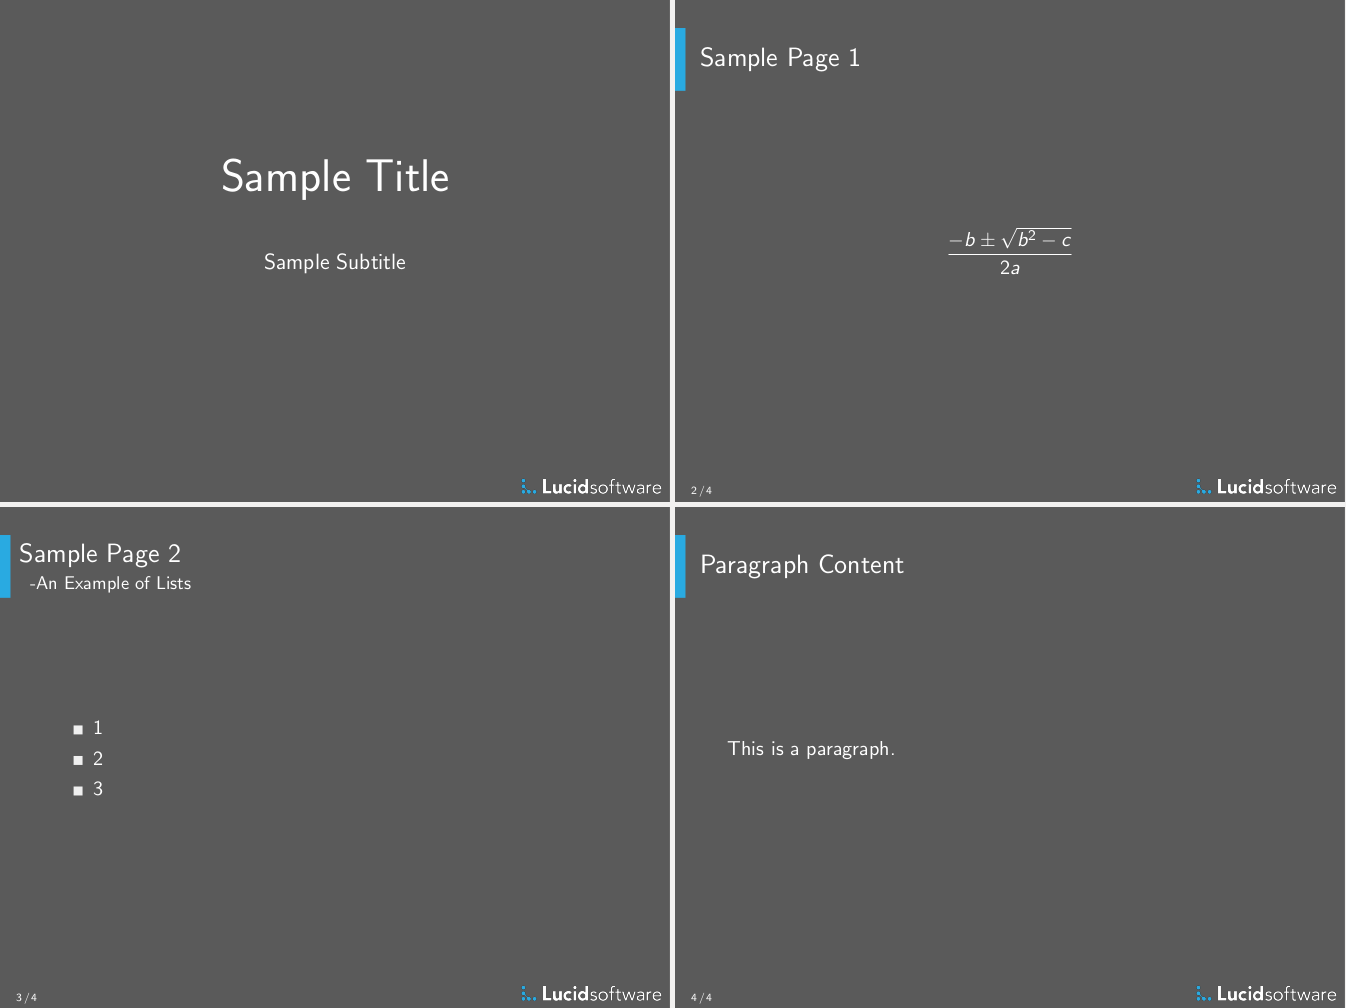
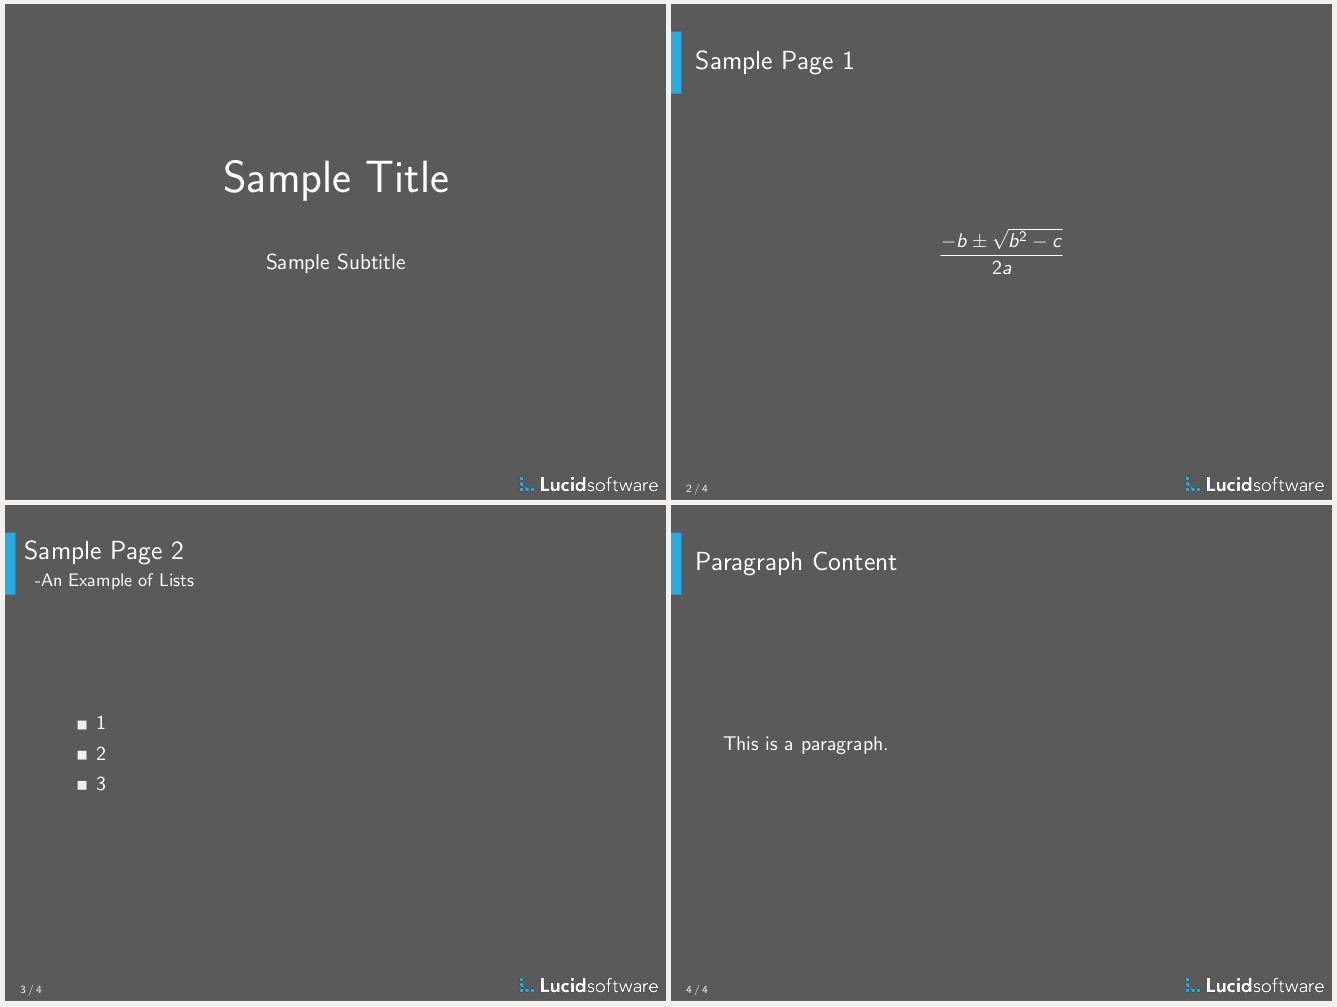
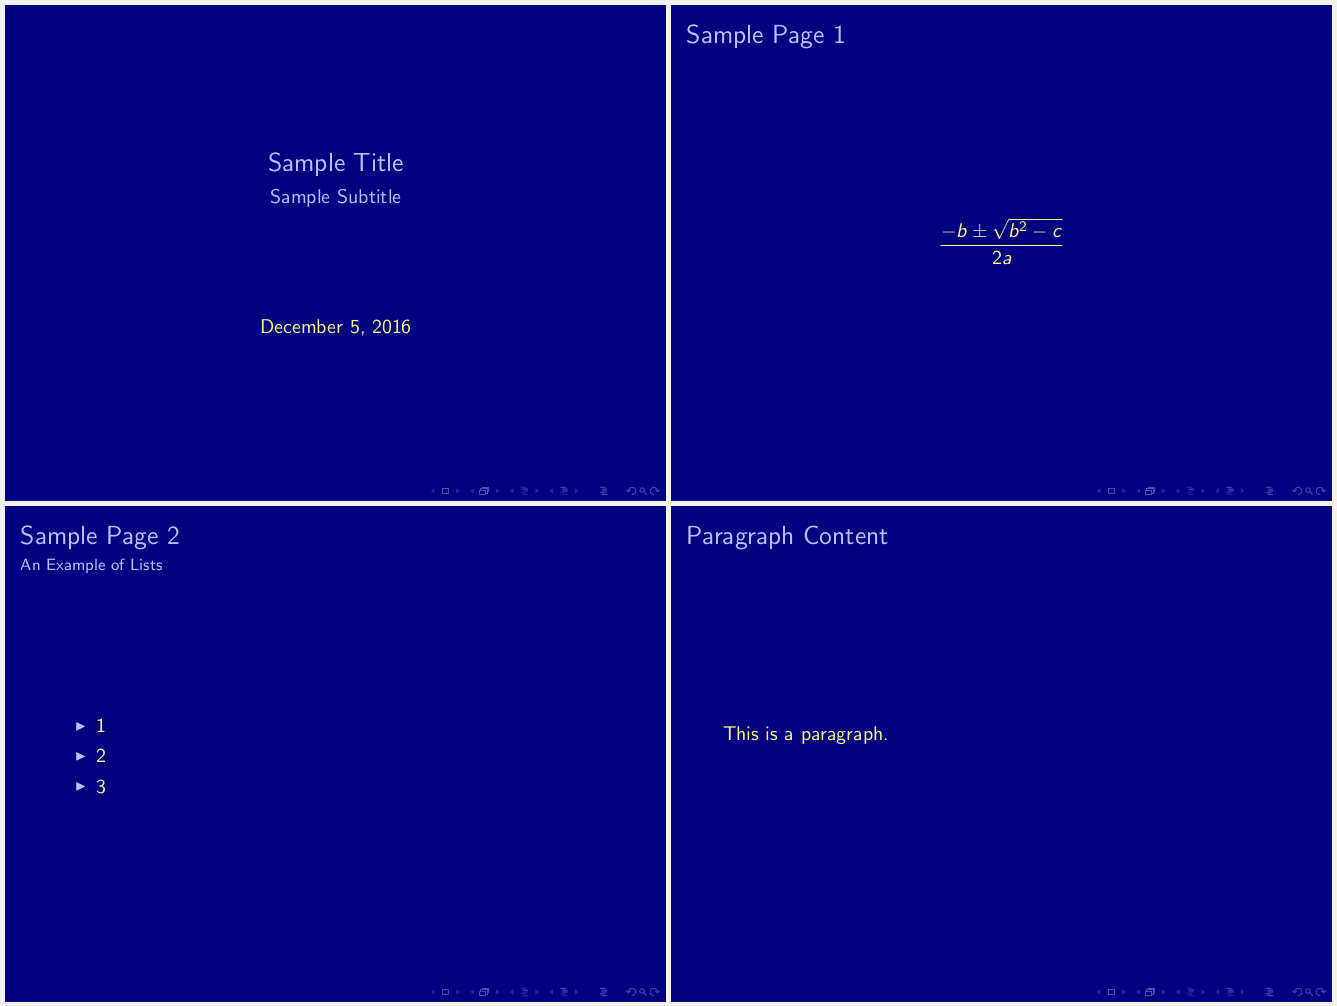
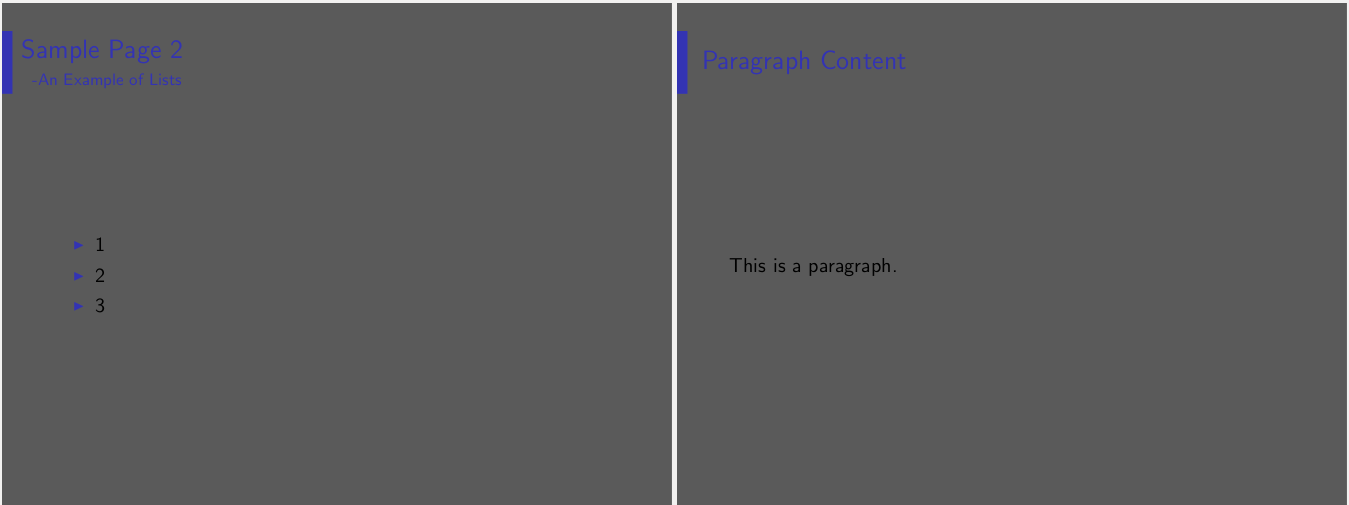
PDF Output of the Sample File
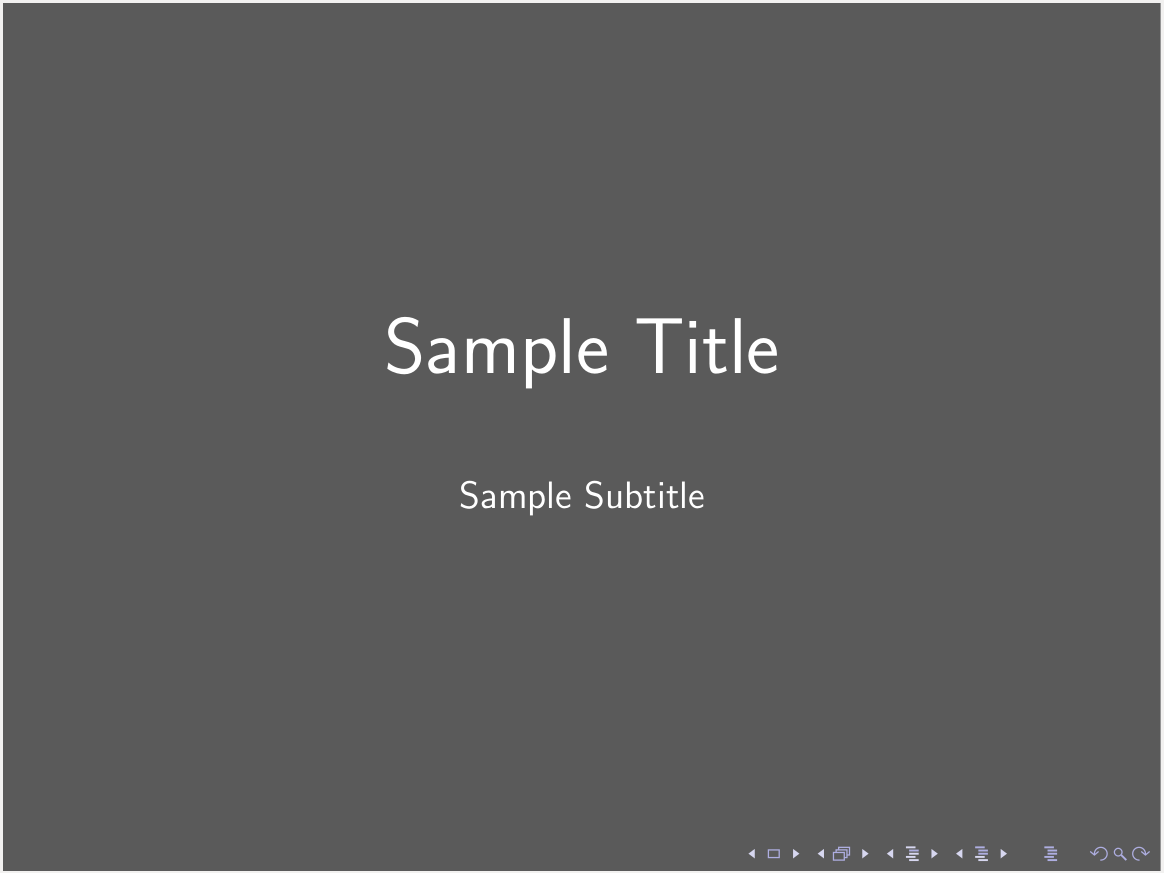
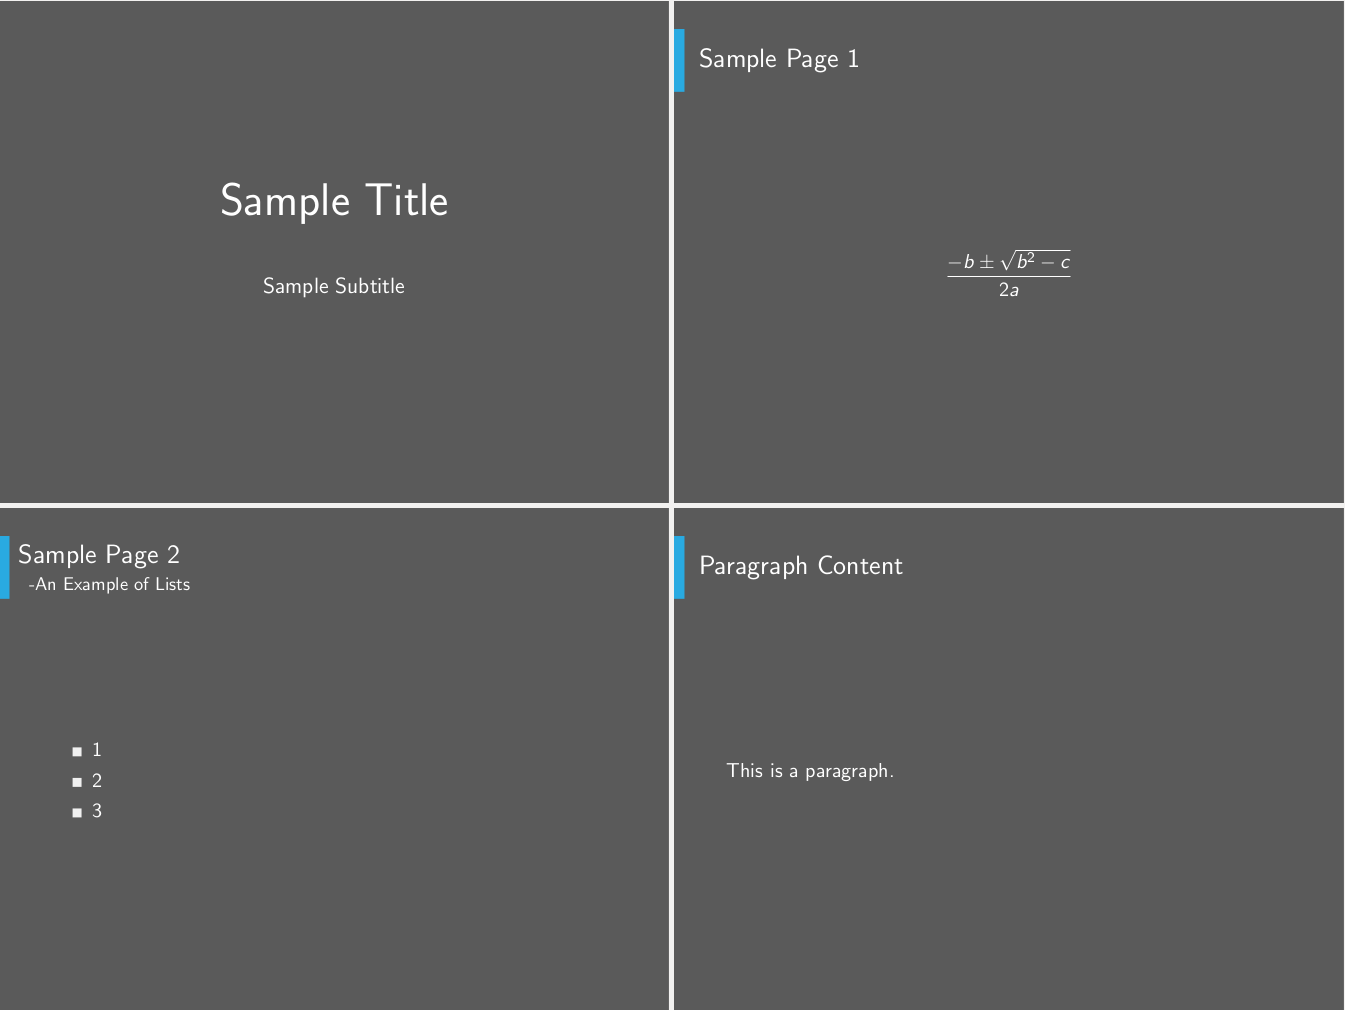
The Beamer commands are straightforward, and the flow of the presentation is easier to follow than it is in a GUI tool. While you could split the styling from the market using html and css, I enjoy using the Beamer package due to its concise creation of slides. Looking at a LaTeX file for a Beamer presentation is almost like looking at an outline which makes it more closely connected to the content the presentation is trying to convey. Unfortunately, I don’t like the default theme...or any of the other themes.After lots of searching, however, I was able to create my own theme, lucid. Then, just by uncommenting \usetheme{lucid}, I was able to create a presentation I was pleased with. Only a few weeks ago, I was able to reuse the theme and create a new presentation with all the custom styling that I wanted in much less time than a GUI tool would have required to replicate my original theme.
PDF Output of the Sample File With the New Theme
Building Your Own Beamer Theme
While it’s easy to find documentation on creating a presentation using Beamer, it’s more difficult to locate documentation on building a Beamer theme. Therefore, I’m going to walk through creating a simple Beamer theme with its own title page, header and footer, and styled lists. The first step in creating a Beamer theme is creating the following four files where “lucid” is the name of our new theme:
beamerinnerthemelucid.sty
beamerouterthemelucid.sty
beamercolorthemelucid.sty
beamerthemelucid.sty
While it’s not necessary to separate these into four files, it follows the pattern of Beamer’s own themes which allow for mixing and matching different parts of the theme. For instance, if we wanted to use the albatross color theme with the default theme we could replace \usetheme{lucid} in the above sample file like this:
\usecolortheme{albatross}
And the output pdf would consist of this:
The Albatross Color Theme With the Default Theme
The three parts of a theme are:
Inner: Defines the appearance of any items that make up the slides central content, e.g., lists or the title on the title page
Outer: Defines the appearance of the chrome of the slide, e.g., the title and footer of each slide
Color: Defines the colors used in various parts of the theme, e.g.,the color for frame titles or the background color
The final file, beamerthemelucid.sty, simply exists to combine all the parts of the theme into the main theme so it can be used without specifying each part of the theme.beamerthemelucid.sty:
The change to presentation mode at the beginning of the file is added so that the .sty file will match the mode of the presentation .tex file. Beamer automatically converts all files with its document class to presentation mode. The rest of the file simply sets all the portions of the theme to the new lucid theme and then returns the file to the normal mode. Each of the .sty files used to create the theme needs to be put in presentation mode in the same way.Right now, the theme doesn’t actually change anything. Everything is still using the default theme because we haven’t defined any new styles. Let’s start with the title page. Because the title is part of the inner content of the title page, the definition for its style goes into beamerinnerthemelucid.sty.I want a title page that’s centered vertically and horizontally like the one in the default theme, but with a bigger font, a different color, and no date. So, let’s add the following to beamerinnerthemelucid.sty between the mode changes:
Updated Title Page
The \defbeamertemplate command creates a new template where the first argument is the mode, * in this case, the second argument is what the template is for, and the third argument is the name of the new template. To access the template elsewhere, the given name is used, in this case “lucid.” The final part of \defbeamertemplate is where the actual template is defined using arbitrary LaTeX code. In this case, we use common commands for centering and accessed the title and subtitle via \inserttitle and \insertsubtitle. To get the correct colors, we use \usebeamercolor which fetches the correct colors from the color theme based on the element name given, i.e., the name of the color. Similarly, \usebeamerfont fetches the correct font from the font theme, so that you can specify the font separately.However, the color and the font remain unchanged, so we need to edit the color theme file next. I want white text on a dark background, so we need to change the background color first.
Updated Title Page With New Background Color
After adding these commands in beamercolorthemelucid.sty, the title page looks just about the way I want it. The background is gray, and the title and subtitle are in a new size and color. However, Beamer’s default links are still in the bottom right hand corner. To remove them, we add the following line to beamerouterthemelucid.sty because the footer is part of the outer theme.
\setbeamertemplate{navigation symbols}{}
Updated title page without navigation symbols
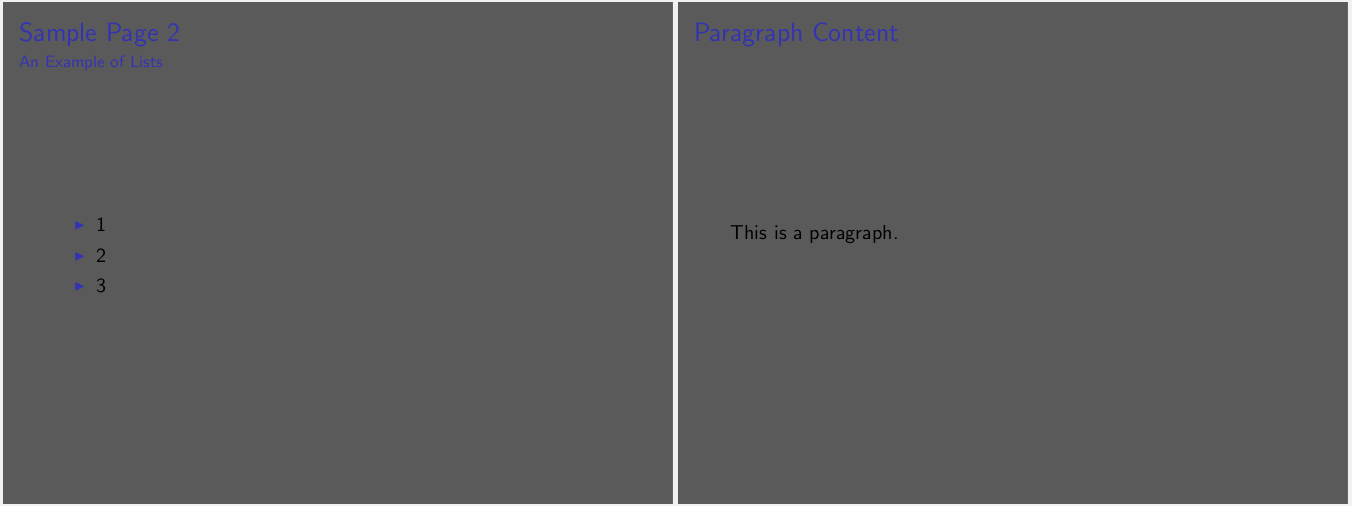
Like \defbeamertemplate, \setbeamertemplate can be used to define a new template. The element that uses the template is immediately set to use the new template rather than being set separately. In this case, the navigation symbols element is set to empty.Now that the title page looks just the way I want it to, we can move on to the content slides. While they already have the correct background color and are correctly lacking the navigation symbols in the footer, the title and subtitle are the wrong color and lack style.
Content Slides With No Additional Changes
Because the frame title is part of the outer theme, we add the following to beamerouterthemelucid.sty:
\RequirePackage{tikz}

\newlength{\marginedPaperWidth}{\paperwidth - 0.2cm}

% Frame title
\defbeamertemplate*{frametitle}{lucid}[1][]{
  \vskip0.5cm%
    \begin{beamercolorbox}[wd=\paperwidth,ht=1.2cm]{frametitle}
    \begin{tikzpicture}
    \useasboundingbox(0,0) rectangle(\the\paperwidth,1.2);
    {\usebeamercolor[fg]{frametitle-left}}
    \fill[color=frametitle-left.fg] (0.2,0) rectangle(\the\marginedPaperWidth,1.2);
     \ifx\insertframesubtitle\@empty%
        {\node[anchor=west] at (0.3,0.61){\usebeamerfont{frametitle}\insertframetitle};}
        \else%
        {\node[anchor= west] at (0.2,0.81){\usebeamerfont{frametitle}\insertframetitle};%
         \node[anchor= west] at (0.4,0.25){\usebeamerfont{framesubtitle}-\insertframesubtitle};}%
        \fi
    \end{tikzpicture}
  \end{beamercolorbox}
}
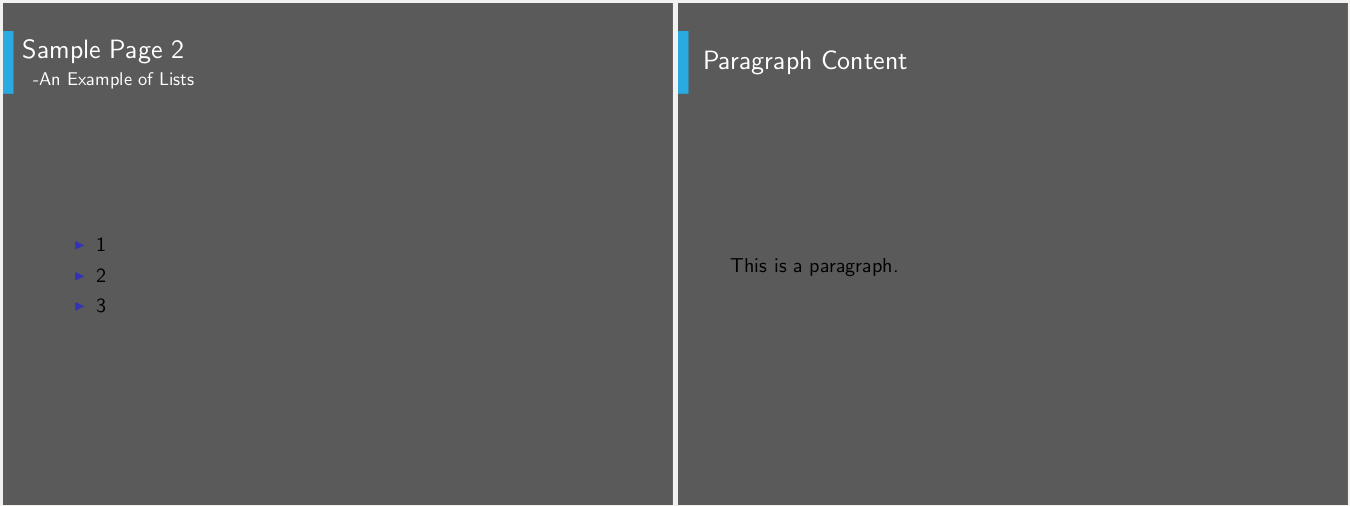
In addition to the now familiar Beamer commands, we use an if statement to differentiate between the cases of when there is and isn’t a subtitle, and we make use of a new package, tikz, which allows the user to create drawings in LaTeX. By using it in the template for the frametitle, we’ve added a rectangle to each frame title in the presentation. We set the color of the rectangle with the Beamer color frametitle-left which the command \usebeamercolor[fg]{frametitle-left} adds to the environment.
Updated Frametitle Layout
The colors and fonts are correctly reading from beamercolorthemelucid.sty, but it hasn’t been updated, so that’s the next step.
Updated Frametitle Colors
The content of the slides is still in the default style, so we turn to beamerinnerthemelucid.sty to modify the template for lists.
\setbeamertemplate{itemize items}[square]
Just as \setbeamertemplate can be used to define a new template that is immediately applied, it can also be used to set a template defined by \defbeamertemplate earlier. square is defined by default in the beamer package, and it makes the bullets in an unordered list square.
Slide With Updated Bullets
To change the colors of content and the list items, we update beamercolortheme.sty again.
Slide With Updated Content Colors
The last thing missing from our theme is a new footer. We need to add a page number and logo to each page.
\def\logo{%
  \includegraphics[width=3cm]{lucidsoftware-logo.png}%
}

\setbeamertemplate{footline}{%
  \begin{minipage}[t]{0.5\paperwidth}
    \begin{beamercolorbox}[wd=3cm, ht = 1cm]{page number in head/foot}
      \ifnum\thepage>1\relax%
        \vskip0.2cm%
        \hskip0.3cm%
        \insertpagenumber\,/\,\insertpresentationendpage\kern1em\vskip2pt%
        \hfill
      \fi
    \end{beamercolorbox}
  \end{minipage}
  \begin{minipage}[t]{0.76\paperwidth}
    \hfill
    \begin{beamercolorbox}[wd=3cm, ht = 1cm]{page number in head/foot}
      \logo
    \end{beamercolorbox}
  \end{minipage}
}
Slide With New Footer
Adding the above to beamerouterthemelucid.sty splits the footer in half, putting the page number out of the total number of pages on one side and a logo on the other. lucidsoftware-logo.png has to be included in the same directory for it to compile correctly. The if statement removes the page number from the first page.Finally, we add the color for the page number to beamercolorthemelucid.sty:
\setbeamercolor*{page number in head/foot}{fg=light-grey}
Conclusion
Creating your own LaTeX theme allows for complete customizability, something you have to work very hard to achieve in more conventional presentational tools. It also makes it trivial to reuse the theme, avoiding wasted effort.
Lucid Software is the leader in visual collaboration and work acceleration, helping teams see and build the future by turning ideas into reality. Its products include the Lucid Visual Collaboration Suite (Lucidchart and Lucidspark) and airfocus. The Lucid Visual Collaboration Suite, combined with powerful accelerators for cloud and process transformation, empowers organizations to streamline work, foster alignment, and drive business transformation at scale. airfocus, an AI-powered product management and roadmapping platform, extends these capabilities by helping teams prioritize work, define product strategy, and align execution with business goals. The most used work acceleration platform by the Fortune 500, Lucid's solutions are trusted by more than 100 million users across enterprises worldwide, including Google, GE, and NBC Universal. Lucid partners with leaders such as Google, Atlassian, and Microsoft, and has received numerous awards for its products, growth, and workplace culture.