Creating a labeled image dataset using Pybossa
Deepak Kancharla
Reading time: about 8 min
For an internal project, we decided to develop a machine learning model to perform an image recognition task on a large dataset of images, based on a defined set of categories to which an image can belong. Initially, we didn’t have a labeled set of images to train the model. So, we started by hand labeling 1% of the dataset and then used a rules-based approach (we used Snorkel) to infer labels for the rest of the dataset.
But we didn’t see the results we needed with the initially labeled dataset.
So, to improve the accuracy of the model we knew we were going to need more hand-labeled data. However, our team was too small to label tens of thousands of images in a reasonable amount of time and we needed to get help from many of our colleagues. We needed a secure and reliable platform to conduct the labeling process. For that, we used an open-source framework called Pybossa. In the remainder of the article, I will be talking about how we hosted the Pybossa application in the cloud.
Pybossa
Pybossa is an open-source platform for data collection and enrichment. It lets users annotate images, videos, and text, making it a perfect fit for a human-in-the-loop machine learning project. You can import the data in multiple ways and we used Amazon S3 as the data source.
Pybossa is basically a Python web server built using Flask and uses RQ (Redis Queue) for background tasks. If you have used Celery with Redis, it will feel very familiar.
The following are the main components of Pybossa:
- Pybossa Web Server
- Pybossa Worker
- Pybossa Scheduler
- Postgres
- Redis Sentinel
- Redis
Setting up Pybossa application using AWS
For safe and secure access to Pybossa, we created a new subnet within the VPC for hosting all Pybossa resources. For quick and easy setup, we used Amazon EC2 ECS with host-level networking, and all the different components of Pybossa were run as ECS tasks using Docker images.
We created a custom docker image using the Pybossa source code from Github and made some configuration changes in the settings_local.py file, including using a different port number, passing Redis and Postgres information through environment variables for better security, and updating the rate-limit thresholds for better concurrency to suit our needs. We copied the docker image to ECR.
For Redis, we used the official docker images from the docker hub, and for Postgres, we used Amazon RDS.
ECS task definitions
We defined task definitions for Redis-Master, Redis-Sentinel, pybossa-background-worker, pybossa-scheduler, and pybossa-webserver where we defined the docker images that the tasks will be using and provided the information about postgres_uri using AWS secrets for secure access.
Example task-definition of pybossa-web-server:
{
       "environment": [
           {
               "name": "REDIS_MASTER",
               "value": "mymaster"
           },
           {
               "name": "REDIS_SENTINEL",
               "value": "127.0.0.1"
           }
       ],
       "secrets": [
           {
             "name": "POSTGRES_URL",
             "valueFrom": "arn of the POSTGRES_URI secret"
           }
       ],
       "name": "pybossa-web-server",
       "mountPoints": [],
       "image": "location of pybossa docker image in ecr",
       "memory": xxx,
       "portMappings": [
           {
               "protocol": "tcp",
               "containerPort": 5003,
               "hostPort": 5003
           }
       ],
       "essential": true,
       "volumesFrom": []
   }
Images for labeling
We uploaded all the images (with sensitive data masked) to be labeled to an S3 bucket. Pybossa has a plug-in for providing an s3 bucket as a source, but that doesn’t work well because it expects the s3 bucket to be publicly accessible from the internet, which would introduce security risks. Instead, we created a vpc endpoint for the s3 bucket and then accessed it through a reverse proxy, HAProxy. We created all the AWS resources inside a VPC and restricted access to the resources using security groups. This way we were able to secure the images and the application access.
Postgres database
We created the Postgres database using Amazon RDS and configured the security group to allow access only from the Pybossa subnet. We also store the database URI in AWS secrets which was passed to the other Pybossa components by configuring it in the task definitions (see the example task definition above).
Once all the ECS tasks are up and running, we logged into one of the Pybossa docker containers and ran the database initialization script:
python cli.py db_createPybossa web server
Pybossa web server is the client-facing application. As part of the ECS service, we configured a Service Discovery record so that external clients could find it. We created a DNS record for the application that pointed to HAProxy, which was configured to route the requests to this application. That way the web application was accessible from the browser using the DNS name.
Setting up the project on Pybossa
Once the application is set up and access is enabled, the first person to sign up becomes the administrator for the tool.
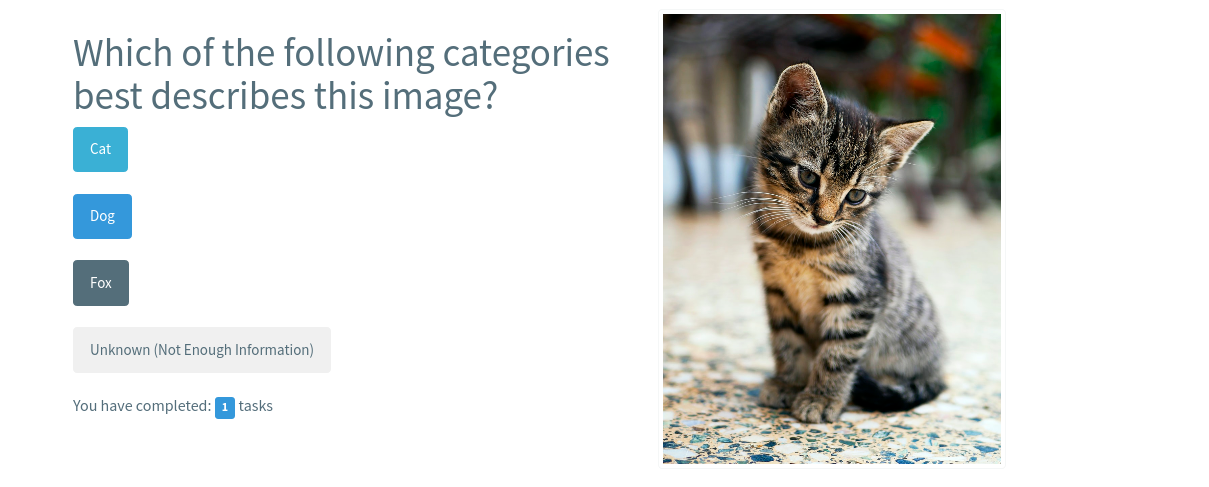
In our case, the data type is images and we uploaded a csv file consisting of a list of image URLs. We also updated the question text and the possible answers/options according to our use case in the Task Presenter. Then we defined the redundancy, number of answers/classifications for each image. Once everything was configured we published the project and it was ready for tagging.
Example question:

Note: Pybossa doesn’t do a great job at handling concurrent activity. So, sometimes we ended up with more number of answers/classifications than configured for the images.
Results

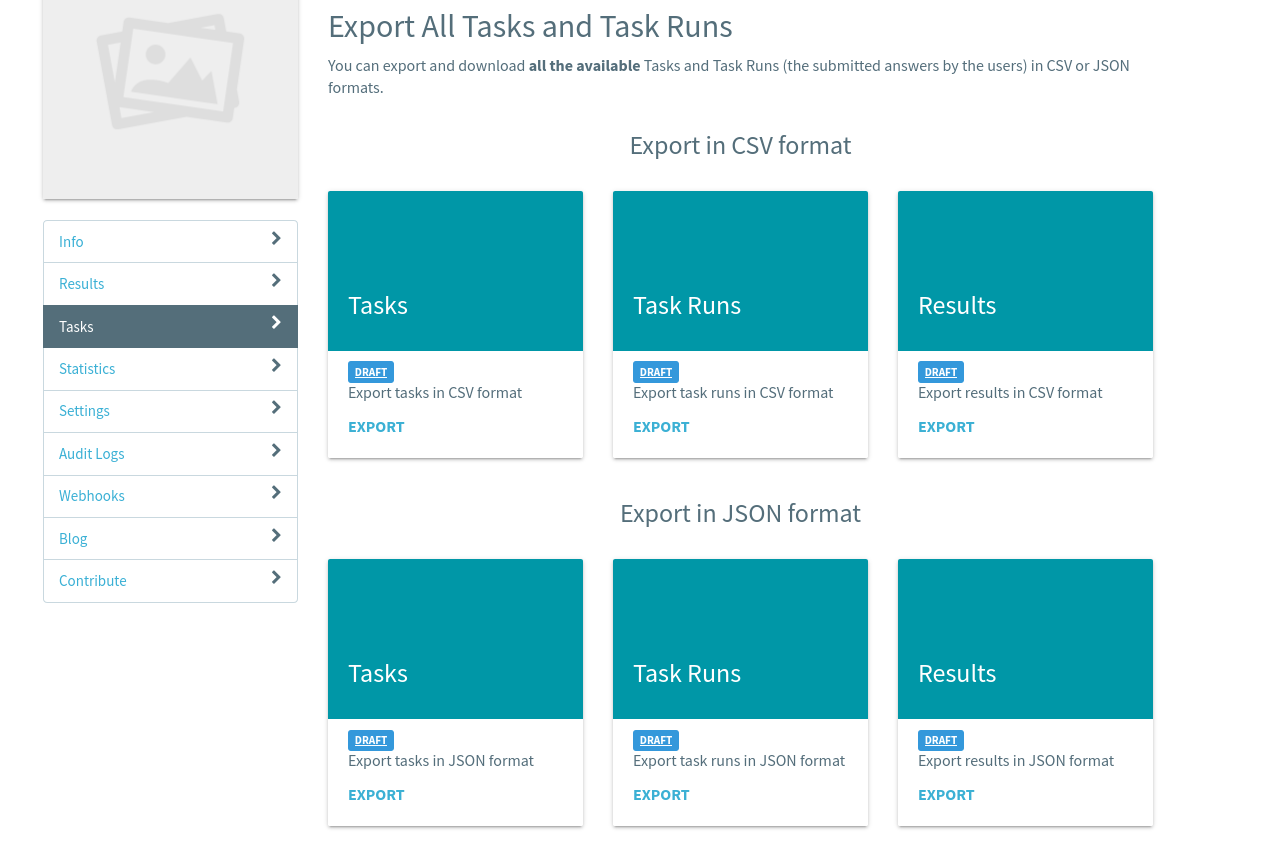
Once the tagging is done, the results could be downloaded as JSON or CSV files. We wrote a python script to parse the results file and generate the labeled dataset.
Conclusion:
A machine learning model’s performance relies on the quality and size of the dataset. So, having a large labeled dataset improves the accuracy of the model. In our case, our earlier model was achieving a 65% accuracy with the initial labeled dataset. Using the labeled dataset we generated with Pybossa, we were able to achieve 80% accuracy. I recommend creating a custom labeled dataset using Pybossa and making it secure and reliable as discussed in the article for anyone having model performance issues related to the quality and size of the dataset.
Note: This article is about how we set up the Pybossa tool in a VPC since the data we are dealing with was sensitive and we wanted to have restricted access to the data and the application. I recommend reading the Pybossa documentation to get a basic understanding of all the components and how they work.
About Lucid
Lucid Software is the leader in visual collaboration and work acceleration, helping teams see and build the future by turning ideas into reality. Its products include the Lucid Visual Collaboration Suite (Lucidchart and Lucidspark) and airfocus. The Lucid Visual Collaboration Suite, combined with powerful accelerators for business agility, cloud, and process transformation, empowers organizations to streamline work, foster alignment, and drive business transformation at scale. airfocus, an AI-powered product management and roadmapping platform, extends these capabilities by helping teams prioritize work, define product strategy, and align execution with business goals. The most used work acceleration platform by the Fortune 500, Lucid's solutions are trusted by more than 100 million users across enterprises worldwide, including Google, GE, and NBC Universal. Lucid partners with leaders such as Google, Atlassian, and Microsoft, and has received numerous awards for its products, growth, and workplace culture.