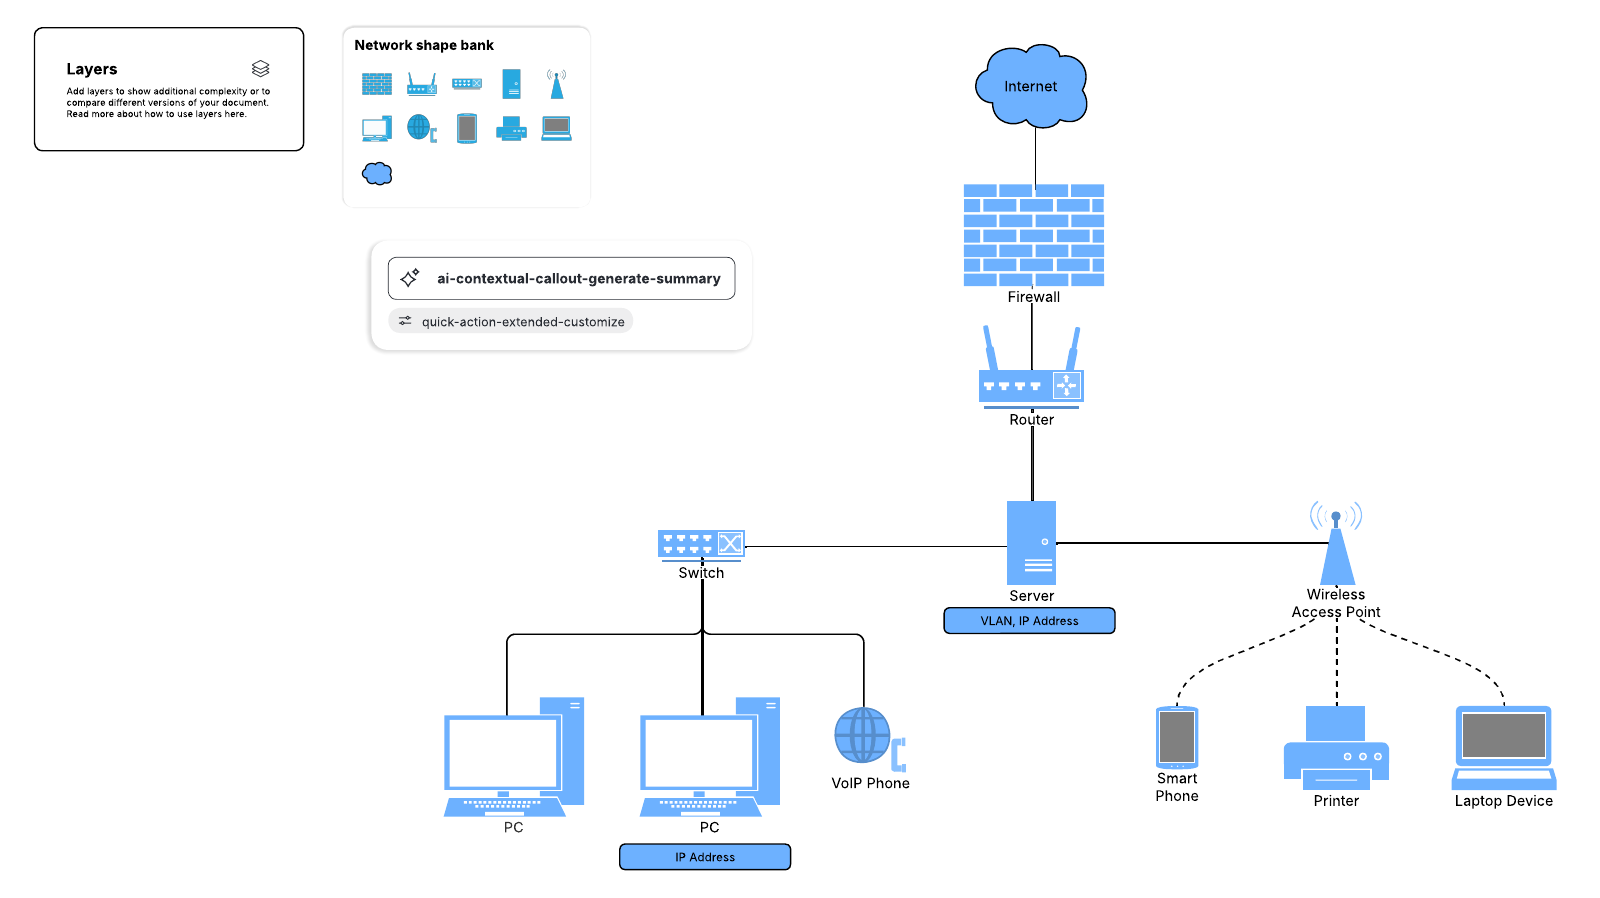
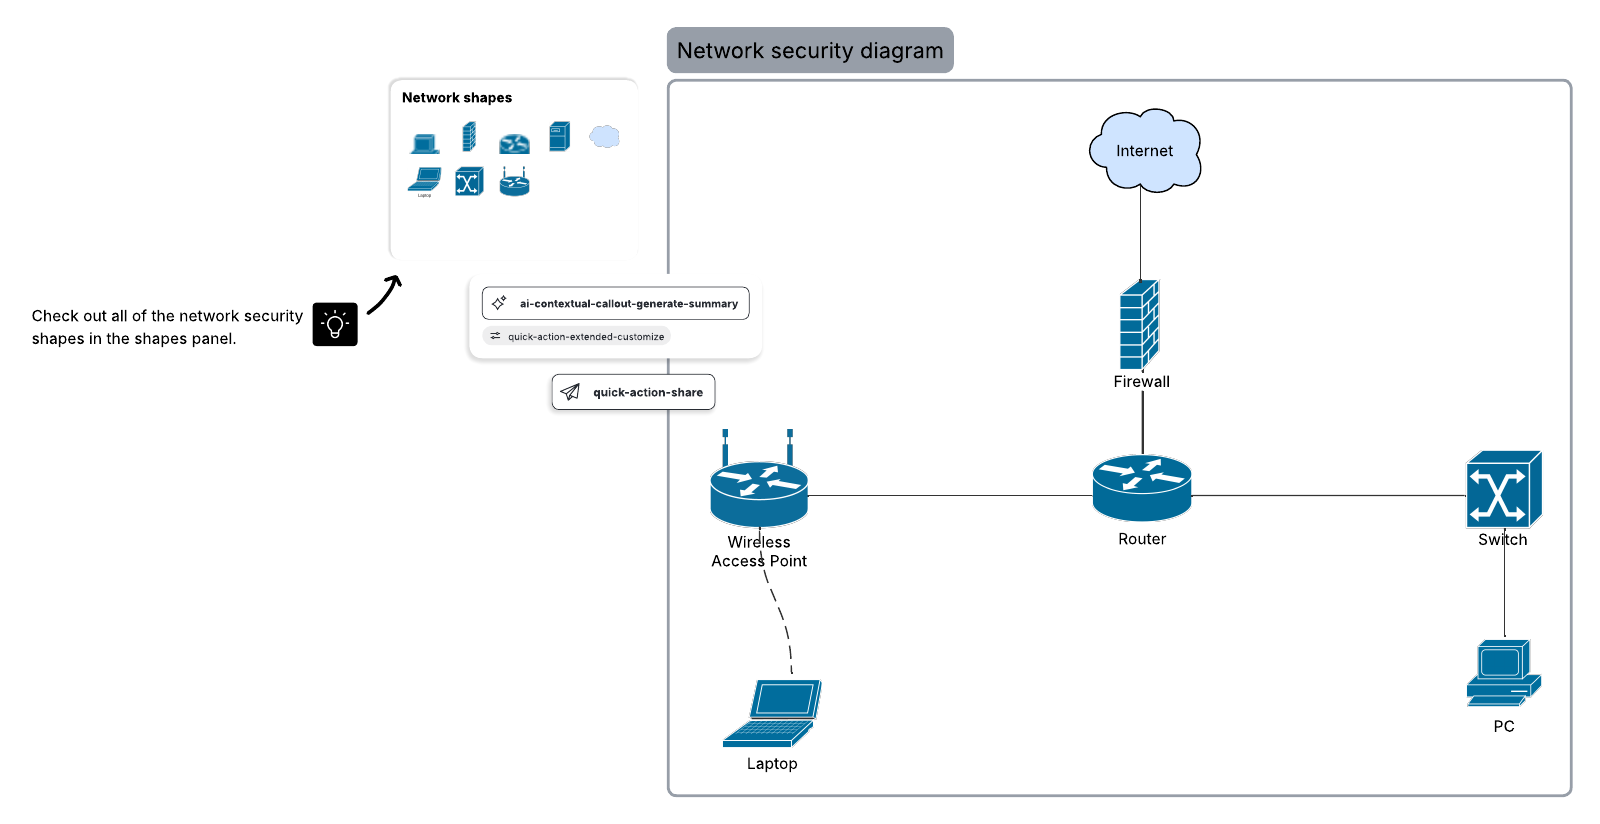
Network diagrams visualize the connections between devices and hardware in given a computer network. Symbols, shapes, and icons are used to depict devices such as laptops, routers, desktops, and servers. Whether you are mapping out a personal home network or multiple networks as part of a larger organization, a well-made network diagram simplifies and clarifies complex systems. This step-by-step guide will explain how to create a network diagram template in Lucidchart and integrate it into Excel.
It easy to organize large amounts of data into neat rows and columns using Excel, but it’s diagramming features are limited. Excel lacks the specific shapes necessary to create a network diagram without spending hours creating custom shapes from scratch or paying for additional extensions. That’s why we have outlined the steps to create a network diagram in Lucidchart and import it into Excel.
1. Sign up for a free Lucidchart Account
Before getting started on your network diagram, you’ll need to register for a free Lucidchart account—all it takes is an email address! Once registered, you’ll be all set to move on to the steps below.
2. Create a new document and add basic shapes
When you create a new document in Lucidchart, there are two options: starting from scratch or using a template. Templates are a great option if you want to save time, but don’t be deterred by creating your own from scratch— with Lucidchart both options are simple and straightforward.
Starting from a template
Lucidchart offers several pre-made network diagram templates in its library. To find the right template that fits your needs click “+Document” or the “More Templates” button. Then select “Network” from the panel on the left. You can also use the search bar in the upper lefthand corner and search “network diagram.” For additional information on the different templates, click it once to read more about it.
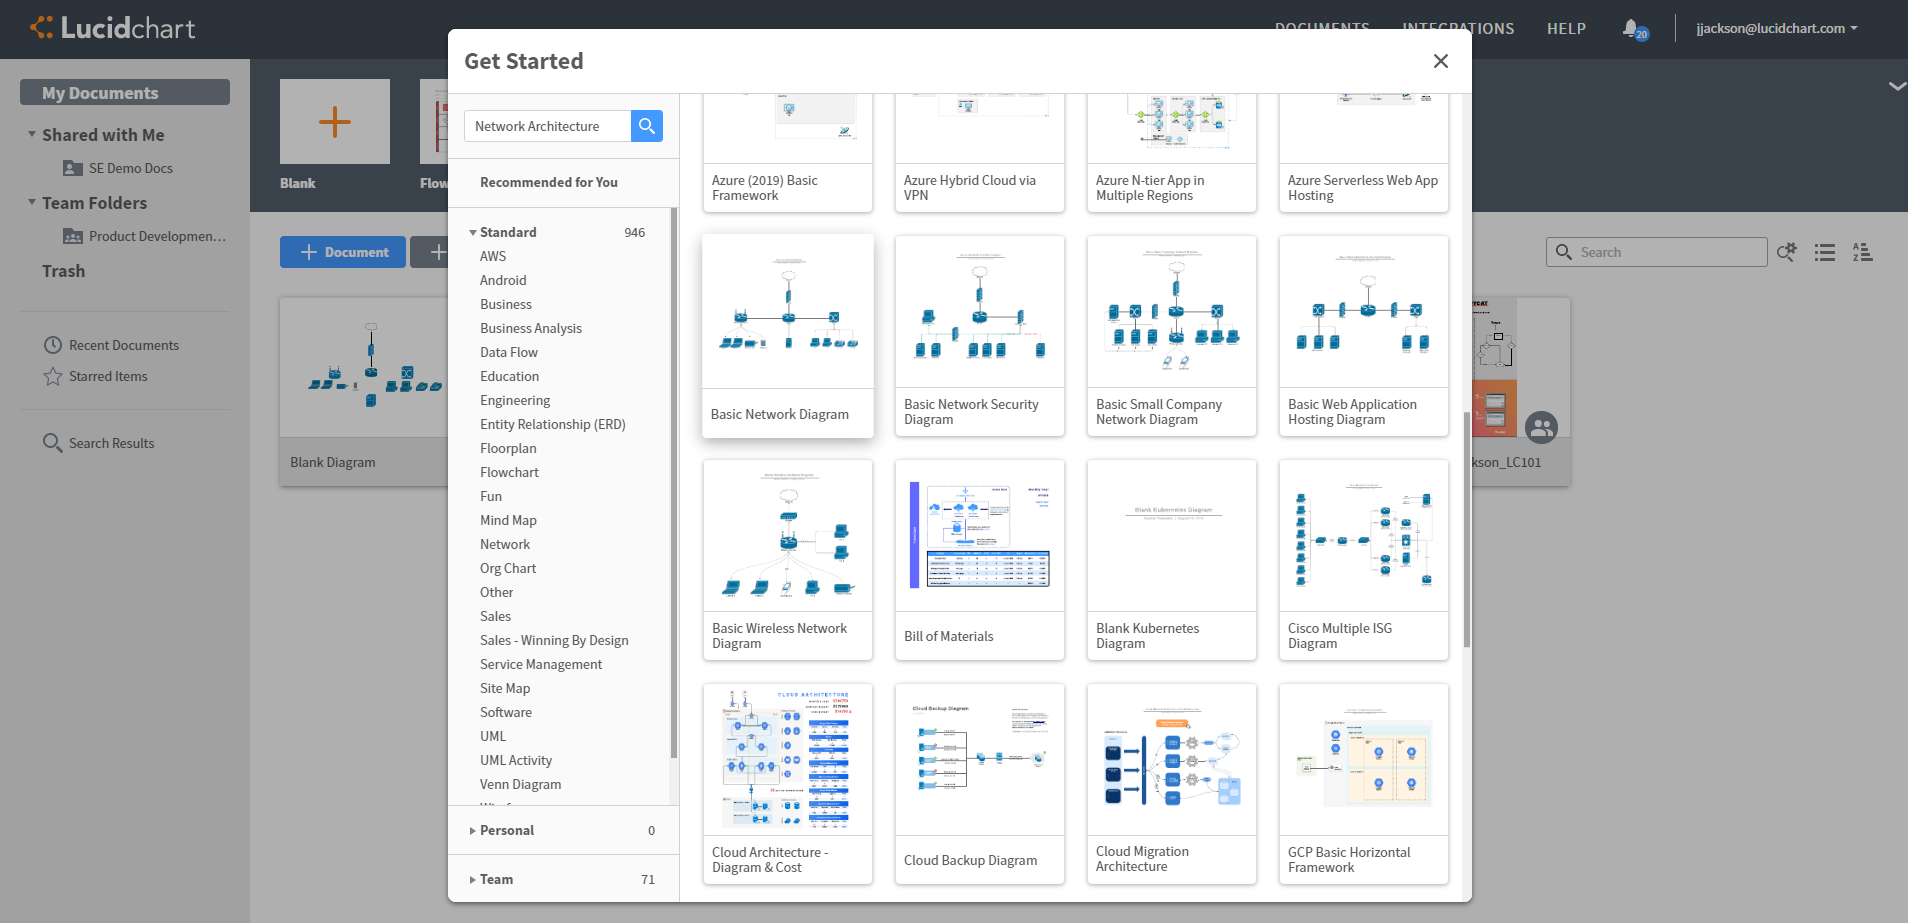
All Lucidchart templates are customizable—move, add, or delete shapes and arrows until the diagram suits your needs
Starting from scratch
If you would rather create your own network diagram using the shape library, open a blank document by clicking “+Blank” at the top of the homepage.
3. Add shapes and lines
It’s easy to quickly add all the shapes, lines, and text you will need when you use Lucidchart.
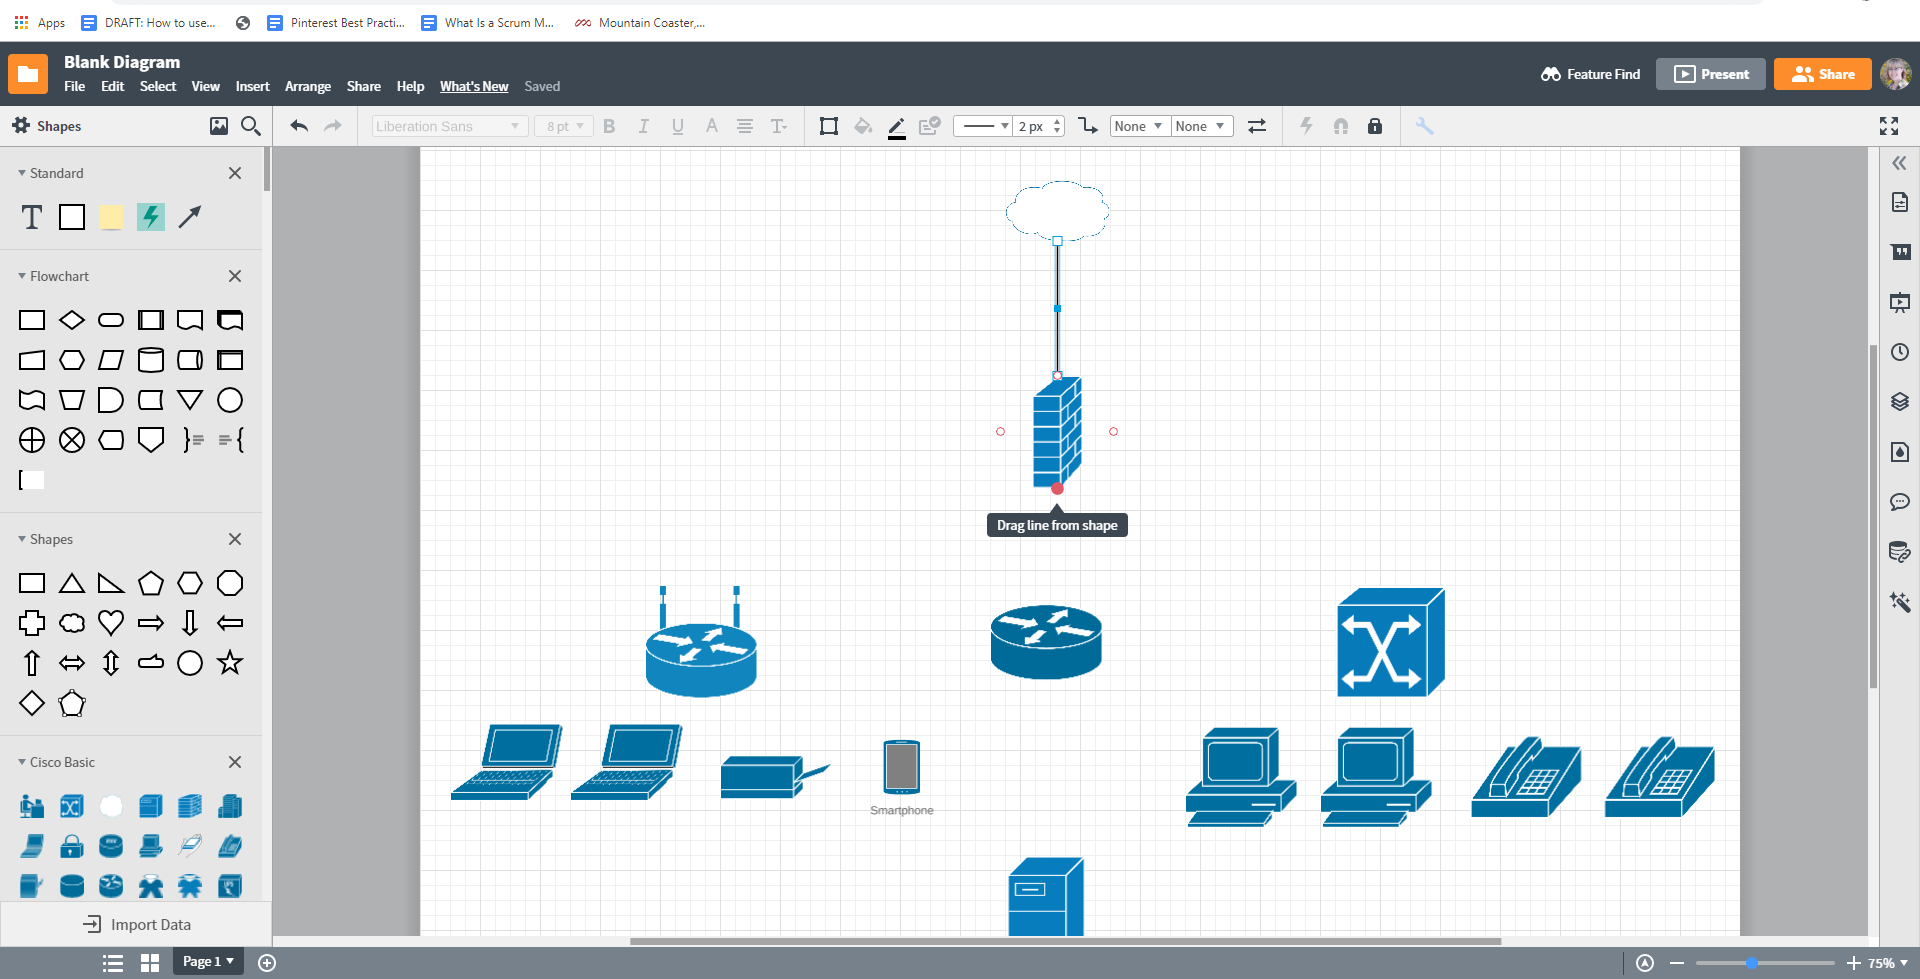
First, you will need to add the correct shape library to your shape menu. To do this select “+Shape” in the bottom left of the shape menu. A pop-up window will appear. In the left panel scroll down until you find “Cisco Network Icons” and select it. A checkmark will appear in the box indicating that it was added to your shape menu. A preview of the shapes will appear to ensure that you selected the correct library. Exit the window.
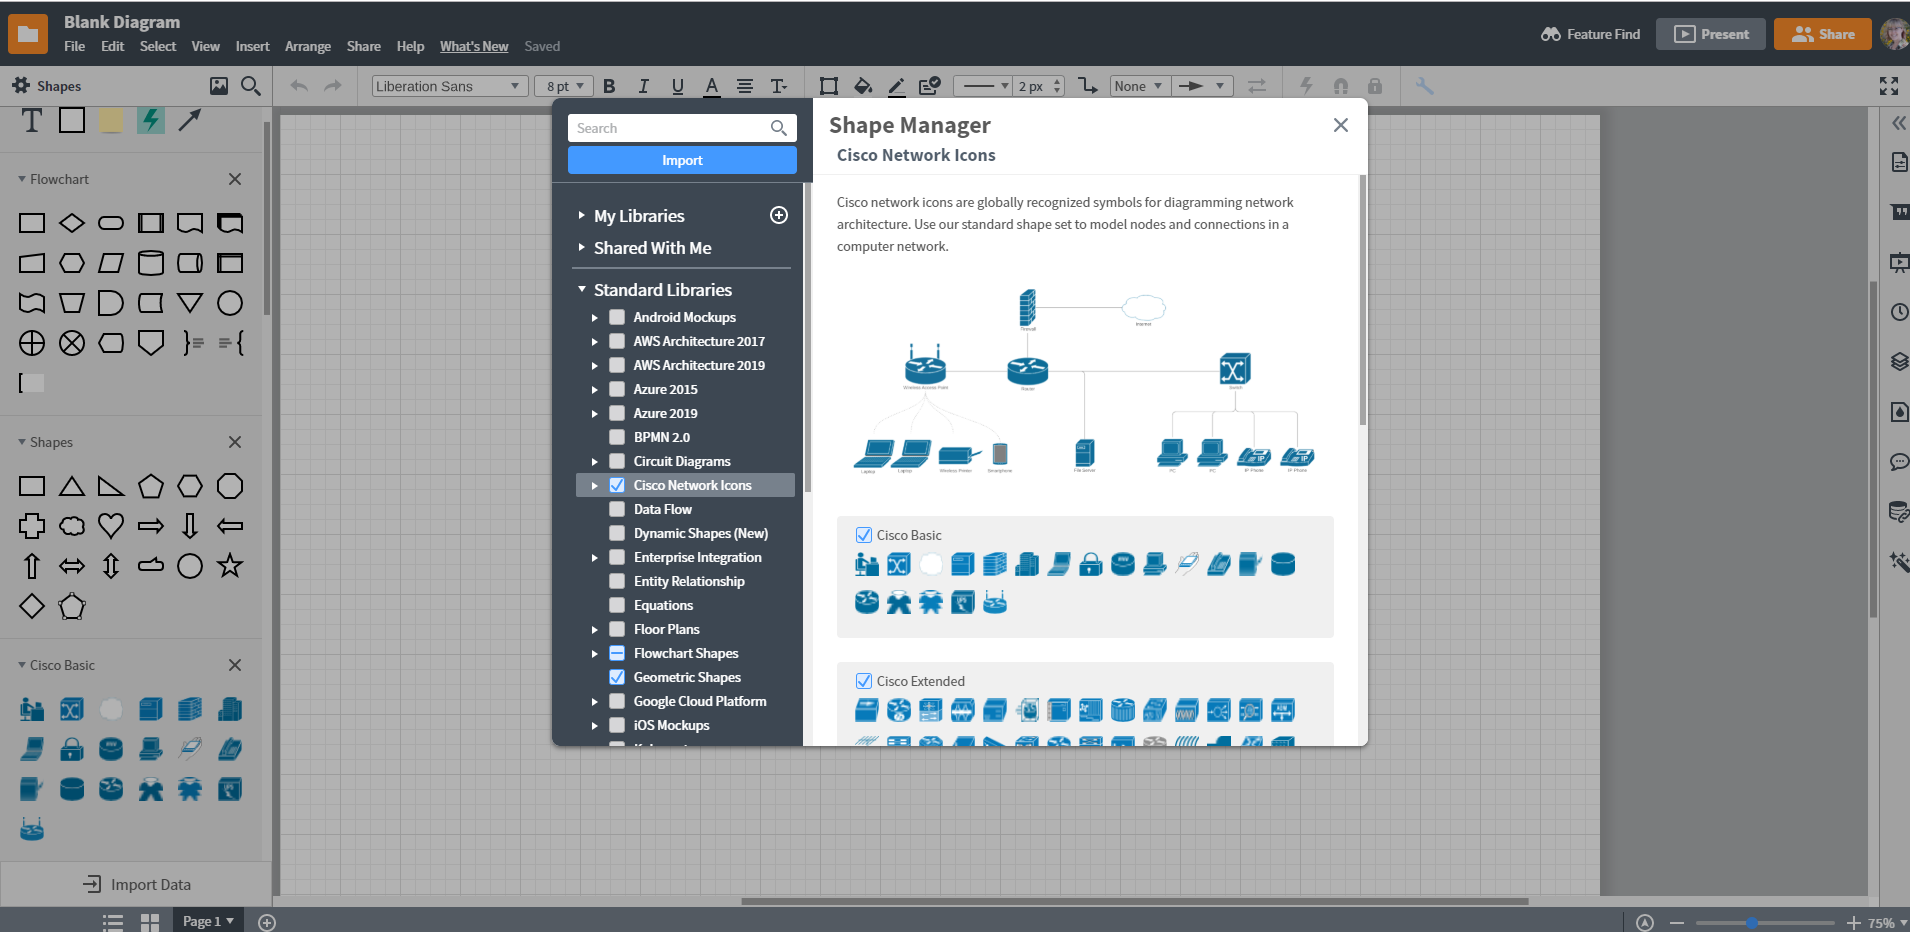
Drag and drop shapes onto the canvas to start diagramming. To connect the shapes, click and drag your cursor drawing a line between them.
Tip
- Connect the red dots with lines to keep the shapes linked.
4. Add text
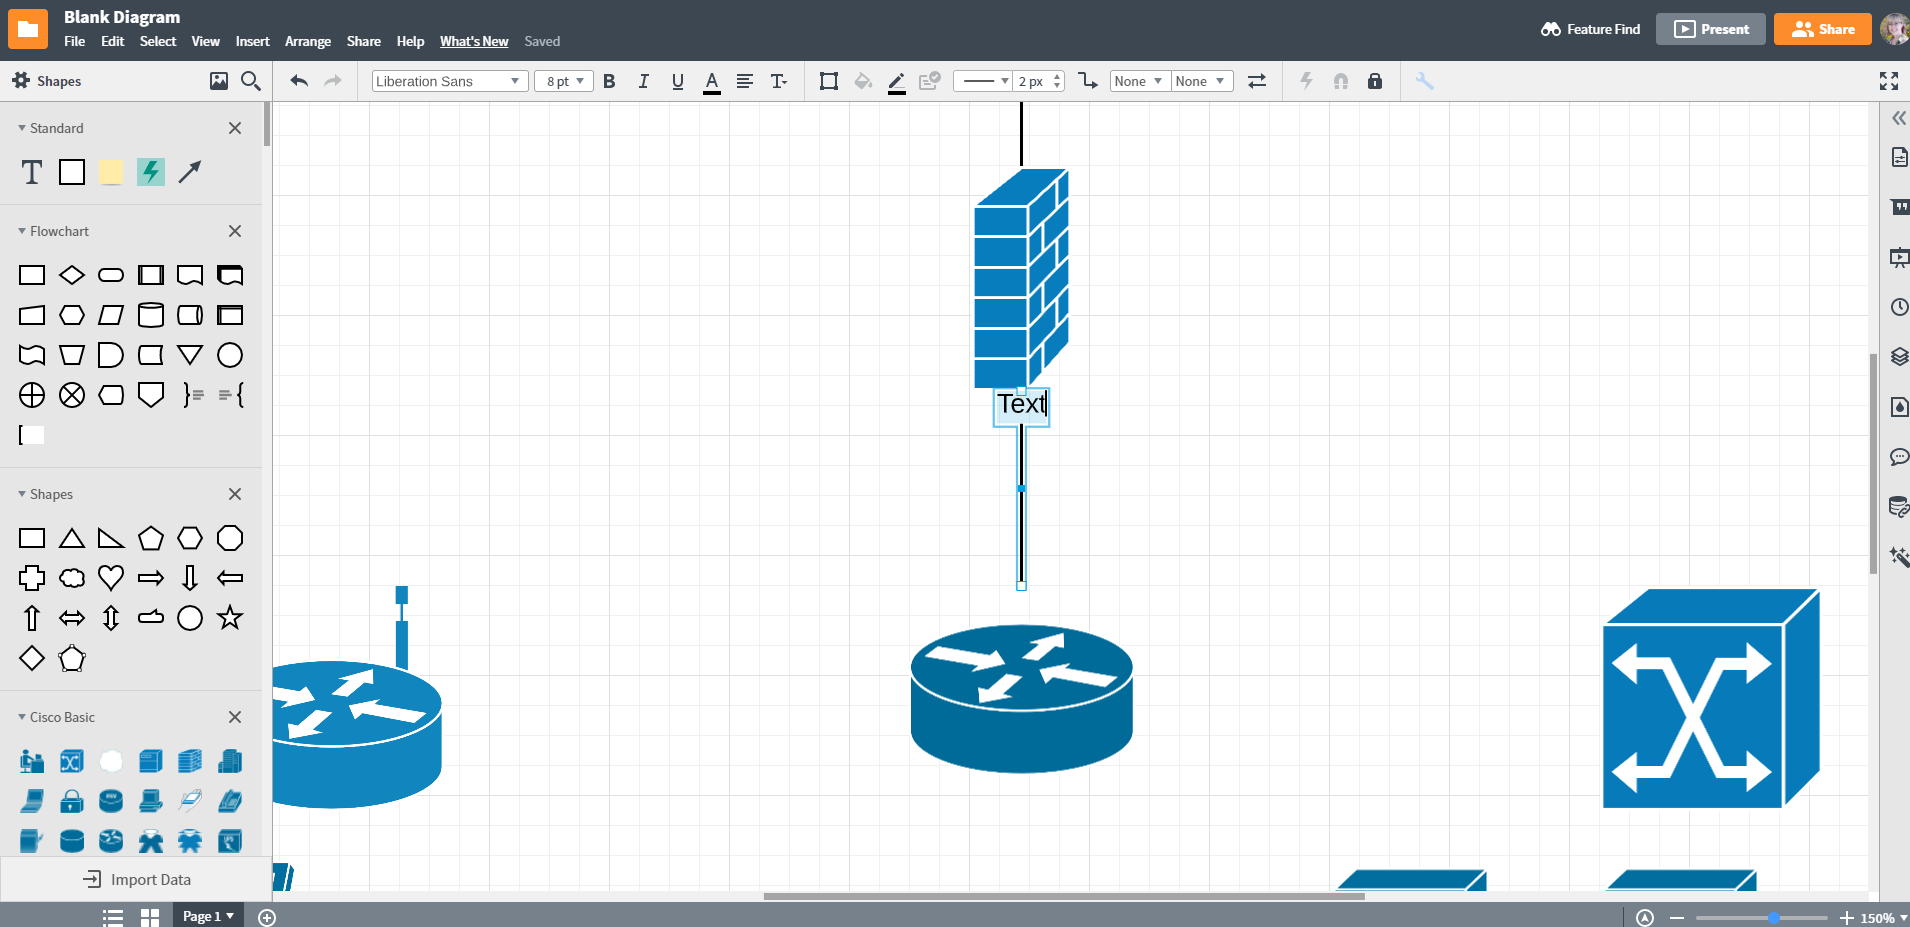
Now that you have your network diagram mapped with the appropriate devices and shapes it is time to add text. Double-click the shape to add text and begin typing.
To add text to your arrows double click the arrow and begin typing.
It’s just as easy to edit text—simply repeat the same process. Modify the text size, font, color, and more using the properties bar at the top of the editor.
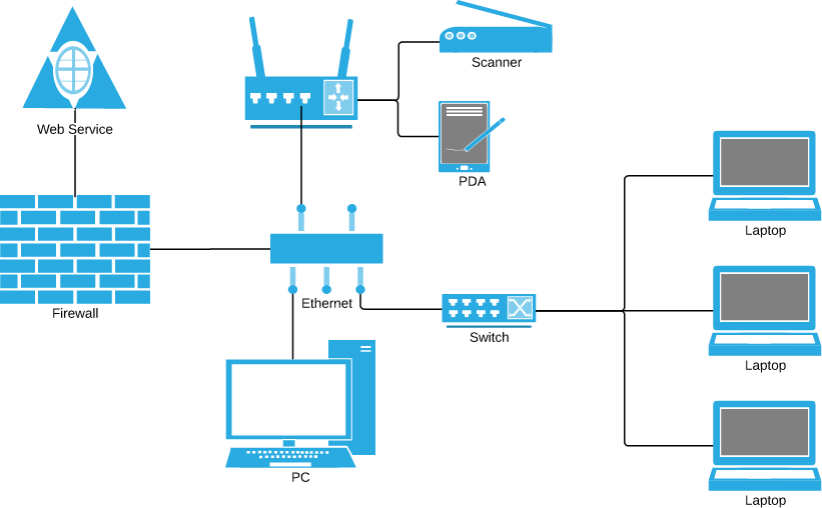
Once you’ve finished you will have a complete network diagram. Continue to move and add device shapes as needed if your network grows.
Network diagram template For Excel
More on network diagrams
To learn more about network diagrams, check out our summary of network diagram icons and symbols, opens in a new tab, or get another free template on our wireless network diagram tempates, opens in a new tab page. You can also peruse Lucidchart’s community library for thousands of templates for all kinds of diagrams. Make mind maps, flowcharts, org charts, circuit diagrams, activity diagrams, ERD, and much more.

Everything you need to make a diagram
Make a polished, professional diagram for free with Lucidchart. No matter what you have in mind, we have the tools you need to build it. Make an account and start diagramming today.
Sign up free