Trying to become more productive at work? Struggling to convey your ideas fast enough? You’ve come to the right place! Whether you are a new diagrammer, a power user, or someone who is eager to learn about Lucidchart, check out these seven tips from Lucidchart product experts to learn how to diagram more efficiently.
1. Build your diagram sequentially, without ever losing your place
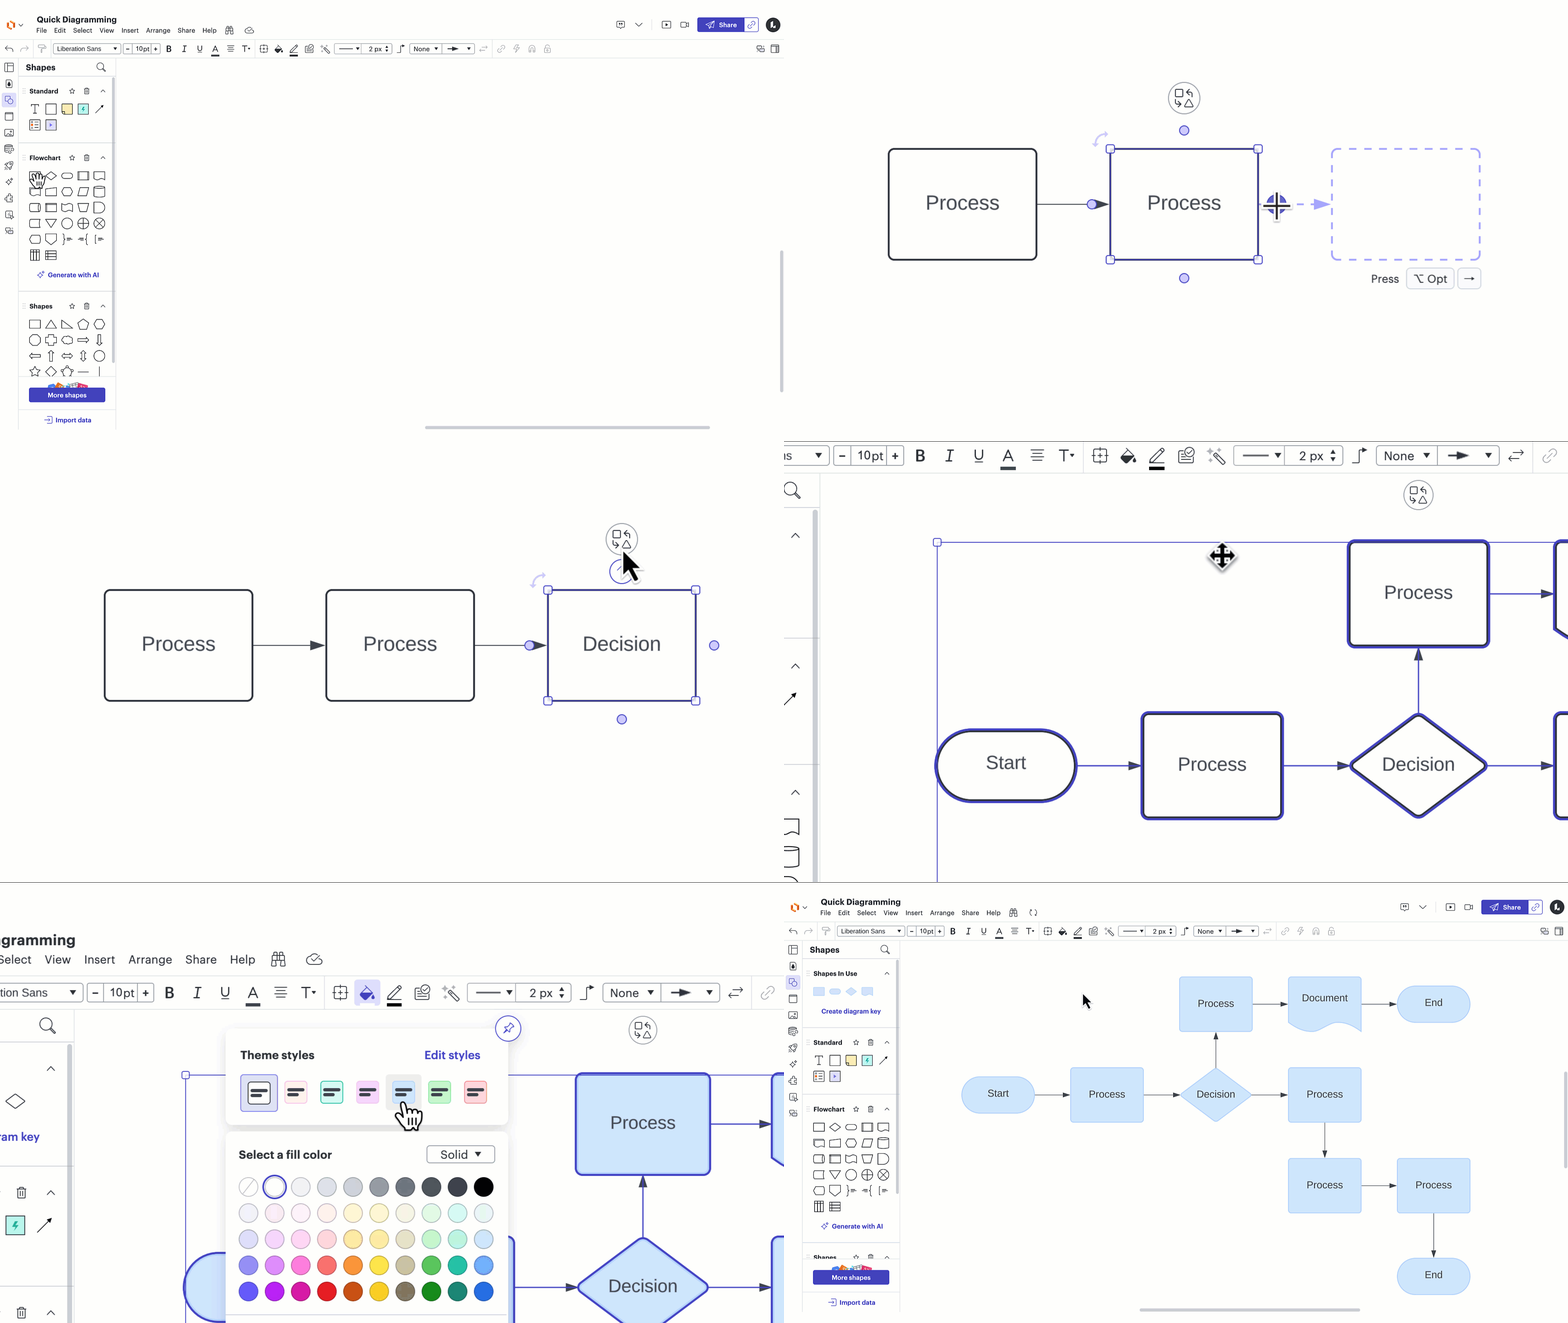
Lucidchart has some handy shortcuts that allow you to add shapes to your diagram without manually dragging them out of the toolbox. After dragging out the first shape of your diagram, hover over one of the adjacent purple dots, and a predictive ghost shape will appear, branching out from the current shape. Click the arrow to add it.
The best part? Lucid offers assisted layout, a set of features that intuitively arranges shapes and lines automatically so your document looks professional and polished without manual tweaking.
2. Duplicate shapes with one click
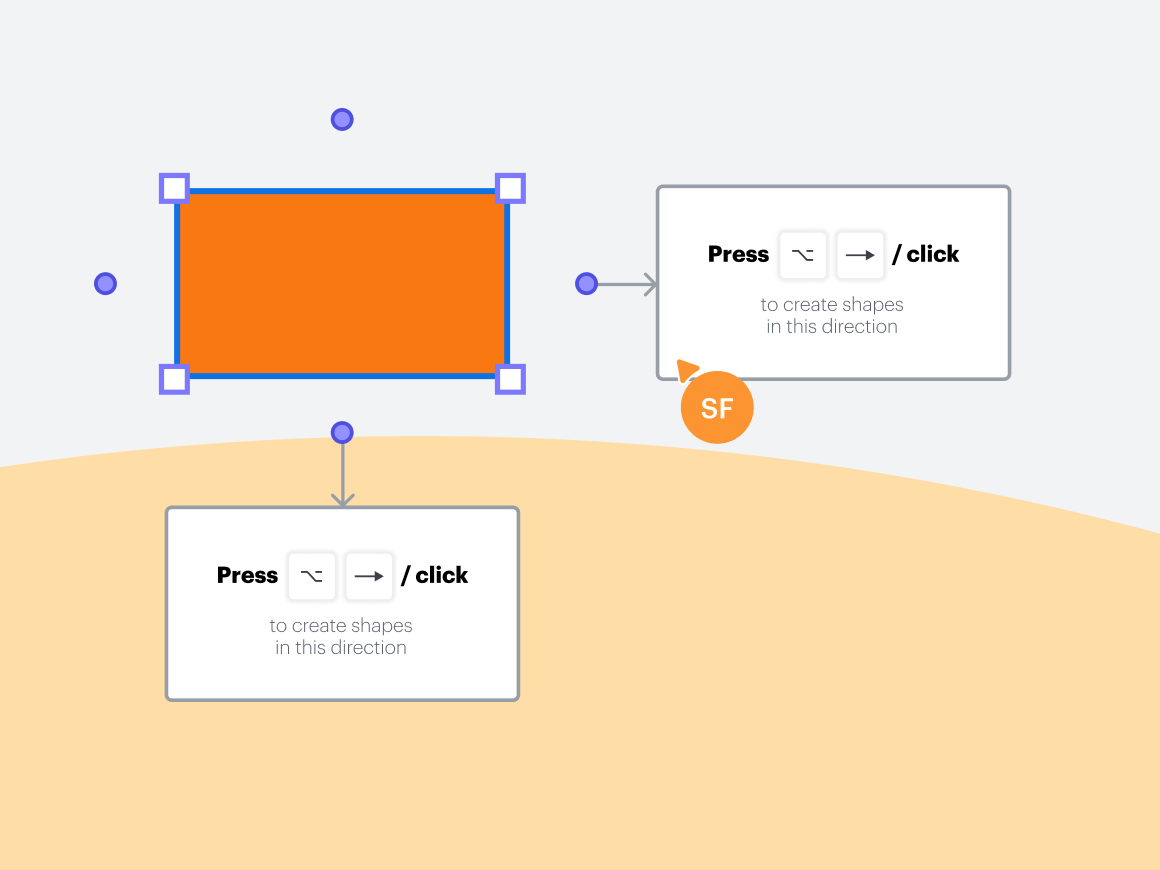
Do you find that you are using the same shape over and over again in a diagram and the copy/paste keyboard shortcut is becoming tedious? Then you are in luck, because we have an even more efficient duplication method where you can create a copy and position it on your canvas in the same click.
To create a copy of any shape, hold down Alt/Option on your keyboard, then click and drag from the shape. A copy will emerge that you can place anywhere on the canvas.
3. Navigate quickly around your diagram
If you are constantly zooming in and out of your canvas and moving from one part of your diagram to another, you might be interested in these tips for easy navigation:
-
If you are using a trackpad, you can use two fingers to scroll your canvas up and down or side to side.
-
Additionally, while using a trackpad, you can pinch/spread your fingers to zoom in and out of the canvas.
-
If you are using a mouse, you can scroll in any direction by right-clicking and dragging the canvas.
4. Mass format the shapes in your diagram
Add style, such as color, font changes, and line formatting, to the objects in your diagram en masse! Use Command + A or pick All from the “Select” menu to select all objects on your page. You can even select Inverse to select everything that is currently un-selected on your canvas.
To make a change to all shapes that have a feature in common with the shape that is currently selected (e.g., change the border color of all rectangular “Process” shapes in your flowchart), choose Shapes with Same, and then select a property from the offered list.
Alternatively, select the Themes button on the left side of the document (it looks like a droplet of water on a piece of paper) to access several visual colorways to choose from, which can be edited and personalized to your needs.
Once you have selected the objects you want to modify, you can apply mass changes using the options in the context menu, just as you would with an individual shape.
5. Re-order the Shape menu based on what you use most
If you are using many shape libraries for the same diagram, you can rearrange them in your Shape menu to easily access what you use the most. Move a library above or below another one by clicking and dragging by its name.
If there is a shape library in your menu that you no longer need, you can close it by clicking on the trash button icon next to the category’s name. If you want to store it for future access, you can minimize it so that its name displays, but its contents do not take up space in the panel by clicking ^.
6. Align and distribute items on the canvas
Got lots of info cluttering your document? After an intense work session, get organized by managing the layout of your canvas. Select the items you want to organize by either clicking and dragging a box around them or holding down Shift and clicking them.
Once the items are selected, right-click and hover over “Align.” From there, you can select how you’d like them to align directionally. You can also distribute them evenly across the board by hovering over “Distribute” and selecting either “Horizontally” or “Vertically.”
7. Change shapes with the click of a button
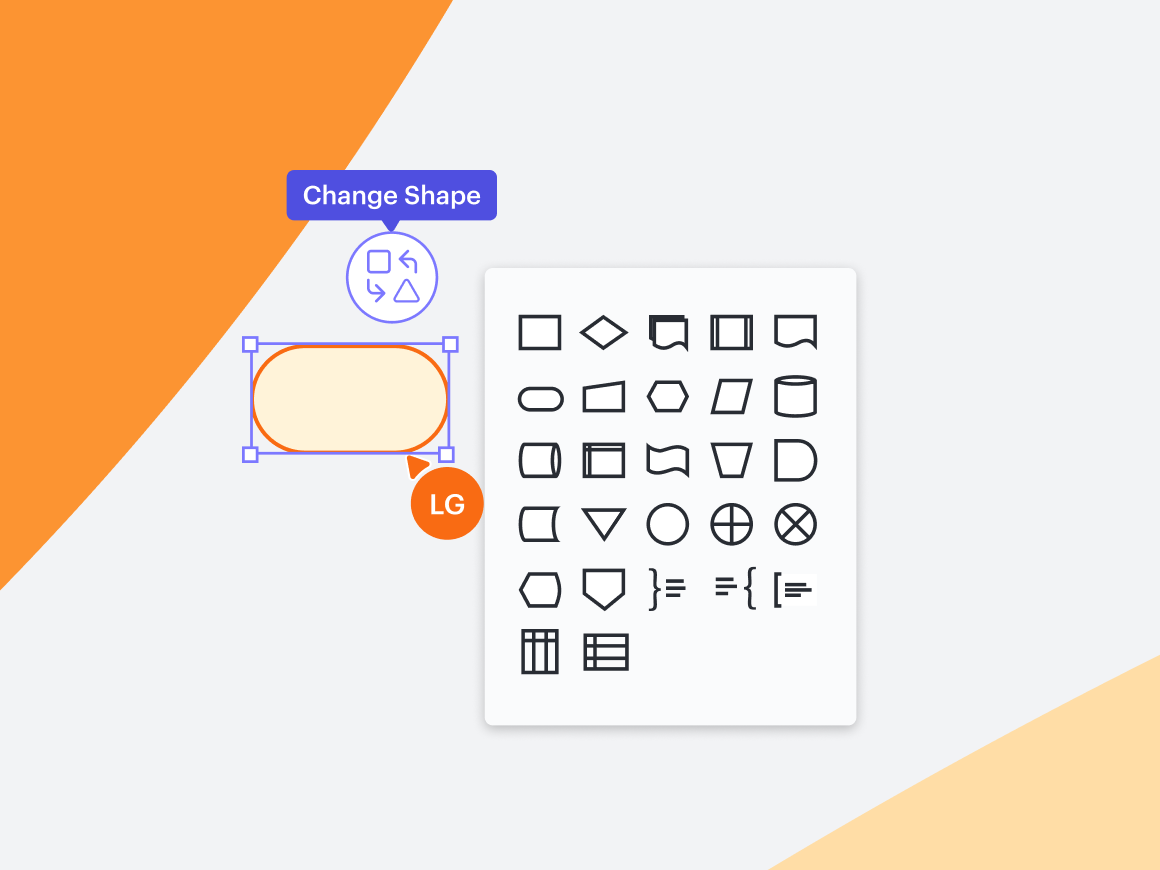
Want to swap up some shapes? Rather than deleting the shapes you want to change and dragging out new ones, simply click on a shape. The Change Shape button will pop up as an option. From there, select your desired shape, and it will automatically update without losing any associated formatting or text.

What are you waiting for?
Try out these tips for yourself