Creating a website without a wireframe is like building a house without a blueprint. Wireframes serve as a layout for how a website will function and how users will navigate the site. Think of it as a skeleton, where you decide which elements to include, their positions on the page, and how they'll interact with each other. Skipping the wireframe process could result in a site with a poor user experience.
Occasionally, designers might start by sketching a wireframe on paper to make sure they include essential elements. Then they'll use an online tool to create a shareable wireframe. If you're not a trained designer, that's okay—wireframes are often created simply to communicate ideas clearly to developers and UX teams, and applications like Lucidchart are designed to make that process approachable.
Wireframes vs. mockups
Knowing the difference between wireframes vs. mockups will help you choose the best one for your project. Mockups are visual models of what you plan to build. They look very similar to the final product but don't possess the same functionality. Wireframes, on the other hand, focus more on simulating functionality and less on demonstrating form. Both diagram types are useful when thinking through UI/UX properties. You'll get the most from your wireframes and mockups by using them in coordination.
7 tips for creating wireframes
There are a few things you should do before you start creating a wireframe. These small tasks include identifying site needs, rating the importance of each page element, and considering how visitors will interact with the page. Here are some tips that can help make the design process easier and more productive:
1. Talk to stakeholders
No matter what type of website you’re creating for your client, it's imperative to understand their requirements. Set up a meeting with the major stakeholders to determine the site's overall goal and what they want visitors to do when they arrive. It's also a good time to ask about highlighted features and if they have specific items that need to be above the fold (anything that appears on a site before scrolling to see more).
2. Make buttons obvious
People are accustomed to clicking buttons on a website to perform certain tasks, such as submitting orders or confirming payments. Now is not the time to re-invent the wheel. Whether buttons are rectangular or have rounded edges, use the same shape throughout the site.
3. Think about navigation
Depending on the type of site you're building, you could end up with just a few pages or hundreds. The key is to create a hierarchy that makes sense. For example, if you have a company website, place company-related items in one drop-down menu and product-centric elements in another. Additionally, consider how someone will navigate the site and how they can return to the homepage if they've gone too deep.
4. Set grids and use boxes
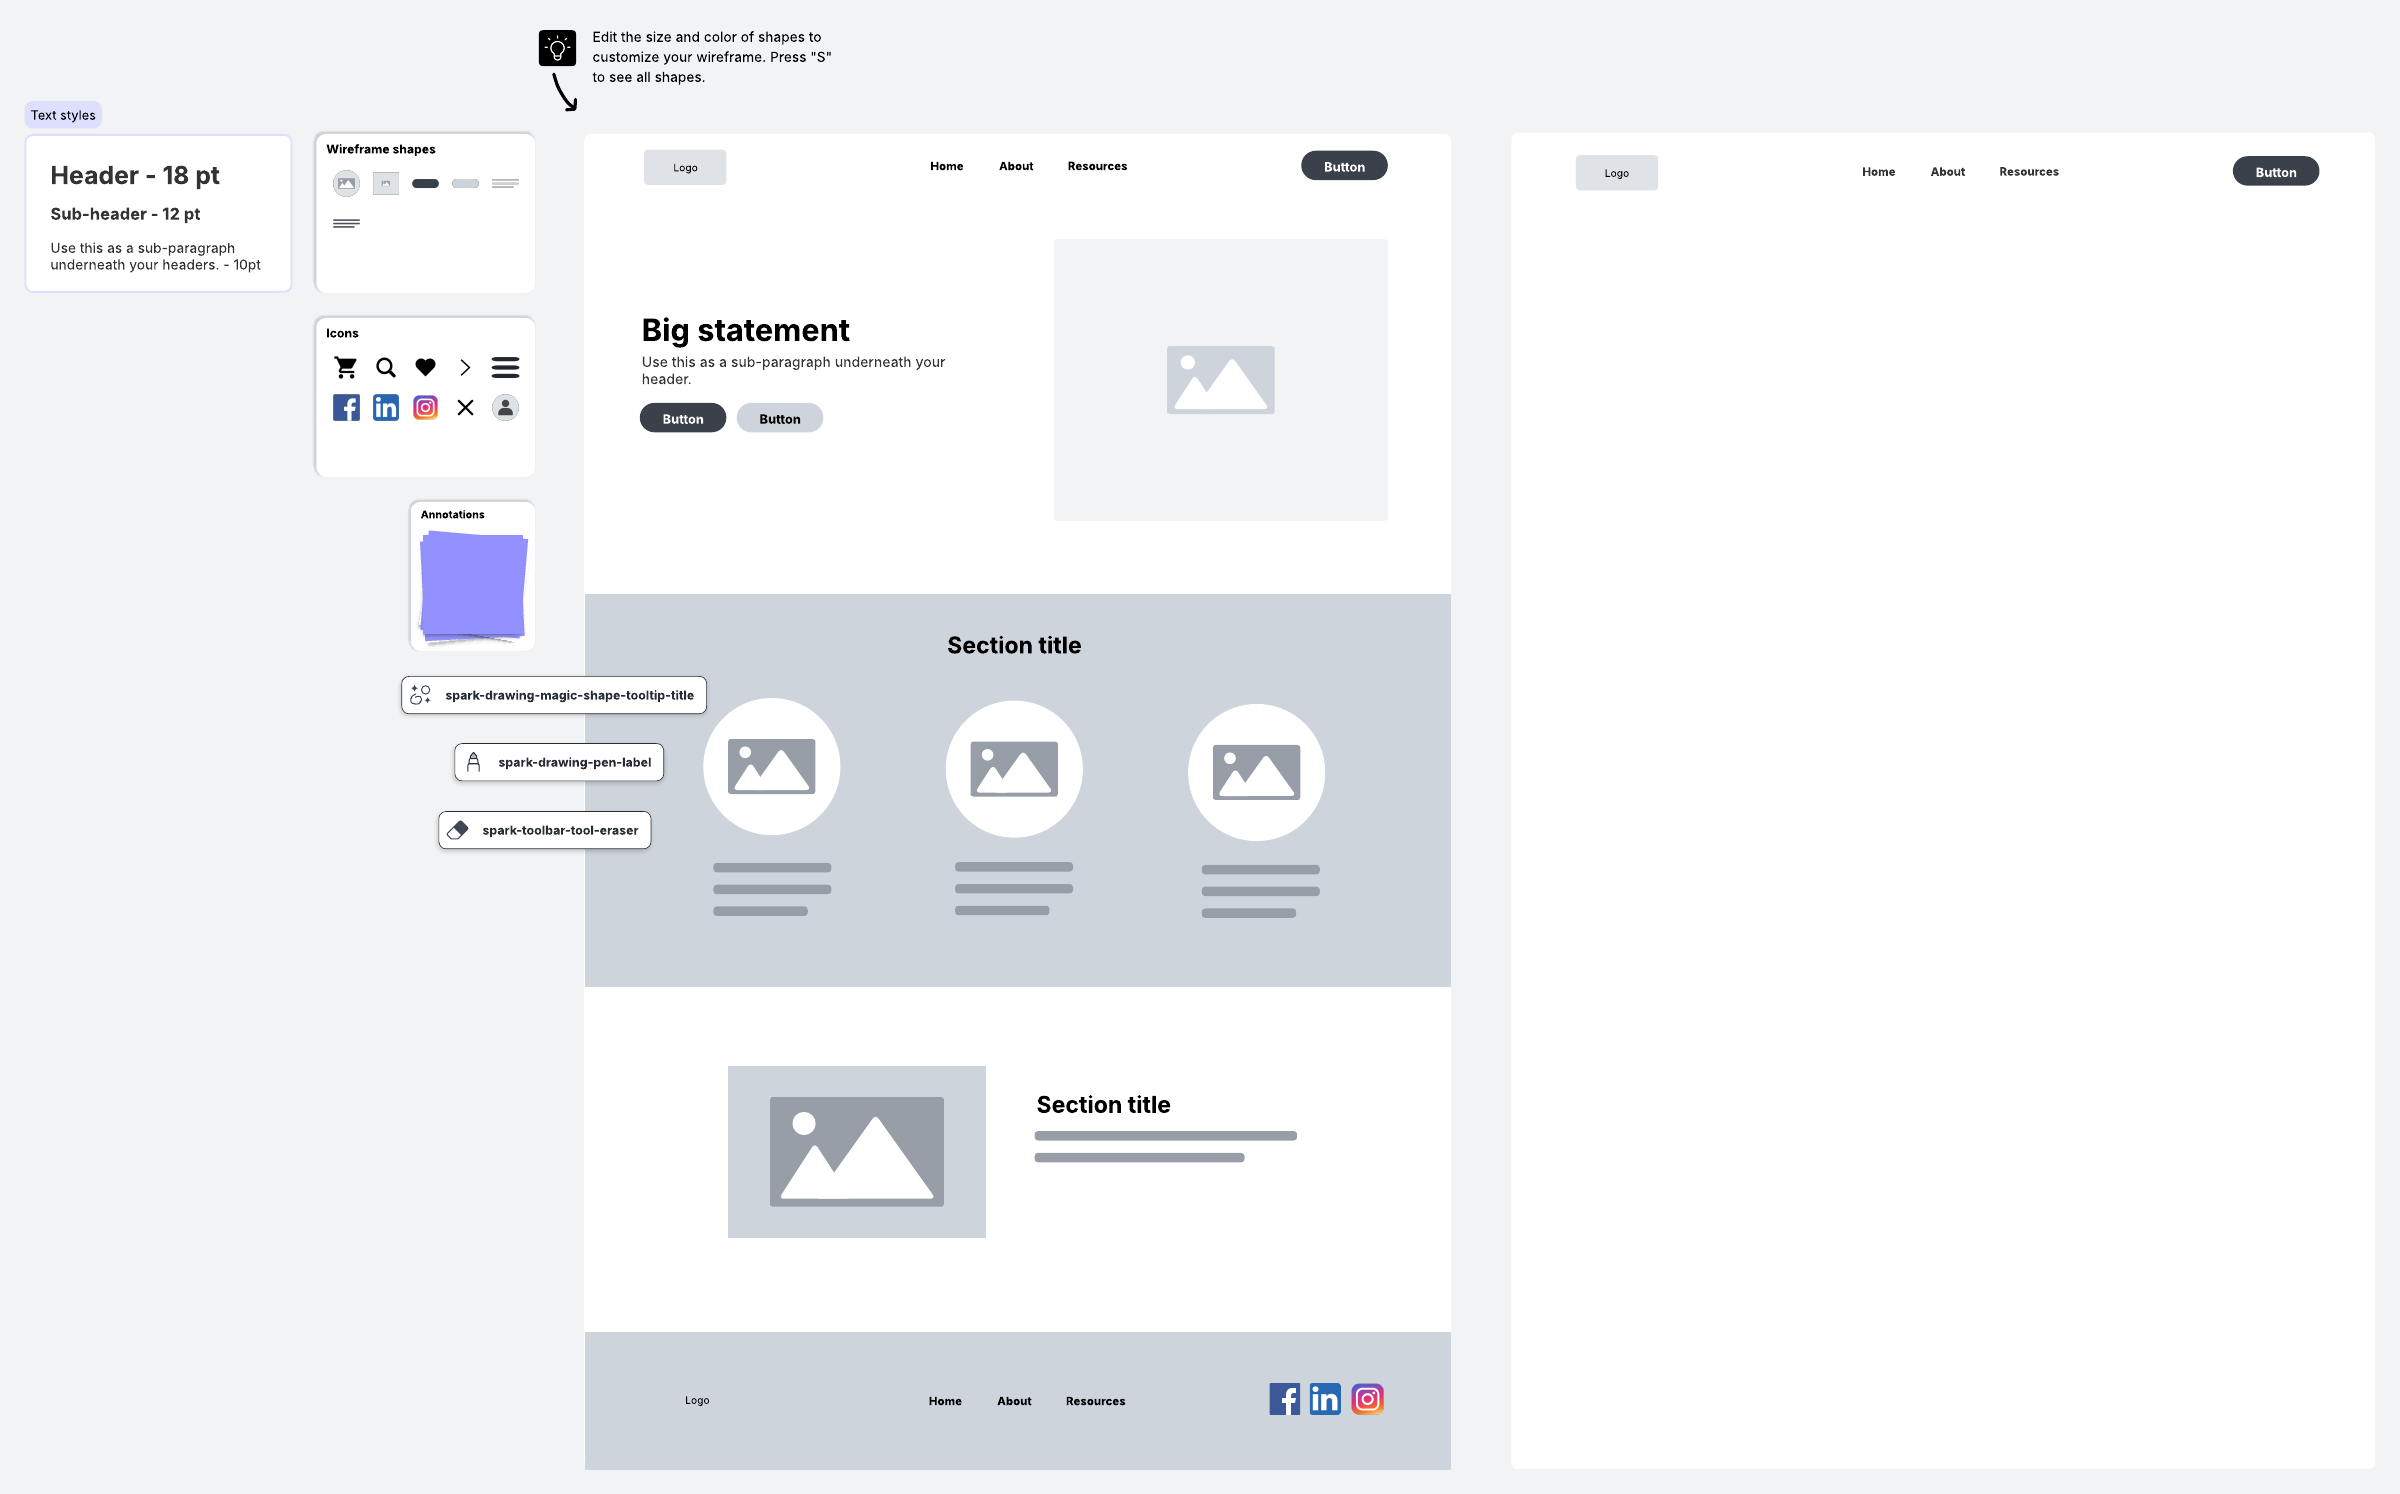
To help with the proportion of items on the page, use an online tool that offers grids. Using grids provides a guide to determine the proper spacing between items and gives you an idea of how things will look on the page. Use boxes to represent page elements, whether it's copy, images, or ads. Remember, a wireframe is a skeleton; it doesn't have to be stunning. If you're documenting how users move through the experience, you can also use simple arrows and flowchart-style shapes to show how one UI element leads to another. Use rectangles to divide a website into sections, or use arrows to illustrate the flow from one UI element to another.
5. Add actual text
Designers often use "lorem ipsum" to fill content on a page. When creating a wireframe, use actual copy. You'll be able to easily see how existing content looks on the page and whether you need to adjust the allotted space or trim the text. Try different fonts to see how they affect the copy.
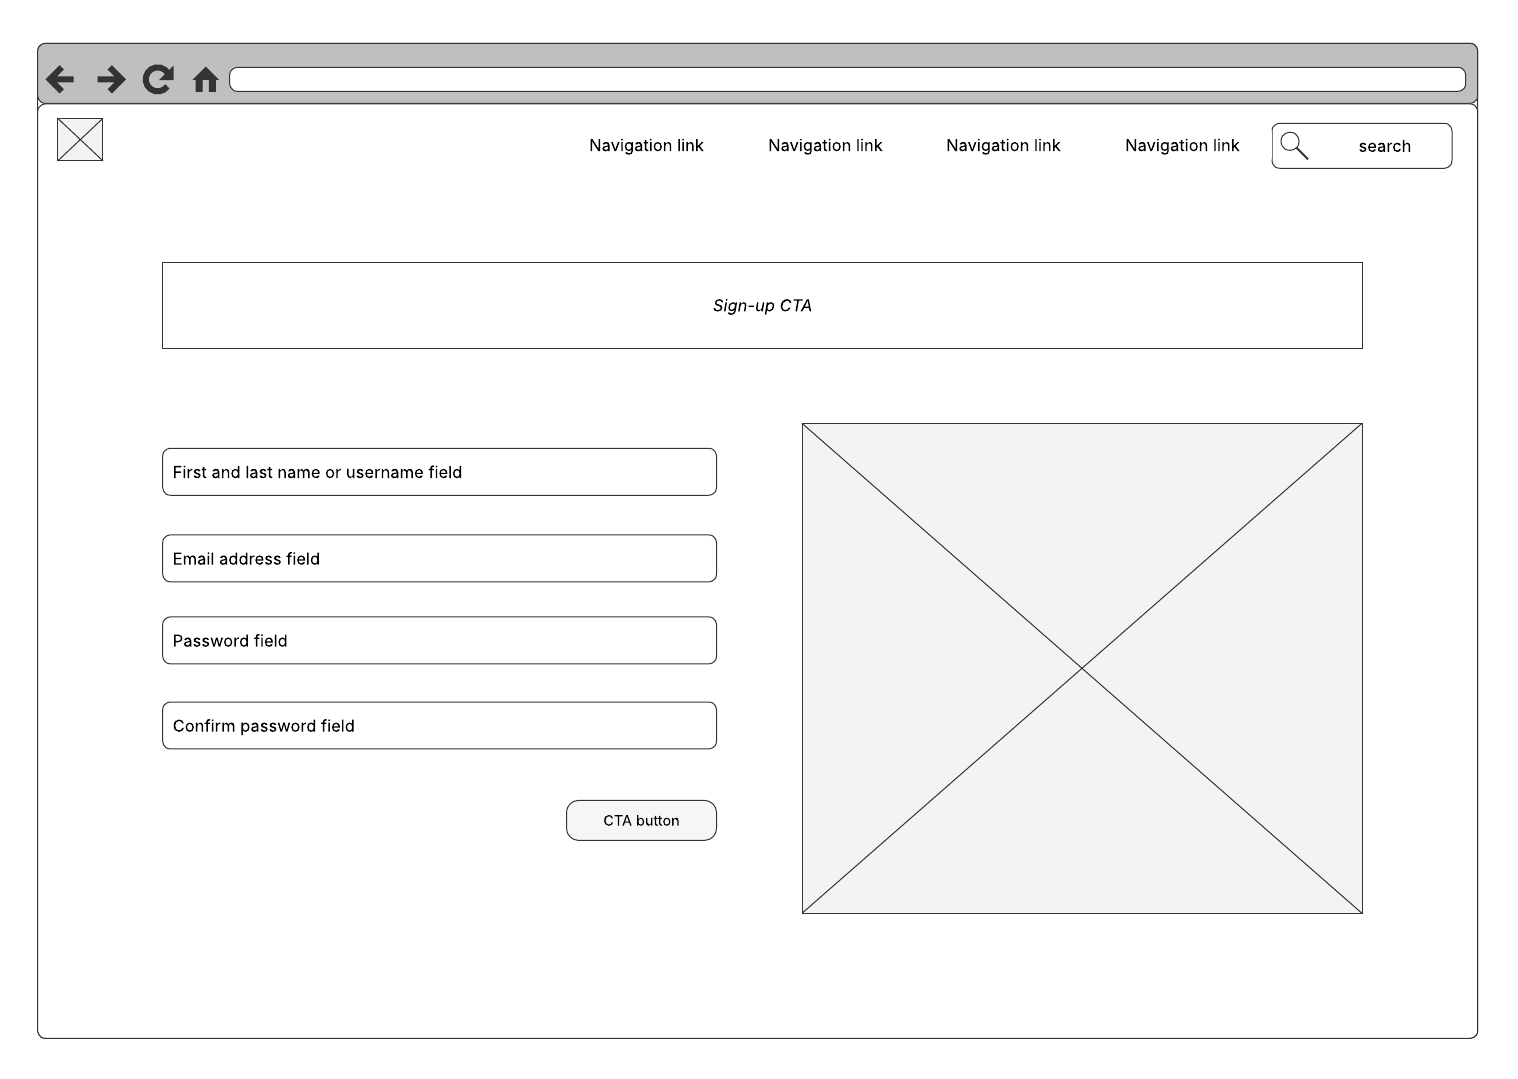
6. Include important elements
Make a list of the main components that need to be on the page. These can vary depending on the type of site you're creating. For example, if you're building a wireframe for a page that collects payments, include all the boxes a user will need to complete before submitting. Consider site navigation and where you're going to place user login areas, content, search boxes, and the company logo.
7. Share the wireframe with others
When you complete the wireframe, it's time to get feedback from other people. Consider using an online application, like Lucidchart, that lets you share the wireframe with others and offers editing and collaboration capabilities. Multiple people can view the wireframe and participate in online chat simultaneously, which can help keep track of revisions and be a real time saver. Beyond basic sharing, consider how you'll present the wireframe and collect feedback: Comments, links, and even interactive behaviors can make reviews faster and clearer.
Once you finalize the wireframe, you can translate it into a visual representation. Remember, whatever elements you choose to represent things on one page should also be used on other web pages. Consistency is essential for a good user experience.
How to make a wireframe online with Lucidchart
Now that you know what it takes to create a useful wireframe, let's see how to create one using Lucidchart. Simply log in to your Lucidchart account (if you don't have one, sign up to try Lucidchart for free) and follow the steps below.
Using a wireframe template
Whether you're new to wireframing or just looking to save time, starting from a template is a great option. With simple shapes already blocked in, templates get the basics out of the way—all you have to do is add content. Lucidchart offers a number of wireframe templates, covering everything from website homepages to mobile apps.
To open Lucidchart's template library in the application itself, go to your document library and click +New. Then select Create from template. From the template gallery, type in “wireframe” in the search bar and press Enter. Click on a template to read about it, and when you've found one that fits your needs, click Use template.
Creating a wireframe from scratch
You can choose to open a blank document and build out your wireframe from scratch. Just follow these steps to take this approach:
1. Select your shape libraries
Before actually creating your wireframe, you'll need to prep your workspace by pinning the shape libraries that you will need to your toolbar. With a blank document open in the Lucidchart editor, press "M" to open the shape libraries. Select the ones that you would like to use and click Save.
Depending on your project, you may want to take advantage of several different libraries. Here are a few to consider:
-
Flowchart shapes: These standard geometric flowchart shapes are already pinned to your toolbar, and you may find it useful to keep them on hand. Use rectangles to divide a website into sections, or use arrows to illustrate the flow from one UI element to another.
-
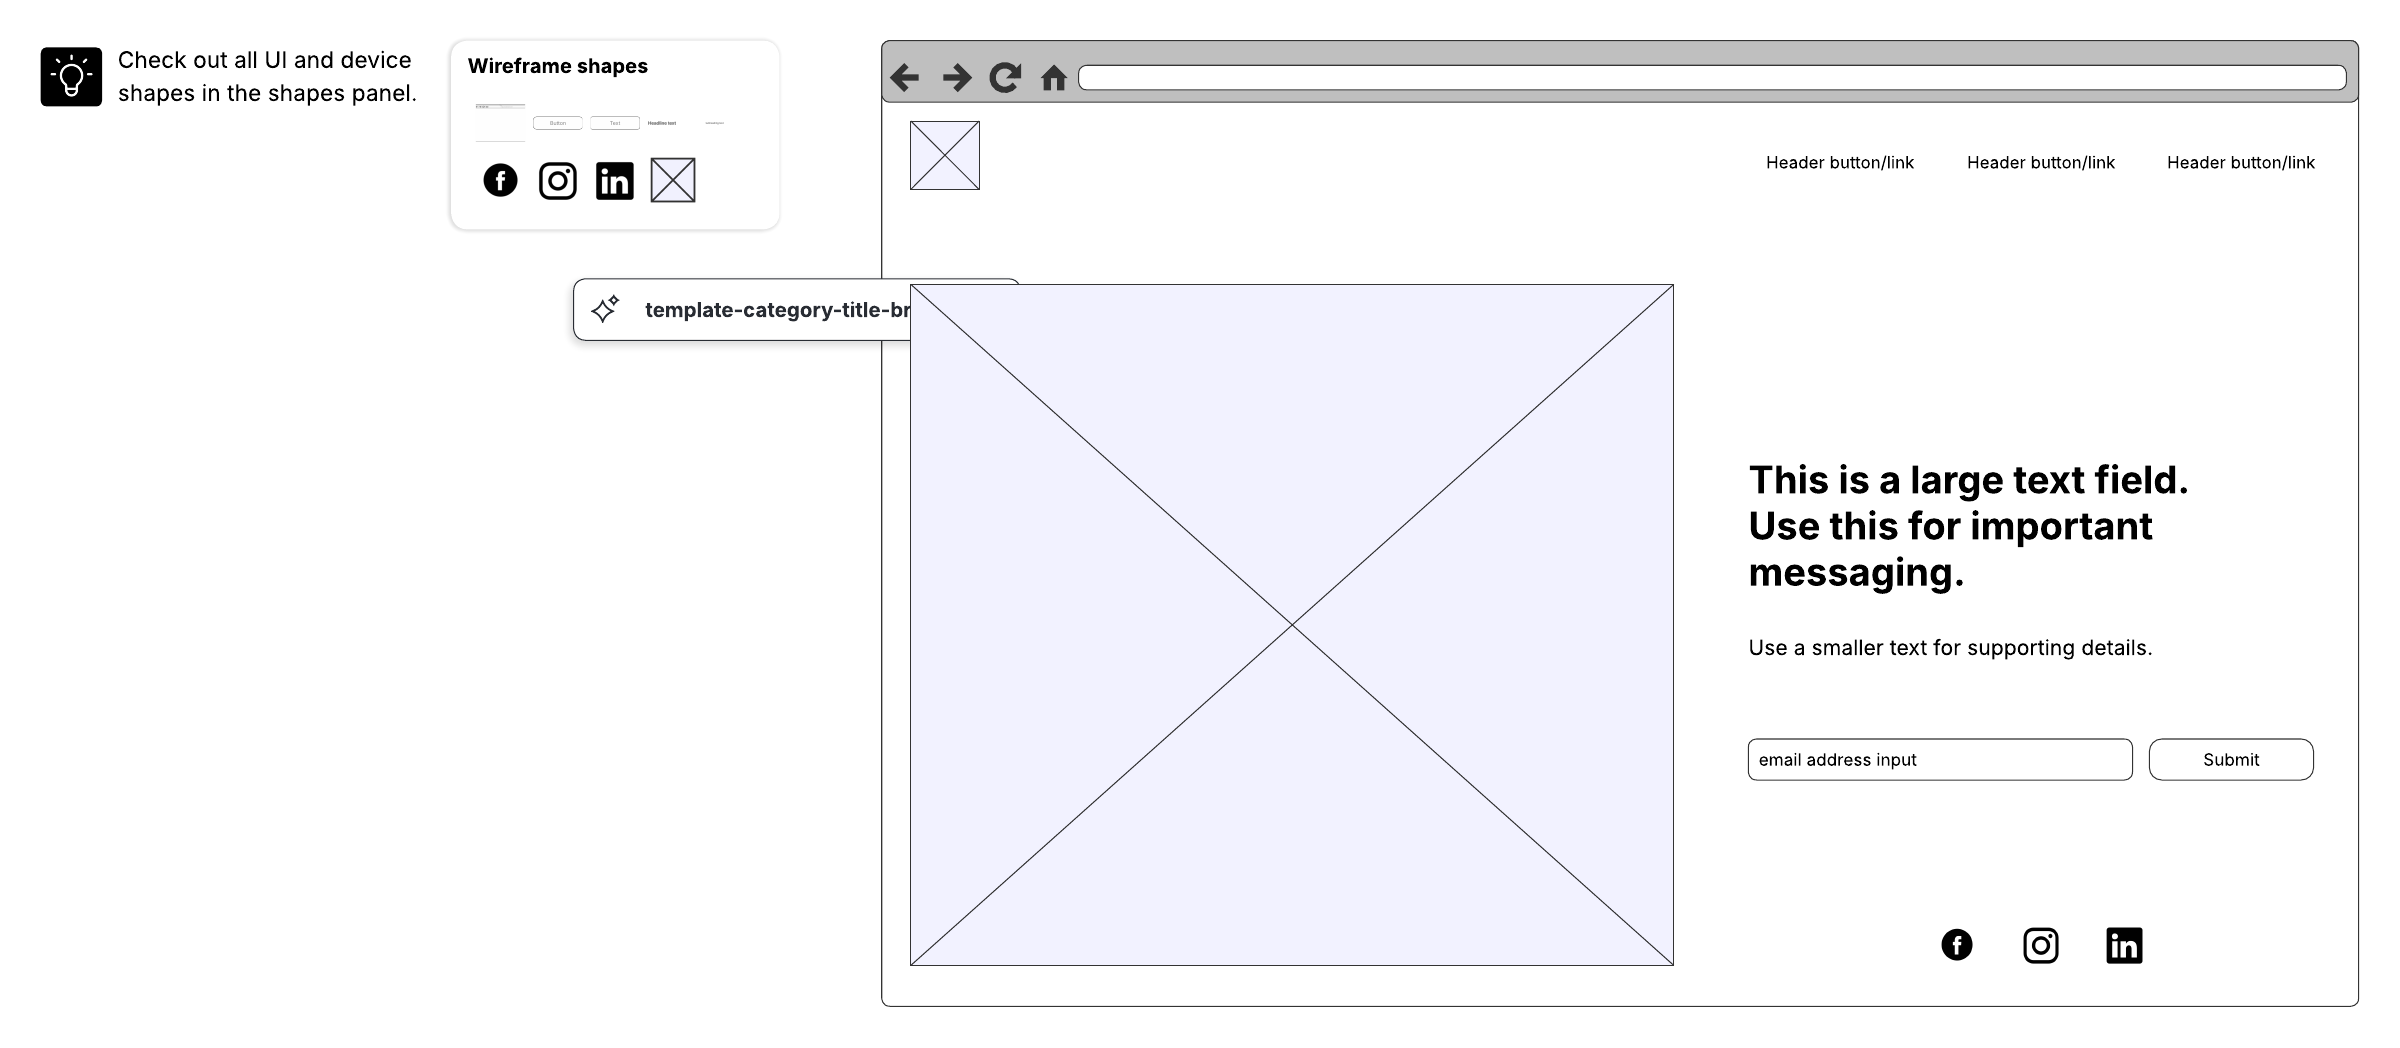
UI mockups: This shape library provides the standard array of UI containers and widgets. You will find blank website shapes as well as video, map, graph, picture, and calendar placeholders.
-
Android mockups: If you are building an app or a page for an Android device, this is where you will find Android phones and tablets, as well as dialogs and icons specific to the operating system.
-
iOS mockups: If you work with iPhones and iPads, you will find them in the iOS shape library along with UI components specific to iOS.
-
Images: Don't forget the image gallery. Whether you need a classy backdrop or a specific logo, you can search for and add it directly from Lucidchart.
2. Add shapes to your wireframe diagram
Begin your wireframe with the most basic shape—the container that will hold all the other elements. Depending on the nature of your design, this will probably be a mobile device silhouette or a browser window. The former can be found under the "iOS Devices" and "Android Devices" shape libraries. For browser windows, go to the "UI Containers" library.
As you add additional elements, work from general to specific, placing large design elements before moving on to small details. Use containers to create sections within your diagram—these might represent toolbars, side menus, etc.
Once you've placed the larger elements, begin adding individual buttons and blocks of text. Edit specific design details, such as fonts, colors, photos, and logos, last.
3. Use links, layers, and hotspots to add functionality
After you have finished laying out your wireframe, simulate website functionality using links, layers, and actions. These three functions allow you to create buttons that actually work, build pop-ups, link to external content, and navigate from one page of a wireframe to another.
If you want to make your wireframe feel more like a real click-through prototype, these interactive elements can be especially helpful during stakeholder reviews.
4. Map out user journey flows with mockups
User journey flows show the progression of a user interacting with an application. They can be focused on the front-end interface the user experiences or the back-end infrastructure built by the developer. Rather than sketching out a user flow using just flowchart shapes, try including mockups so that your team members will have an idea of how the application will look.
5. Publish, share, or present
Once you’ve created your wireframe, it’s time to publish, present, or share it with your team and stakeholders.
-
Publish: Make your content visible to anyone on the web by publishing your Lucid document as a URL, PDF, or image.
-
Present: Use Presentation Mode to create polished presentations or simulate a live website—hotspots and links will look and act like actual buttons and pop-ups.
-
Share: Share a link to your document with collaborators—you can ask them for feedback about your design and leave questions for them as comments.
Now it’s time to build, share, and test your ideas. With customizable templates and robust collaboration features, Lucid keeps your team aligned and your projects moving forward in one unified workspace.