Lucidchart makes it easy to collaborate and share your ideas with others. With dozens of capabilities that allow you to harness your team's collaborative synergy, you can all do your best work confidently, no matter where you work from.
In this article, we’re exploring our favorite ways to share documents and maximize your Lucidchart collaboration. Let’s get started!
Sharing in Lucidchart
Before you can get to work collaborating, you’ll have to ensure team members and stakeholders have access to your Lucidchart document. There are four primary ways to share your board.

Looking for help sharing Lucidspark boards? Check out this article.
Go nowShare with a link
You can create a direct link to your Lucidchart document either from the Lucid Home Page, by hovering over the thumbnail of the document or folder and selecting the link icon, or from the editor by selecting Share in the top-right corner and toggling on “Shareable link,” then clicking Copy link. Don’t forget to update permissions!
Note: If you don’t see the option to create a shareable link, it could be because your Lucid admin has restricted this ability. Reach out to them for more information.
Send directly to a recipient
If you have specific people (or a team) you want to share your work with, you can send it to them directly using their name or email. Working from the Lucid Home Page, click the Sharing options icon at the bottom of the doc’s thumbnail. The icon looks like two people. Then, enter the name, email address, or group you want to share the document with in the box that appears and click Invite.
You can also access this option while in the document—simply choose Share in the top-right corner of the editor and you’ll have the opportunity to add in the recipients of your choosing via name or email address. Finish it up by clicking Invite. And don’t forget to include a message for added context!
Share via integration
If your team primarily uses Slack to communicate, we’ve got good news for you! Did you know that from the Share menu, you can also send a document directly to Slack? Simply follow the above instructions, but add in the name of your channel in the recipient box. And don’t forget, Lucid also offers integrations with Microsoft Teams, Asana, and more!
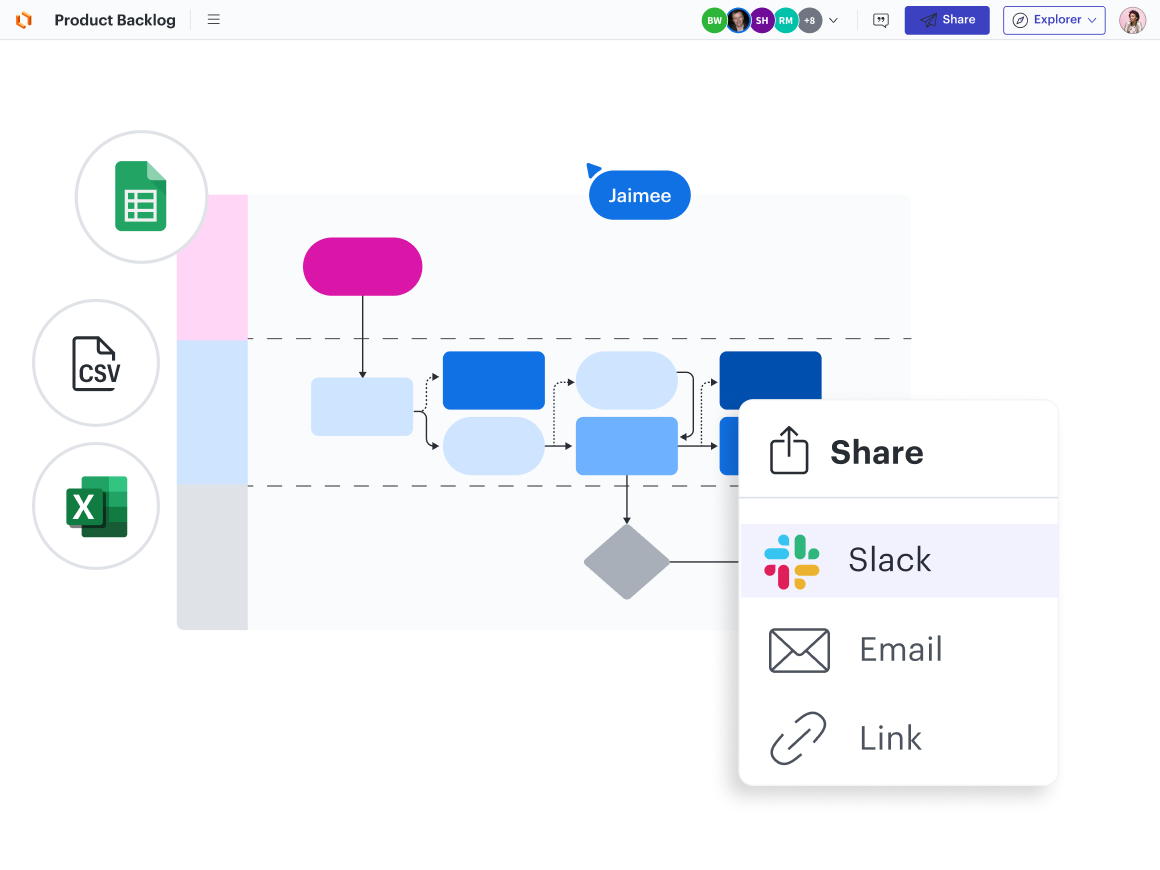

Access a full list of Lucid’s integrations to visualize the sharing possibilities for your team.
Go to marketplaceCreate a Join ID
If you need to share your work with a lot of people, creating a Join ID is a great way to do it. While in the Share window within a Lucidchart document, click the three vertical dots at the top and choose Enable Join ID. A passcode will be automatically generated. Give this code to collaborators by sharing your screen with them, or selecting Copy invitation.
Publish your board
There are a variety of formatting options for publishing your board online, from PDF to PNG. If you want the viewer to always have access to the most updated version of your board, we recommend selecting URL—but keep in mind that this also allows viewers to export, copy, and embed the document into their own personal Lucid account.
Regardless, choose a password if you’d like, then hit Generate link. If you’re wondering how to share Lucidchart with a non-user, this is the best way! Choose full access or a specific area of the doc you’d like to share. Then after you’ve generated the custom URL, anyone will be able to access it on the web by following the link.
Collaborating in Lucidchart
Sharing is just the beginning! Once stakeholders all have access to your workspace, the fun really begins. Lucidchart makes it easy to collaborate in real time and gather feedback from others without leaving the platform. Here are some of our favorite ways to optimize your collaboration in Lucidchart.
Commenting
Written comments on your documents can provide feedback both synchronously and asynchronously. Collaborators can leave comments and receive replies when it’s most convenient for the responders. To do so, right-click on a shape or object in your document and select “Add comment.”
Utilizing a template
Let us do the heavy lifting for you by getting started with one of Lucidchart’s thousands of templates. From templates that will help you build org structures to templates that will help you map out a complex process, there is truly something for every team.

Explore Lucidchart templates for every use case.
Learn moreFollowing another team member
If you're working synchronously, you can invite your teammates to follow your cursor automatically to draw focus to a certain area of the document. Click your icon in the upper-right corner and select Invite others to me.
Reviewing revision history
With revision history, you can collaborate more boldly without fear of losing work. This feature allows you to review change history and also restore previous versions. Hit File, then Show revision history. You’ll then see the history of the document with associated time stamps.
Initiating a Visual Activity
Visual Activities are a dynamic way to turn data into powerful insights, uncovering information and aligning on the way. Whether you want to unlock opinions on your team, prioritize next steps, gain feedback, or increase engagement, there is a visual activity for you.
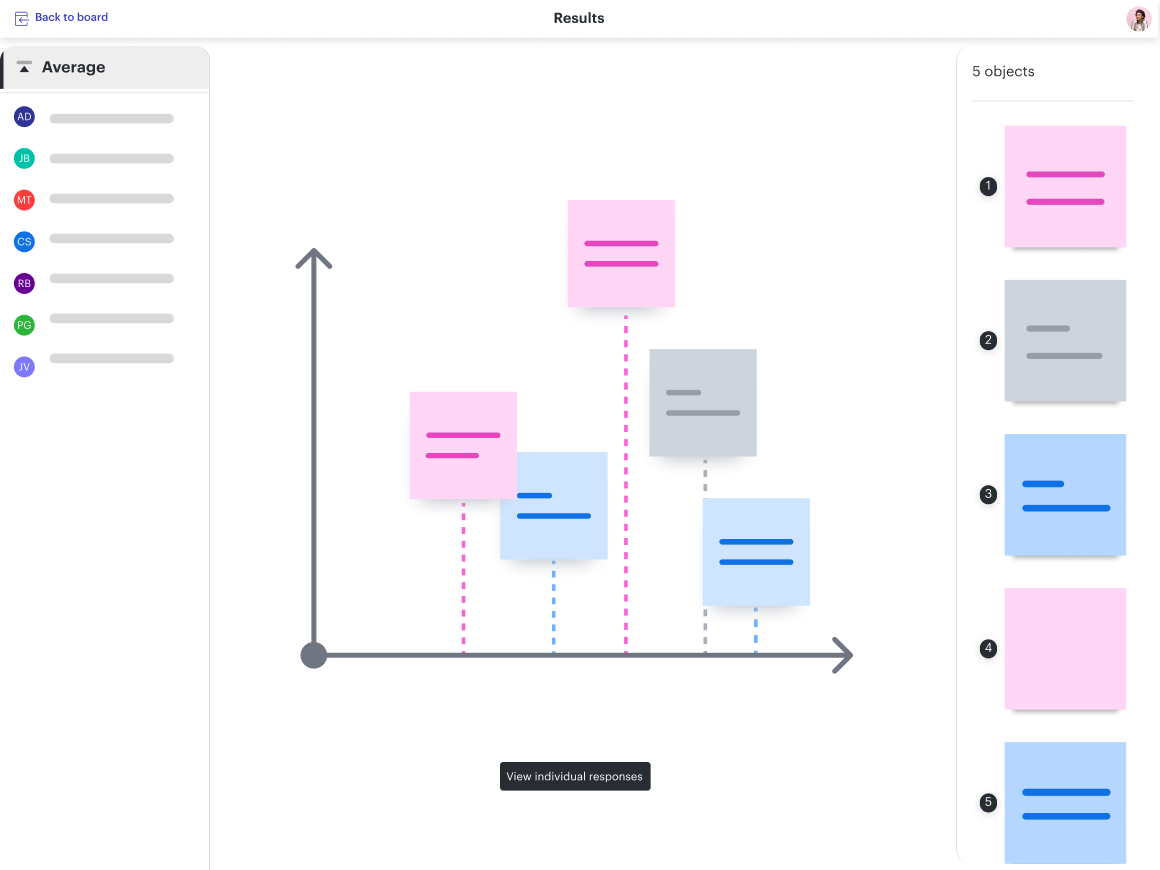
To access Visual Activities, once inside the editor, select the button on the left menu that looks like a rocket. Options are organized by category, or you can search for one directly.
Trying out Collaborative AI
Harness the power of AI to maximize the effectiveness of your session in Lucidchart. AI in Lucid can summarize the content of selected objects on your board and provide tips on how to enhance prompts for stronger content.
Navigate to the Quick tools button on the left menu (it looks like a cursor over a square) and scroll down to the AI actions section. Choose which tool you want to utilize and it will get added to the board. Then, simply create a box around targeted content by clicking and dragging, and clicking on the AI tool button.
Adding videos
Using integrations with Zight and Loom, you can make and embed video recordings to provide context for collaborators. This is a great way to ensure you’re all on the same page while working asynchronously.
Assigning tasks
To assign a comment or follow-up item with a collaborator in your Lucidchart document, follow the instructions above to add a comment, then check the box next to “Assign Task.” Select the collaborator icon to add assignees, and then click Assign.

Want to dive deeper into the world of Lucidchart collaboration? Take our free online course to become an expert!
Learn more