
Key takeaways
- Creating clear process flow diagrams with Lucid helps teams boost agility, strengthen collaboration, and build alignment.
- Leverage Lucid AI, including options like Process Capture and the Process Agent, to map workflows quickly.
- Styling custom shape libraries, adding diagram keys, and using preset themes set visual standards that make diagrams easier to understand.
- Establishing a single source of truth with Lucid’s Process Accelerator centralizes documentation to help teams solve problems and make decisions faster.
- Using features like layers, subprocesses, status assignments, and Presentation Mode keeps process diagrams interactive and easy for team members to navigate.
When teams lack visibility into their everyday workflows, confusion follows, bringing productivity to a halt.
What is a process flow?
A process flow is a sequence of steps that map out an entire workflow from start to finish. Because most business operations rely on processes to get work done, visual process flow diagrams bring clarity to how tasks move and who is accountable at every stage. Clearly documenting these workflows is essential for driving organizational productivity and efficiency.
In this blog post, we’ll share 10tips and shortcuts for creating process flow diagrams in Lucid.
Tip #1: Leverage Lucid AI
Manually mapping out complex workflows is tedious. With Lucid AI, that heavy lifting becomes a quick conversation, generating structured flowcharts in seconds so your team can focus on execution rather than on dragging shapes around a canvas. Using AI to create process flow diagrams brings immediate visibility to your team and stakeholders.
With Lucid AI, you have flexible options for creating your diagram:
- Use Process Capture, opens in a new tab: Record your screen and describe your workflow. You’ll have the option to scrub out any sensitive information.
- Leverage the Process Agent, opens in a new tab: Chat with the AI to describe the process you want to visualize.
- Upload documentation: Upload a file to provide context for your process diagram.
Tip #2: Establish a single source of truth
Establishing a single source of truth, opens in a new tab is vital for keeping team members aligned and projects moving forward. Having a central location for key documentation empowers your organization to solve problems, make decisions faster, and eliminate confusion.
With Lucid’s Process Accelerator, opens in a new tab (available to enterprise accounts), you can establish that single source of truth across your entire organization. It tracks complex workflows, centralizes key assets, and ensures everyone stays on the same page.
By bringing documentation together in a shared hub, you transform static process flow visualizations into optimized and collaborative diagrams. People have the ability to view, edit, create, and share processes depending on their credentials.
Tip #4: Add a diagram key
Increase clarity and alignment to your process flow diagram by adding a diagram key to your document that explains the meanings of the different shapes, lines, and colors. This will make it easy for people to jump into your document and understand your visuals.
Here's how:
- Locate the Standard shape library in the Shape menu to the right of your document.
- Drag the diagram key shape onto the canvas.
- From there, you can customize your diagram key by giving it a name and updating each item with a name and color.

Tip #5: Make your diagram accessible to streamline collaboration
Lucid has several sharing options so that you can securely share documents from a centralized location with your team members. Simply click the Share button in the upper right-hand corner of the screen and enter the names or email addresses of the people you want to share the document with. Or, create a shareable link and send it to the people you want to view the document.
When the document is easily accessible, you and your co-workers can open it from anywhere to work in real time. Leave comments, questions, and instructions for specific team members on steps or shapes in your process. Just follow these few steps:
- Right-click on a shape and select “Add Comment.”
- In the dialog box, type @ followed by the team member’s name.
- Type your comment or question.
- Click Comment.
Tip #6: Assign a status to indicate the current process phase
Let all your team members know the current status of the document is so they will know what has been done, what needs to be reviewed, and what still needs to be done. Here's how:
- On your documents page, click the More options icon (the three vertical dots) on the document you want to work with.
- From the pop-up menu, select Assign status.
- Select a status to let team members know which phase the document is in. You can choose one of the following: Draft, Approved, Rejected, Complete, Pending Review, High Priority, In the works, In Progress, Locked Status, or Retired.
Tip #7: Create layers to compare current and future process states
Create layers within your diagrams to compare the current state, opens in a new tab and proposed future state. Adding the proposed change on top of the current state makes it easier to see and understand what kind of impact the change will have on the process.
To add layers to your document:
- Click the Layers icon in the bottom right-hand corner of the canvas.
- In the Layers panel, click + Layer. A tab representing the new layer is added to the panel.
- Name the layer. This layer will represent the process flow as it is currently drawn on the canvas.
- Click + Layer again to add a new layer. This layer will represent the proposed future state of the flow.
- With the future state layer selected, add the shapes and lines you want to the canvas.
- Add shapes to the blank canvas to create buttons.
- Click the lightening bolt icon above the canvas to select what will happen when the user clicks the button (hide or show the layers).
Tip #8: Break larger processes into subprocesses
Process flows can become huge and hard to navigate. Breaking them down into subprocesses makes them easier to digest. You can link to the subprocesses so that relevant information is available and can be quickly accessed without needing to scan the entire process diagram.
- Create a subprocess on a separate page.
- On the page with your main process flow, right-click the shape that you want to use to link to the subprocess.
- Select Add link.
- Choose Page.
Now when a user clicks on that link in the main page of your process diagram, the subprocess will open, making it easier to see the information they need.
Tip #9: Present process diagrams to your team
Explain current and proposed workflows easily by turning your diagram into a polished presentation directly in Lucid. You can even place slides around specific parts of your diagram to walk through the process step by step, giving your team a thorough overview before seeking feedback or asking them to execute it
To use the Presentation Builder, opens in a new tab:
- Click the Presentation Builder icon in the top-right of the canvas.
- Click + Add new slide to add a selection box to the canvas.
- Drag the corners to resize the box.
- Click and drag. the selection box to move the box to another area on the canvas.
- Repeat this process to create additional slides.
- When you’re ready to present, click Present slides.
If you use Google Slides, you can also click Send to Google Slides after completing this process to export your slides as a presentation that your team can share and view

Tip #10: Leverage templates
Create process flowcharts with one of Lucid’s many customizable templates. Here are a few process flow example templates to try.
Business process flow example
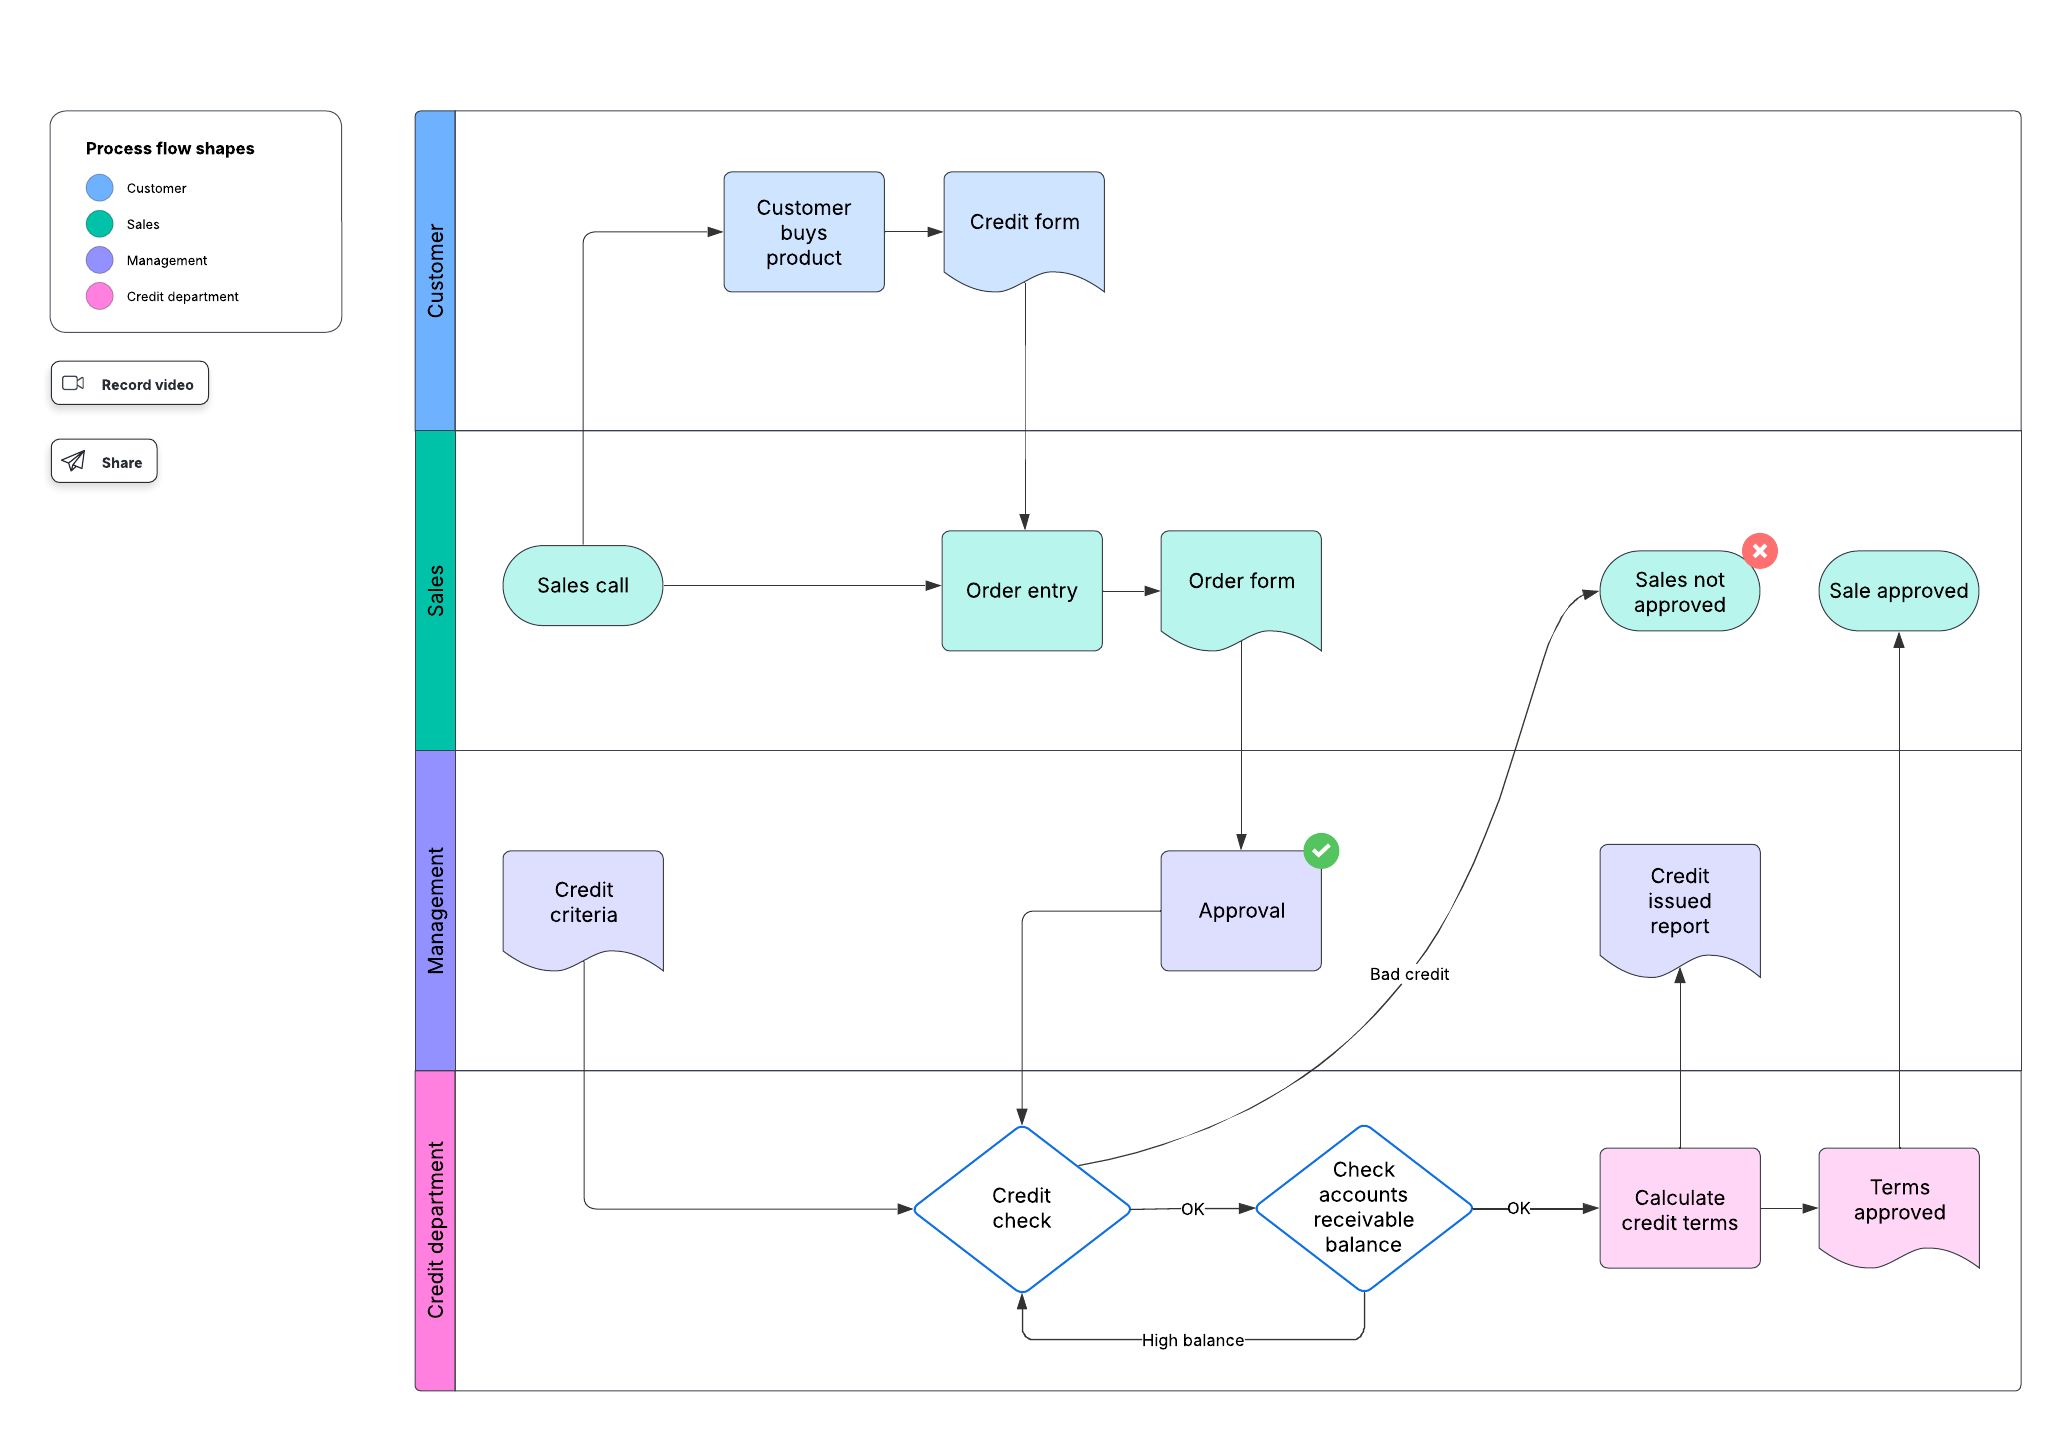
Functional process flow
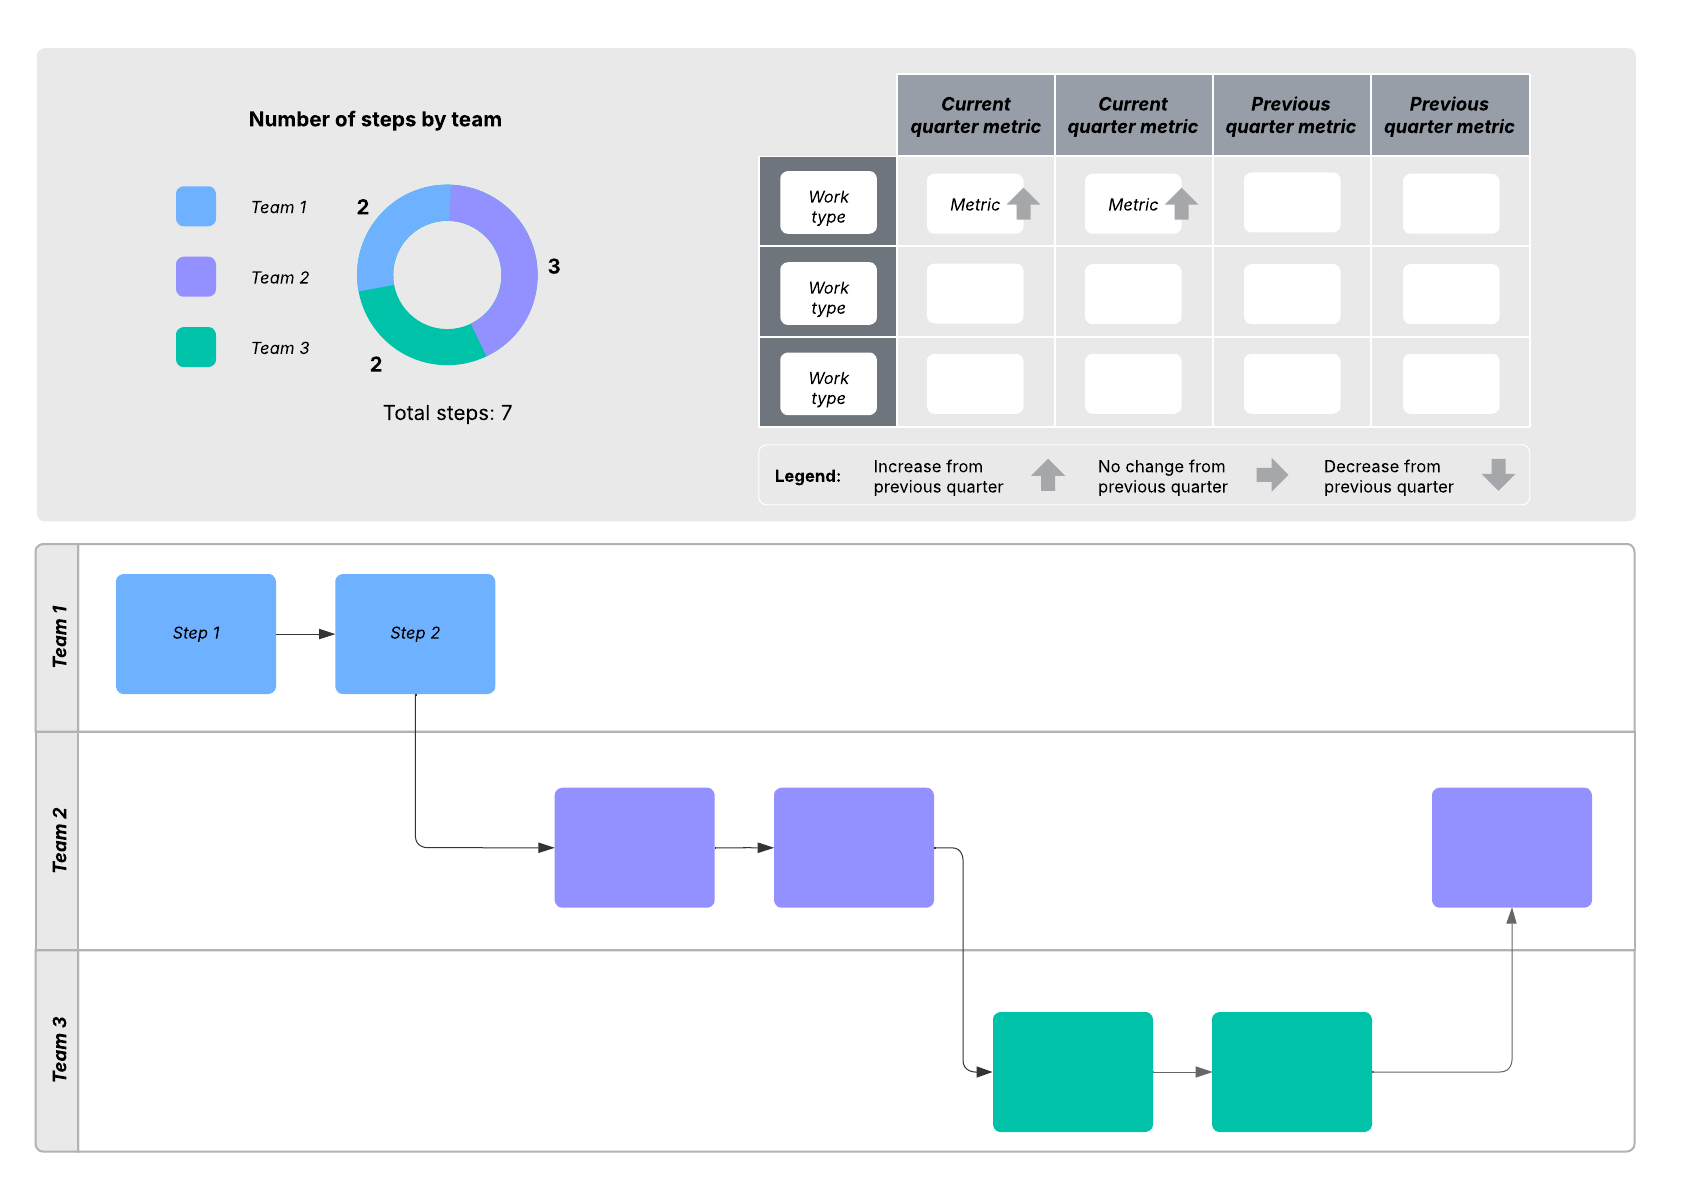
Swimlane process map
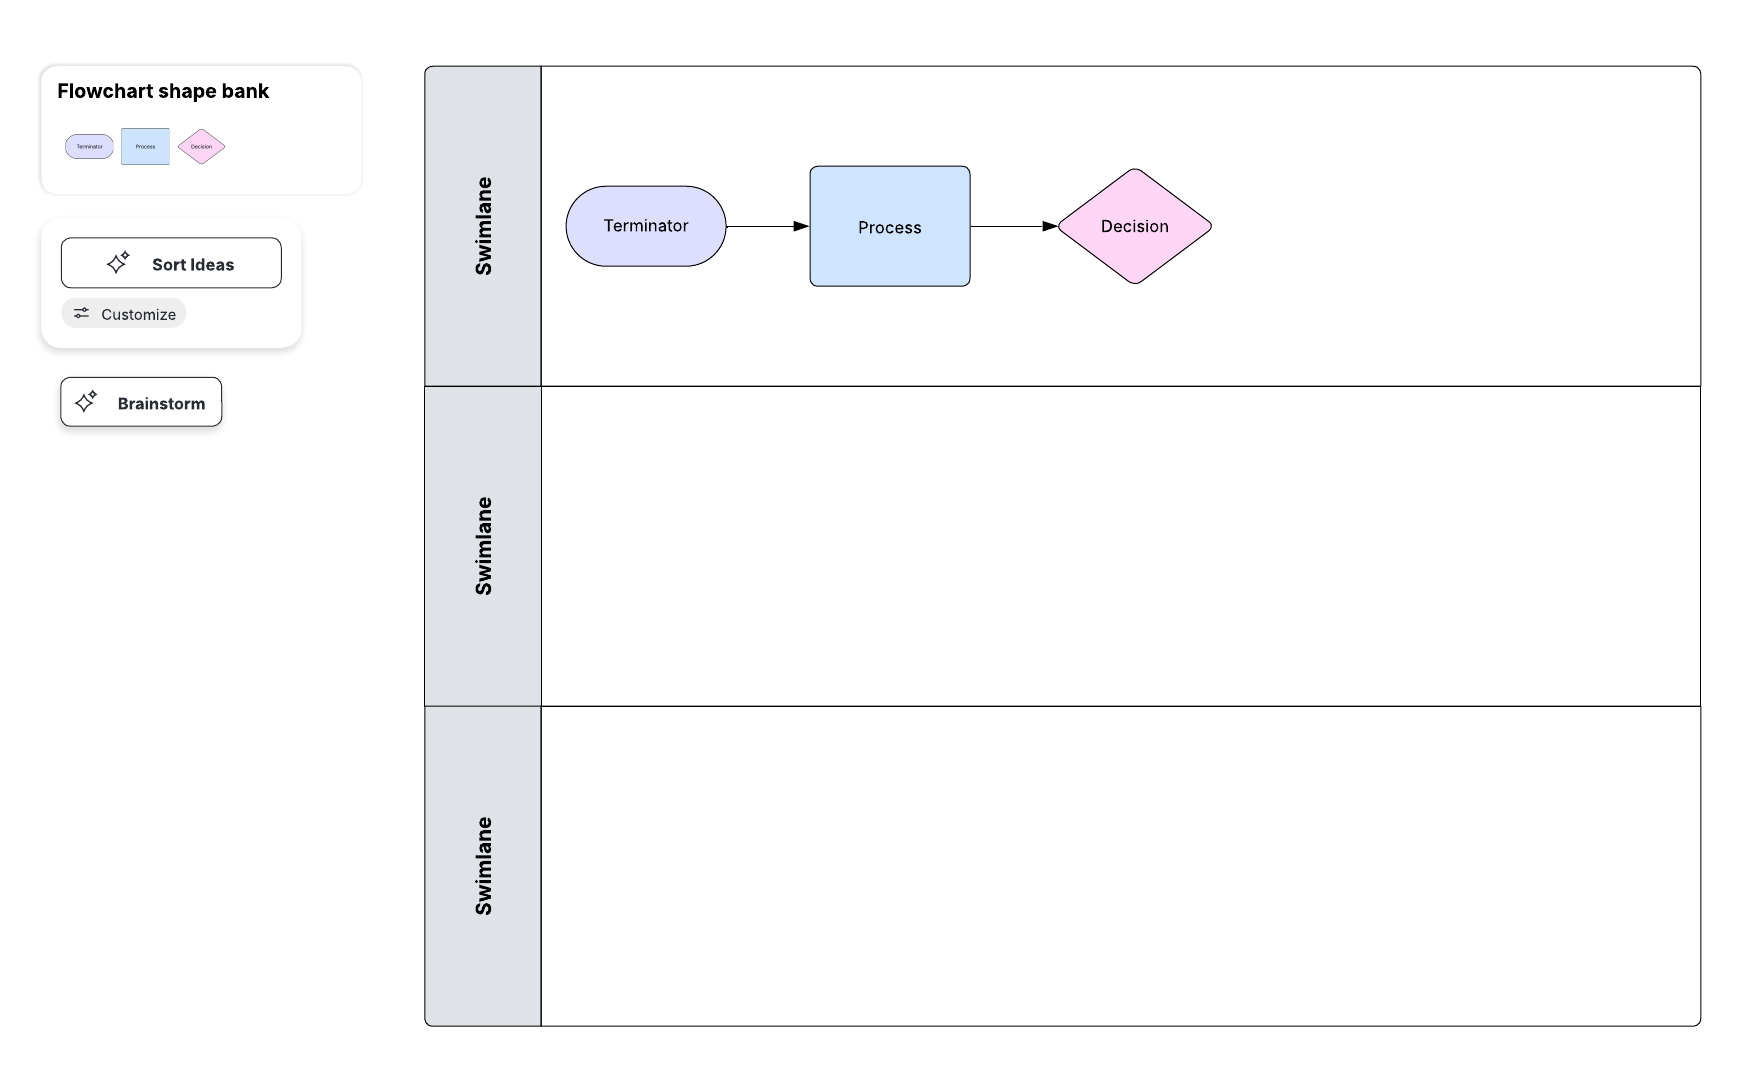

Jump into Lucid now and test out these tips.
Open Lucid