How to create a timeline in Excel in 5 steps
- Sign up for a free Lucidchart account.
- Open a blank document or select a timeline template.
- Adjust the data to fit your project.
- Install the Lucidchart add-on for Microsoft Excel.
- Add your timeline to Excel in one click.
Timelines provide you with an accessible, visual way to understand past events or form a plan. Lucidchart provides you with the tools you need to make effective and well-ordered timelines for the classroom or the conference room.
In Lucidchart, students and educators can create powerful visual aids to understand the chronology of fictional plotlines, historical events, or the natural world. But timelines don’t lose their value once you’re out of the academic setting. Project managers can replace their Gantt charts and instead use timelines to display deadlines and important milestones.
Need to pair your timeline with the rest of your data? Not a problem. Thanks to our integrations, you can easily insert your timeline into Excel or other Microsoft Office programs. If you're ready to plan ahead or study more efficiently, let’s take a look at how to create a timeline in Excel.
How to make a timeline directly in Excel
While Excel offers a few tools to help create timelines, keep in mind that it is meant primarily for creating spreadsheets, which means the process will require some time. Follow these steps to help you create your Excel timeline chart from start to finish.
1. Open and prepare your Excel document
Open a blank Excel document to begin your timeline. Click Insert > Illustrations > SmartArt > Process, and then select a timeline from the template options.
2. Enter your data in the timeline
A timeline chart will generate within Excel. Click on placeholder text to enter your project milestones, start dates, and end dates. Press “Enter” after typing in your information to start a new section of data.
3. Customize your timeline
Excel allows you to customize both the timeline as a whole, as well as individual data points within your diagram. To change your presentation’s appearance, click on the chart, click the paintbrush icon, and then select from available timeline formats.
Note: Available formatting options will be limited depending on the version of Microsoft Excel you’re using.
How to make a timeline in Excel using Lucidchart
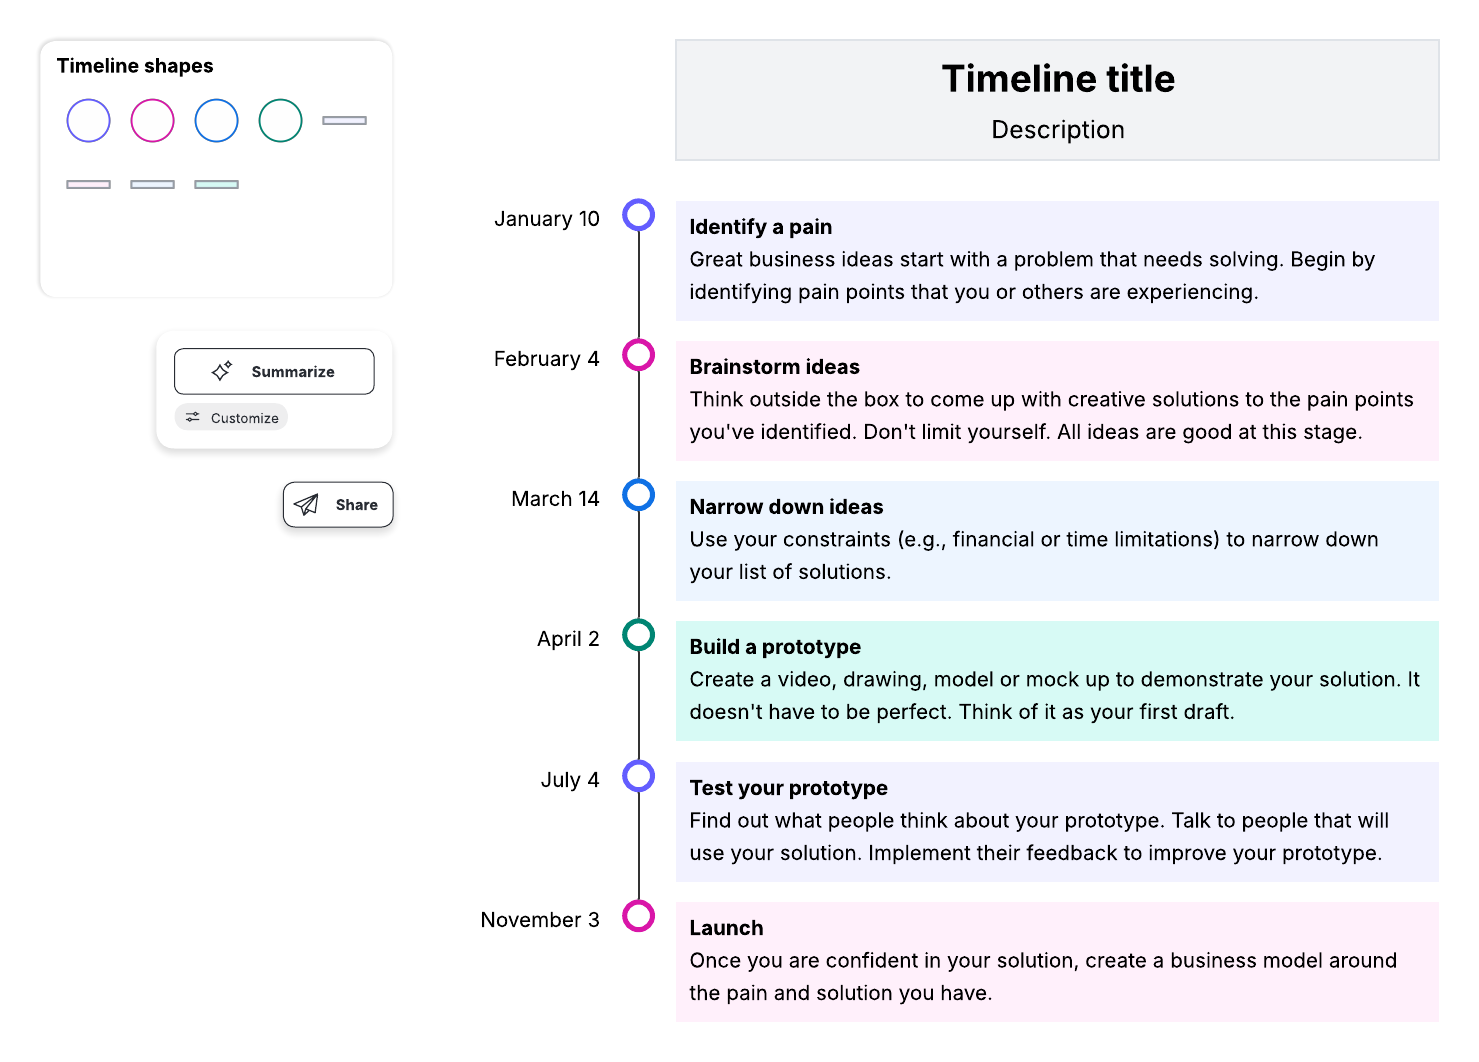
You've seen how to make a timeline in Excel—now we'll show you how to create a completely customizable timeline chart using Lucidchart's intuitive interface and timeline shapes. Here's how:
1. Open Lucidchart
If you haven’t already, sign up for your free Lucidchart account!
2. Start with a template or blank document
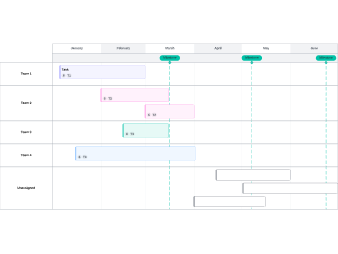
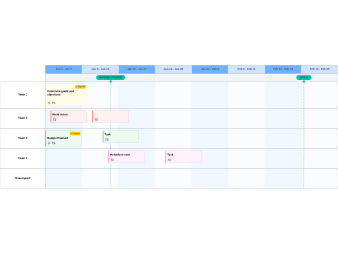
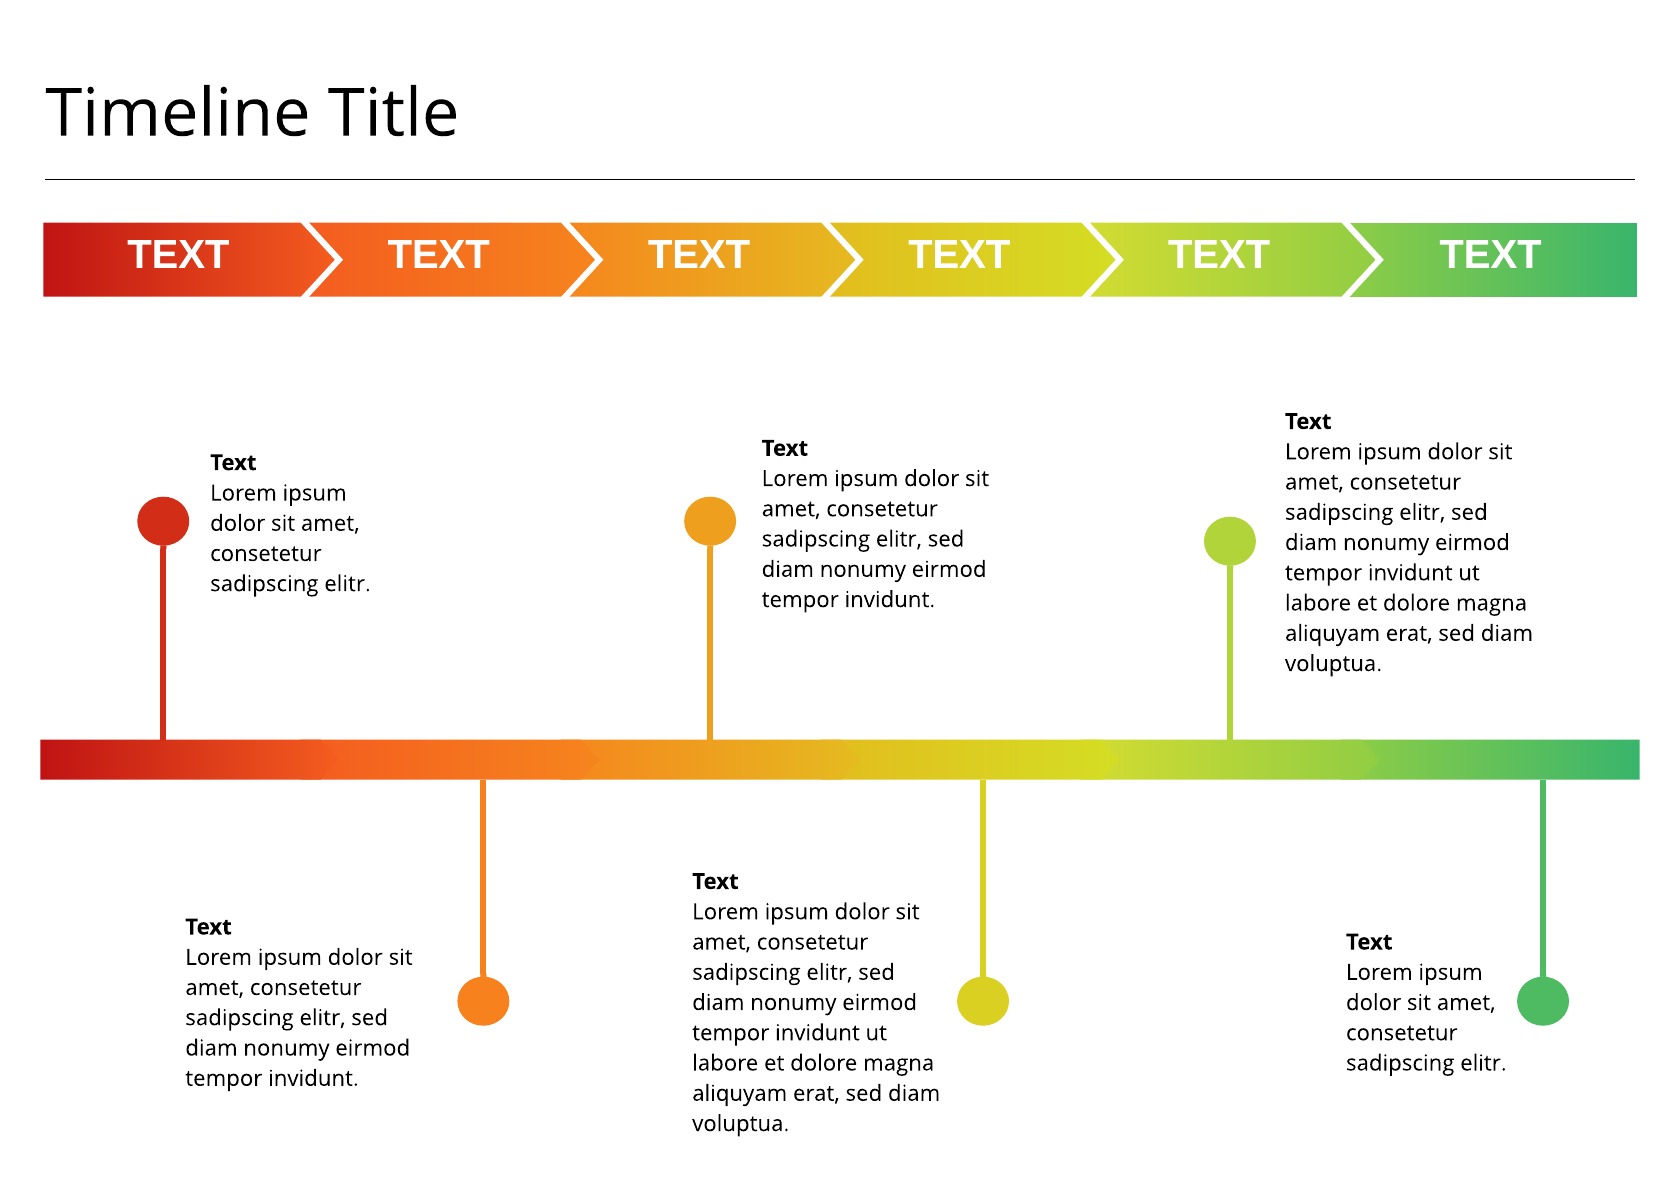
Choose from one of our customizable templates included below.
3. Use a template to fit your project, or create your own
If you’d like to build your timeline from scratch on a blank canvas, watch the video below to see the basic functionality of Lucidchart and get started.
You can also link your data from Excel to your Lucidchart document to create and update your timeline faster. Learn more.
4. Install the Lucidchart add-on for Microsoft Excel
Go directly to the Microsoft Store, or in Excel, select Insert > Office Add-ins. Search for Lucidchart in the marketplace, and click “Add” to install. The add-on will appear as a sidebar in Excel.
5. Add your timeline to Excel
Once you’ve connected your Lucidchart account, select the timeline from your existing diagrams and click “Insert.”
Now that you know how to create a timeline in Excel using Lucidchart, you can get your life in (chronological) order. Sign up for your free account today, and see how else you can learn and work visually.

Everything you need to whiteboard online
Get the ultimate online whiteboard for teams. Brainstorm, plan projects, and collaborate virtually on Lucidspark’s infinite canvas.
Sign up free