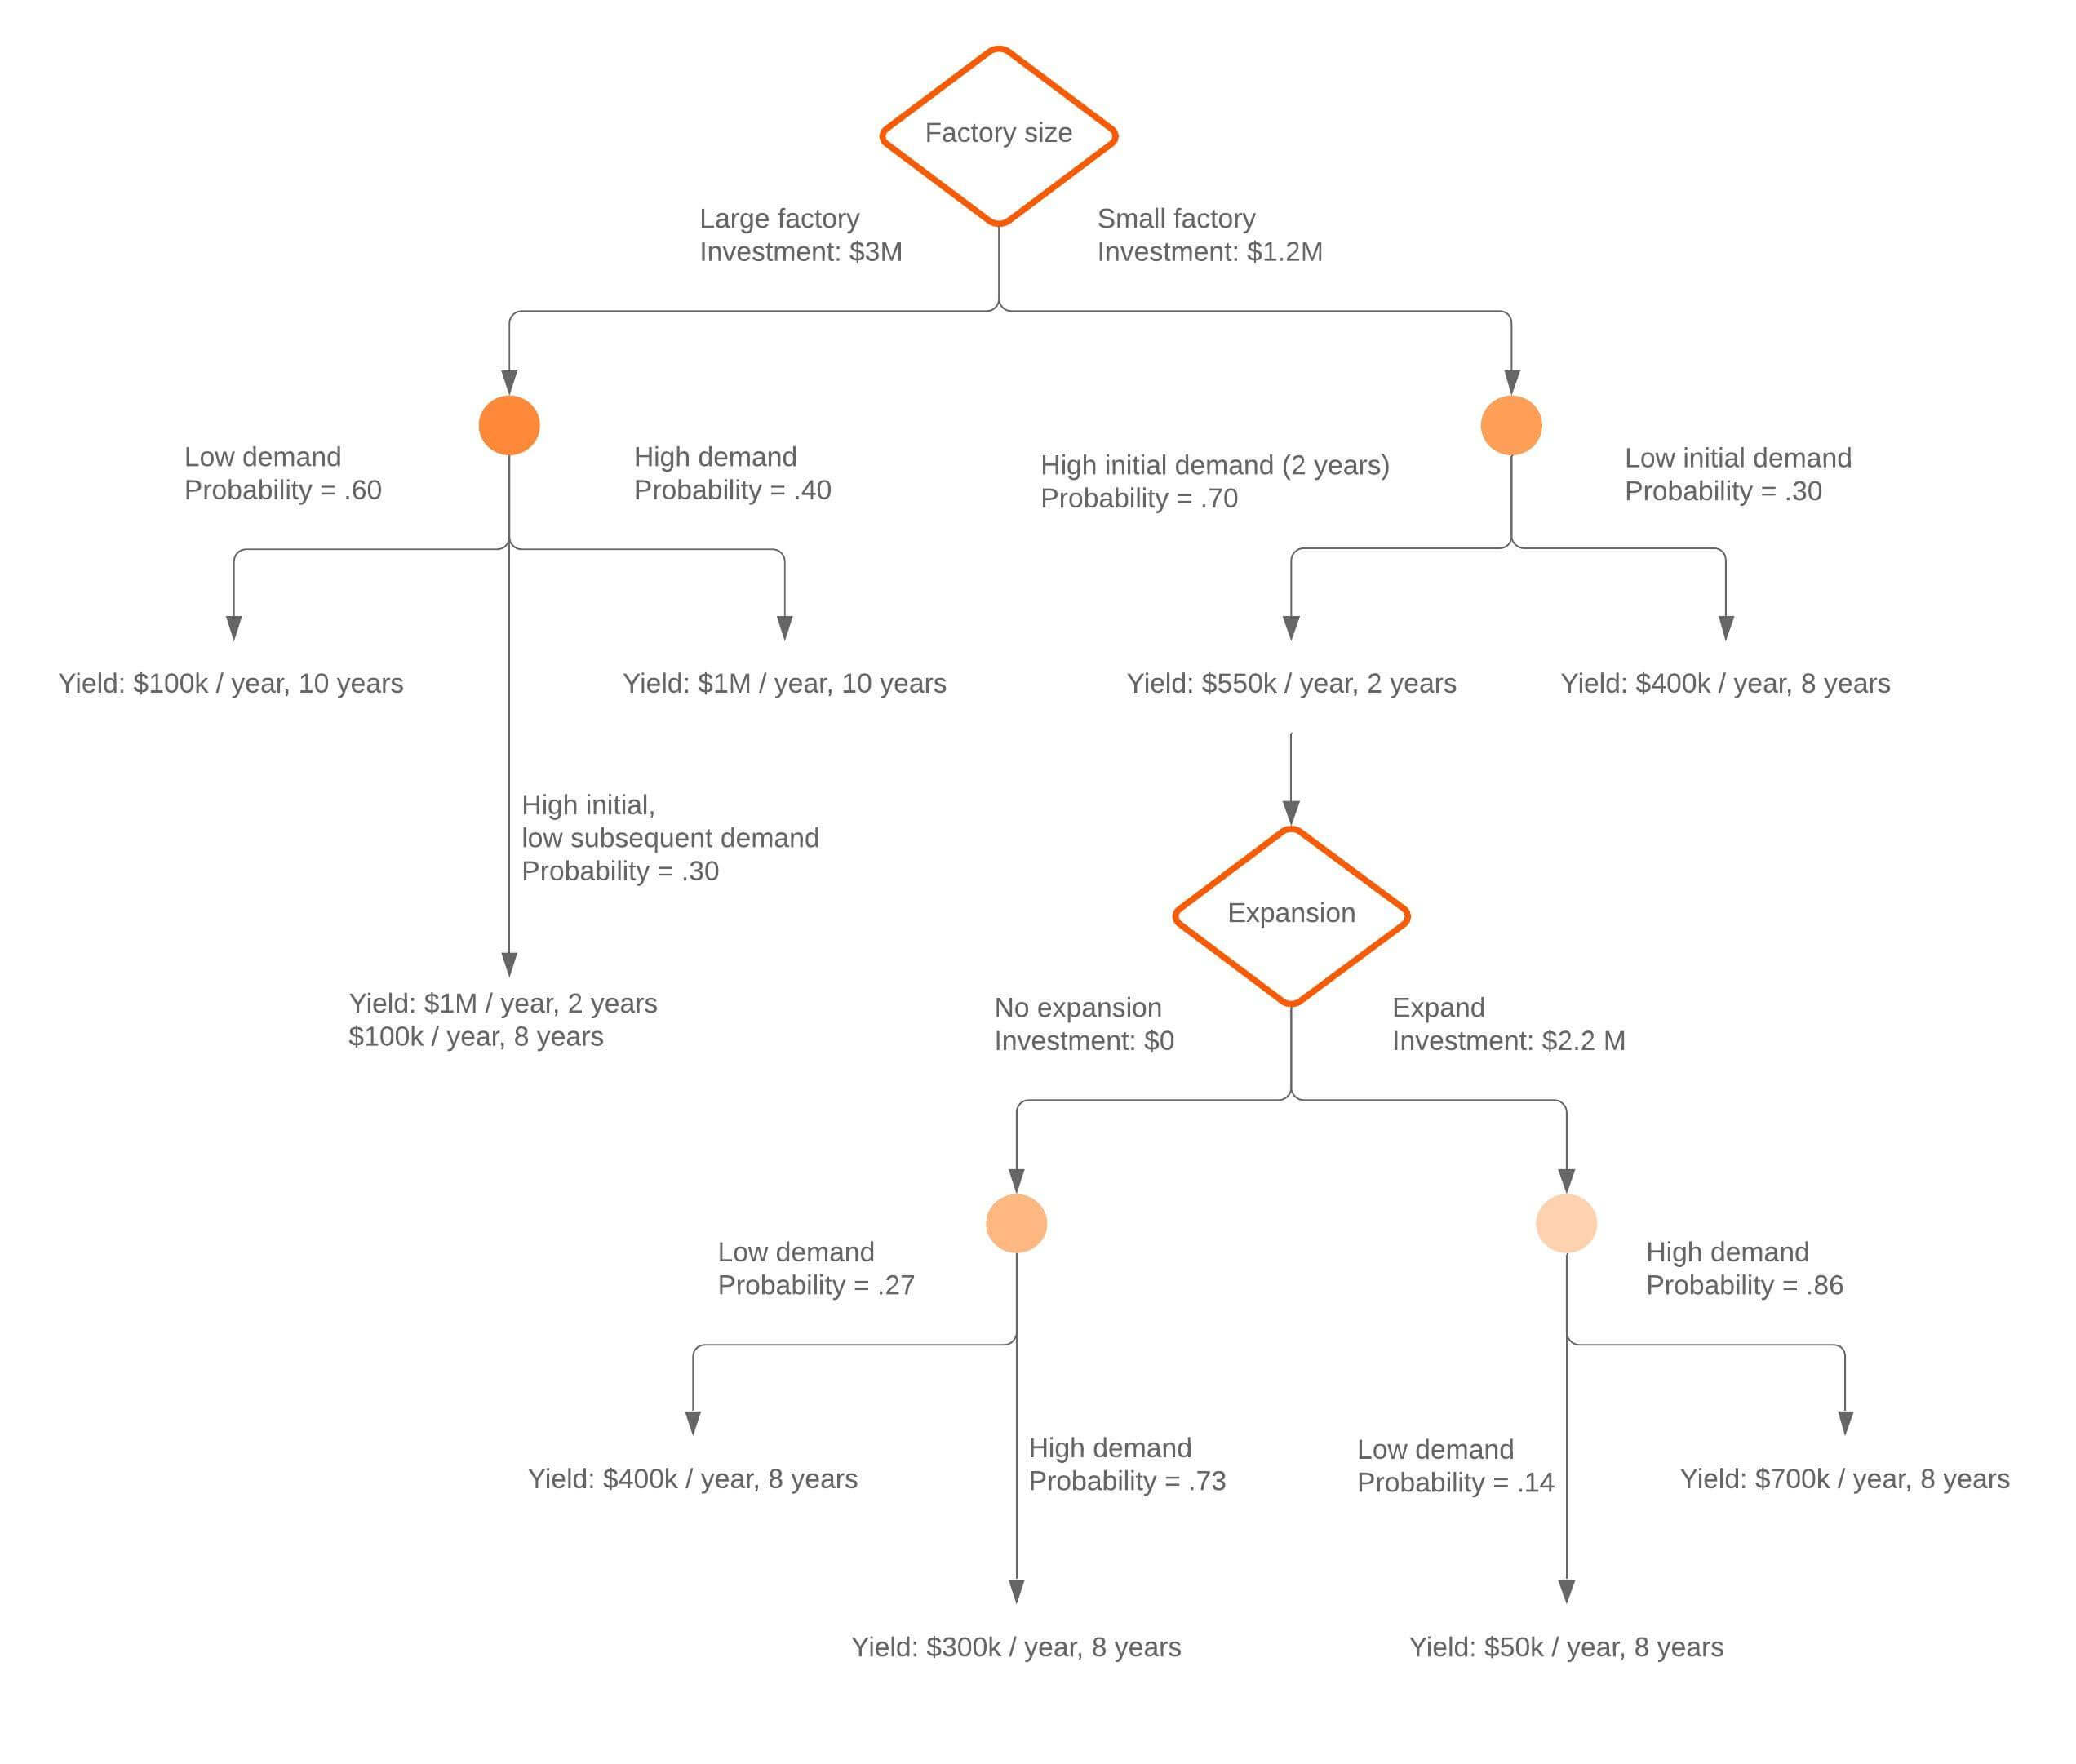
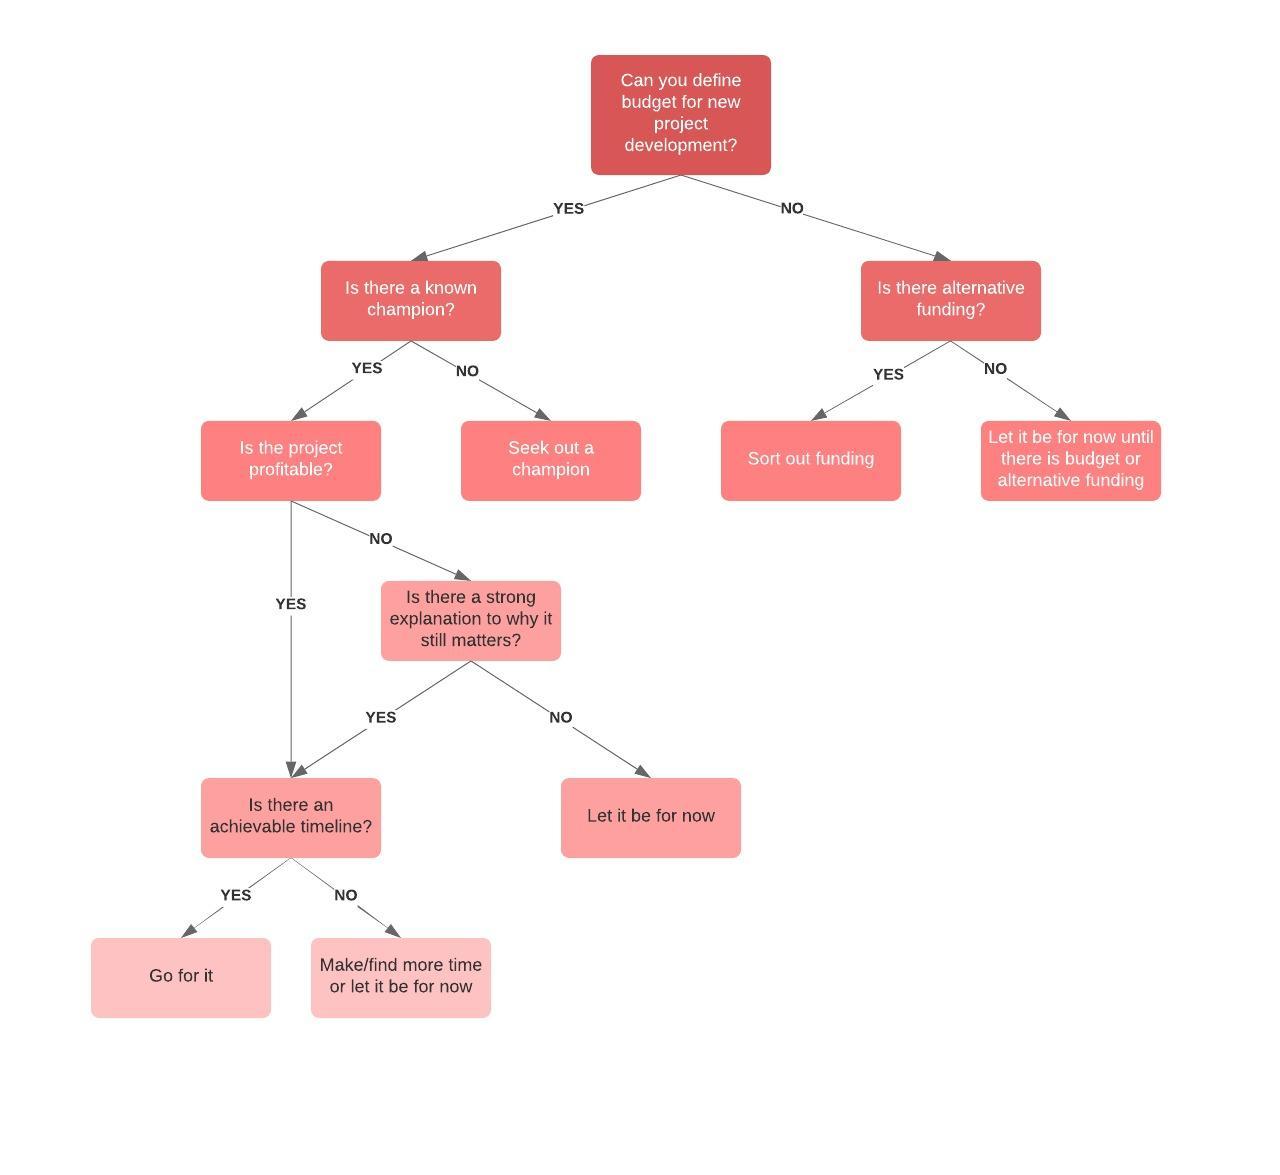
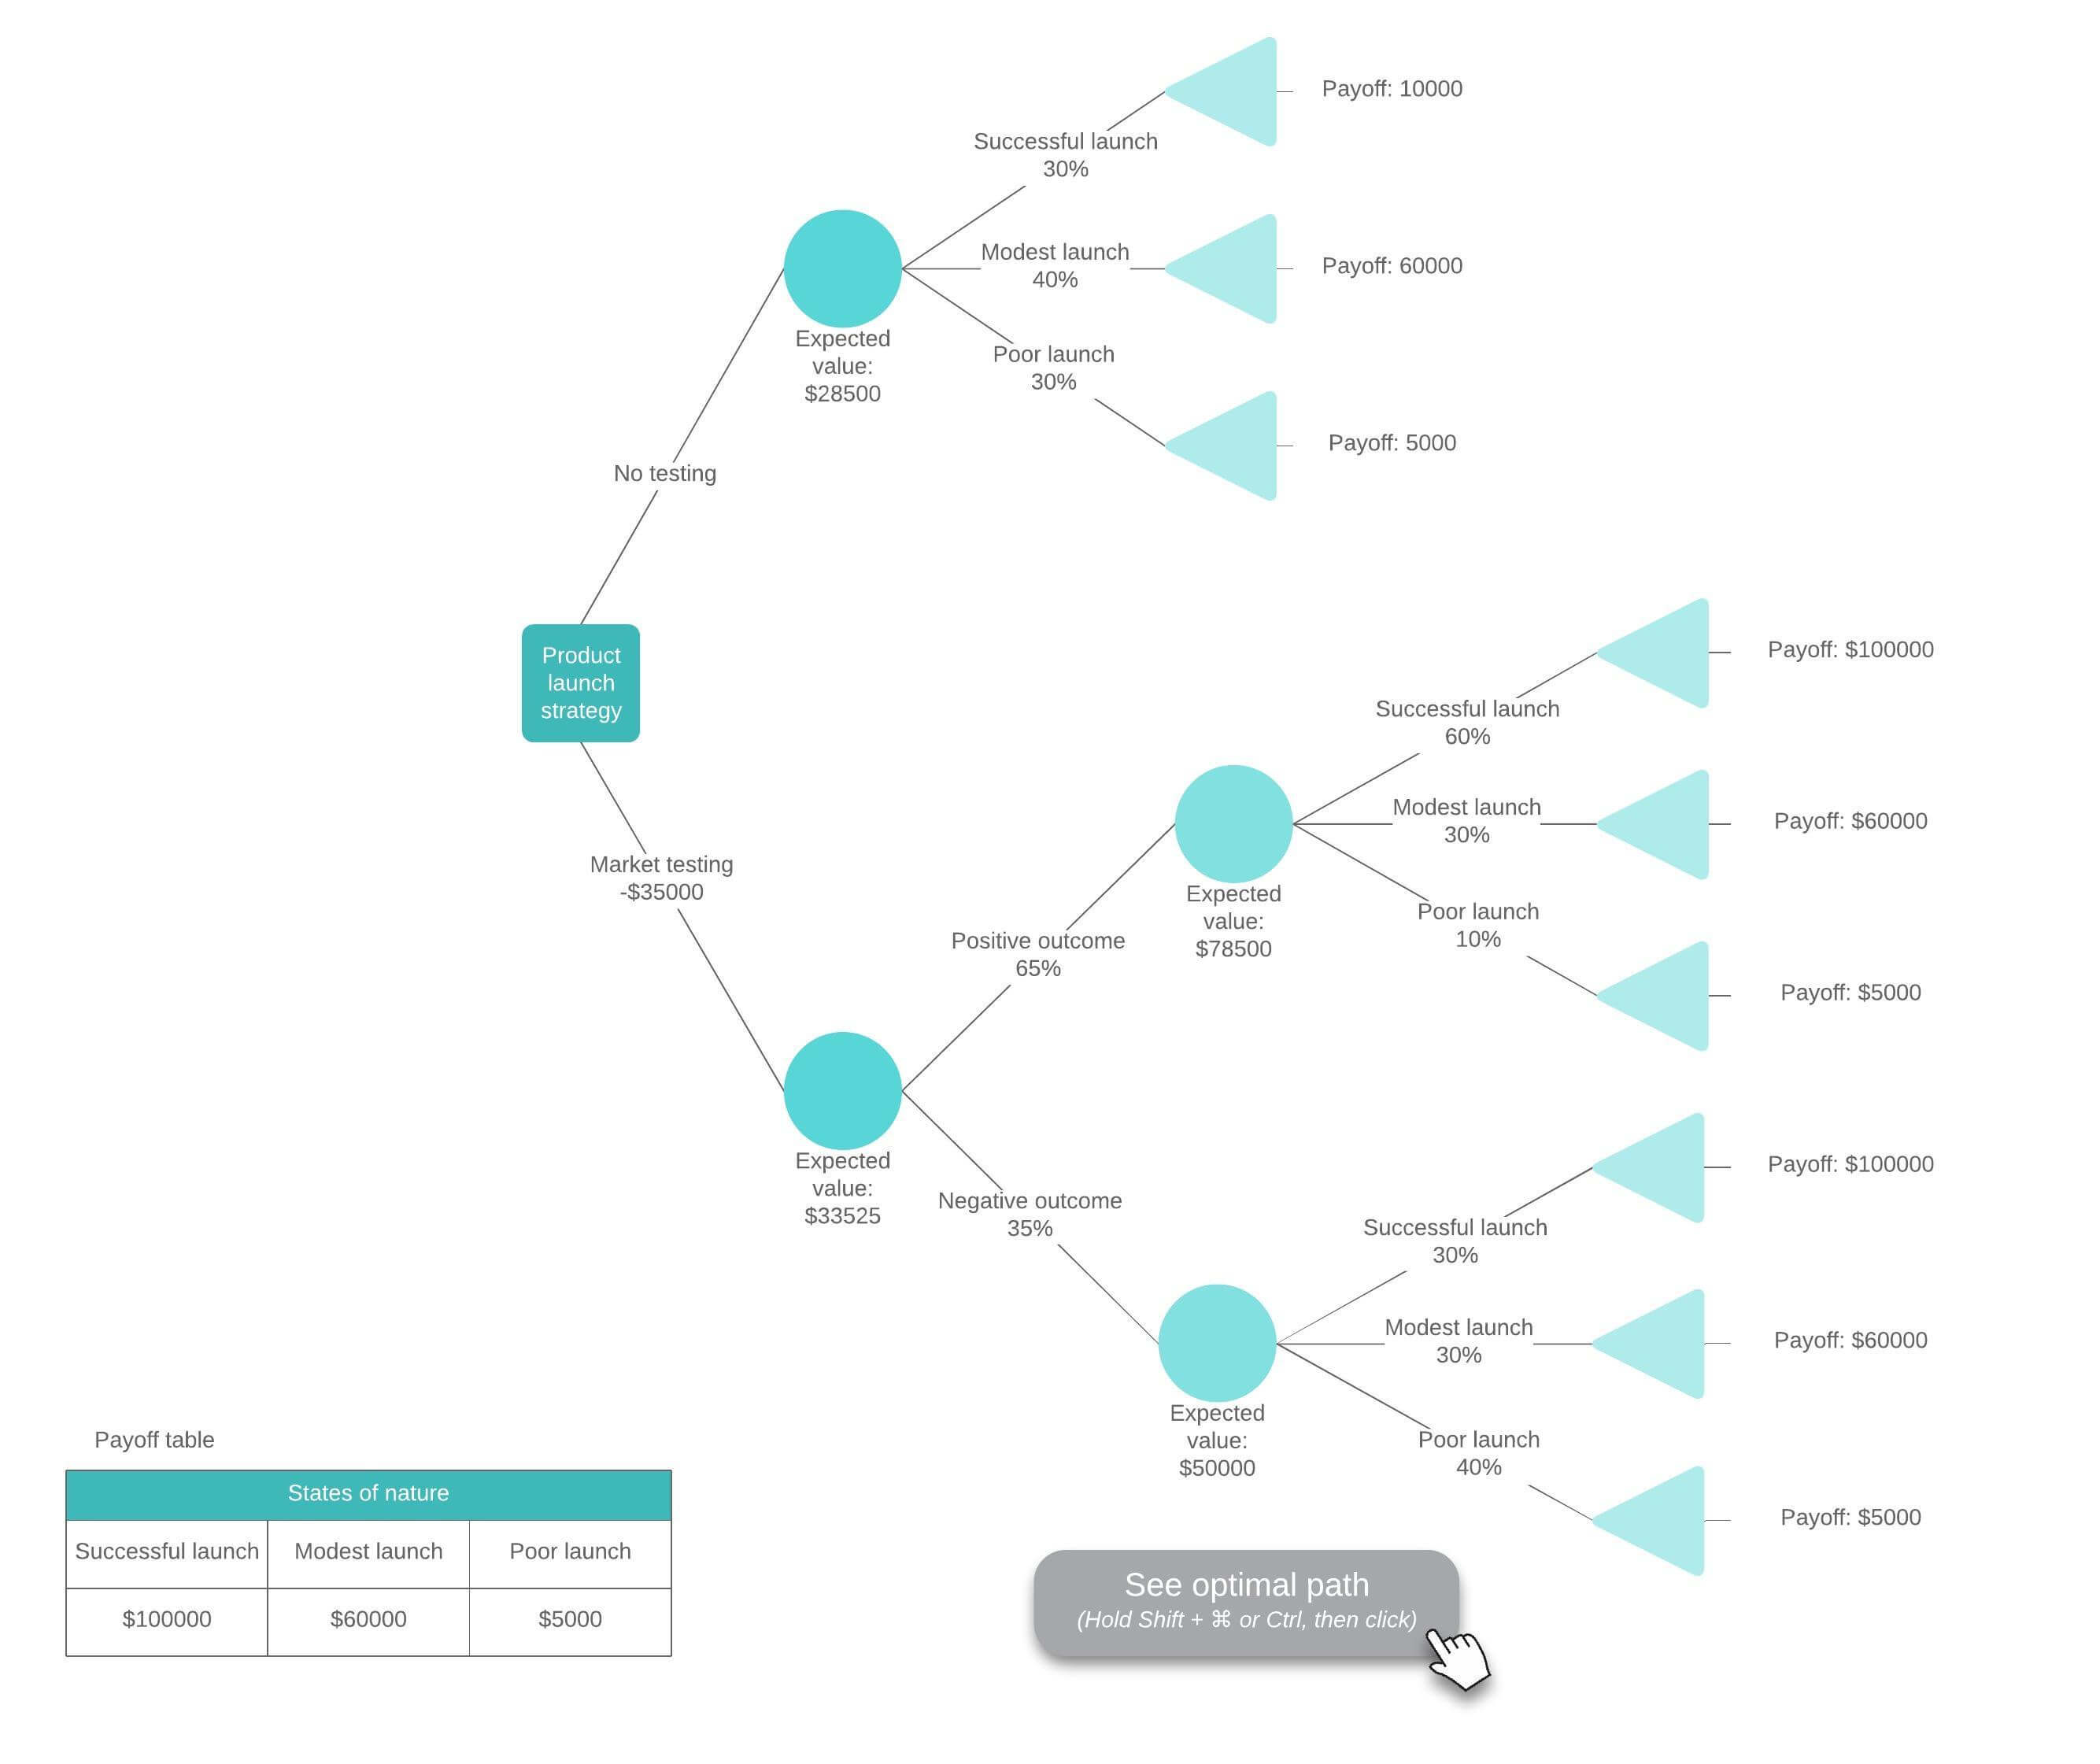
Decision trees take the emotion out of decision-making and put the focus back on the data so you can make wise choices for your business or organization. Many people turn to Microsoft Word to create a decision tree so they can pair it with other documentation and easily share it with their teams. But while Word is great for writing and maintaining work documents, its diagramming features are limited.
With the Lucidchart add-in for Word, opens in a new tab, you can have the best of both worlds.
Follow our step-by-step guide to quickly insert a professional decision tree into your text document or manually make a decision tree within Microsoft Word.
Option #1: Use Lucidchart to add a decision tree in MS Word
Avoid the frustration that comes with diagramming decision trees in Word. Use Lucidchart to build and insert diagrams right into your document.

Explore all of Lucidchart’s integrations with Microsoft 365.
Take a lookThe powerful diagramming capabilities, comprehensive shape library, opens in a new tab, and variety of templates, opens in a new tab make it simple to add a decision tree to your document in a few quick steps.

Learn how to make a decision tree in Lucidchart.
Take me there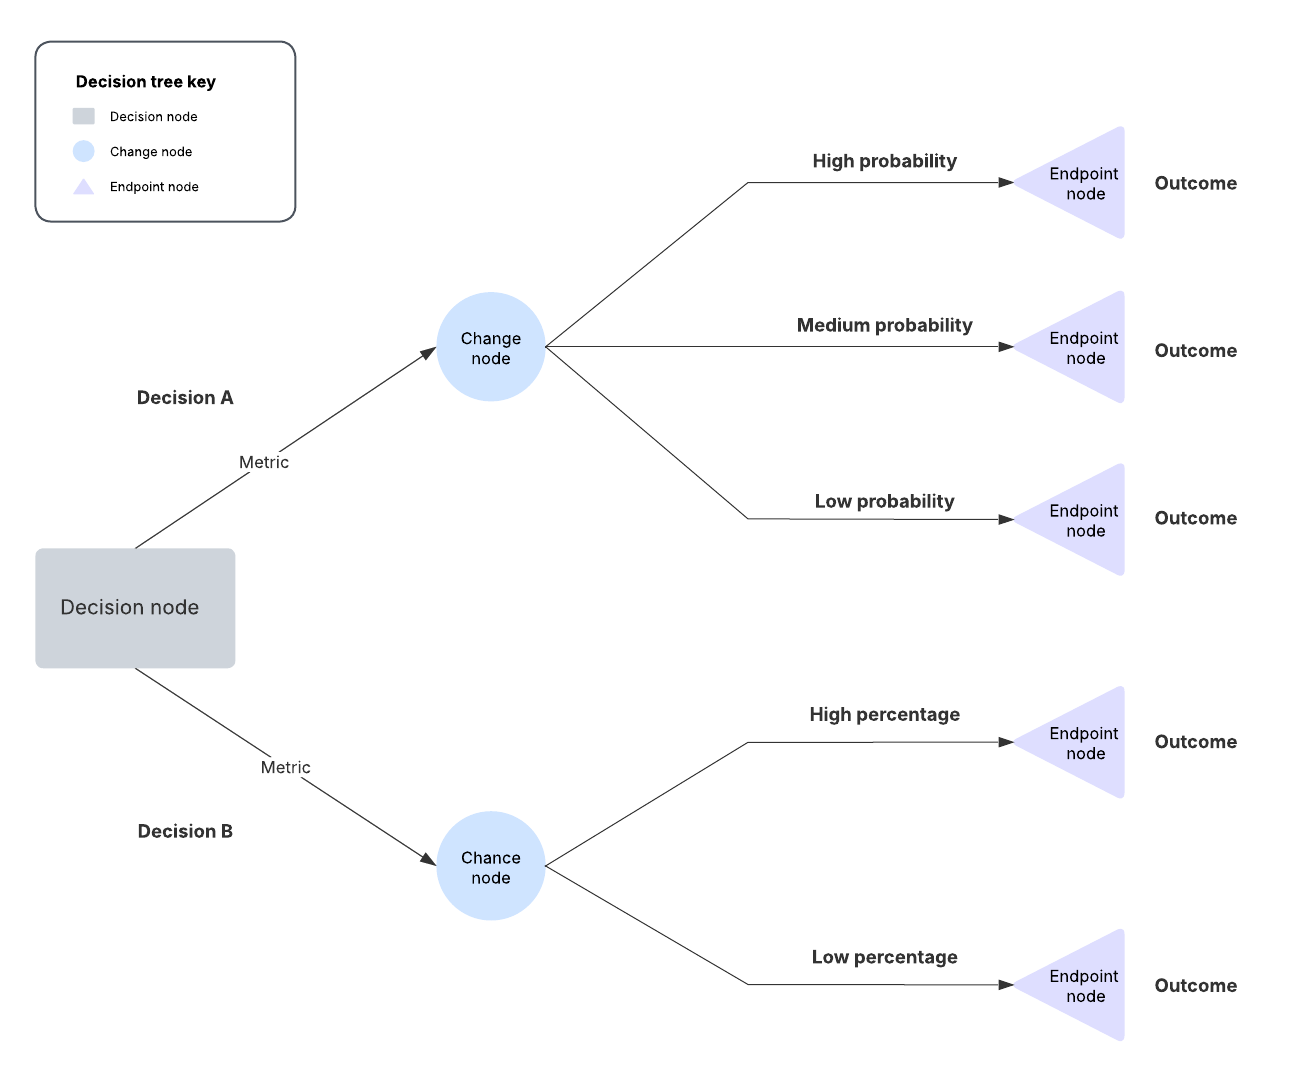
How to install the Lucidchart add-in for Word
To start, you’ll need to download the Lucidchart add-in for Word, opens in a new tab. Just follow the steps below:
- Open Microsoft Word.
- Go to Insert > My add-ins > Store.
- Use the search bar to find and select Lucidchart Diagrams for Word.
- Click Add.
- Accept the terms and conditions.
- Log in with your Lucidchart credentials to access your diagrams.
How to insert a decision tree into Word using the add-in
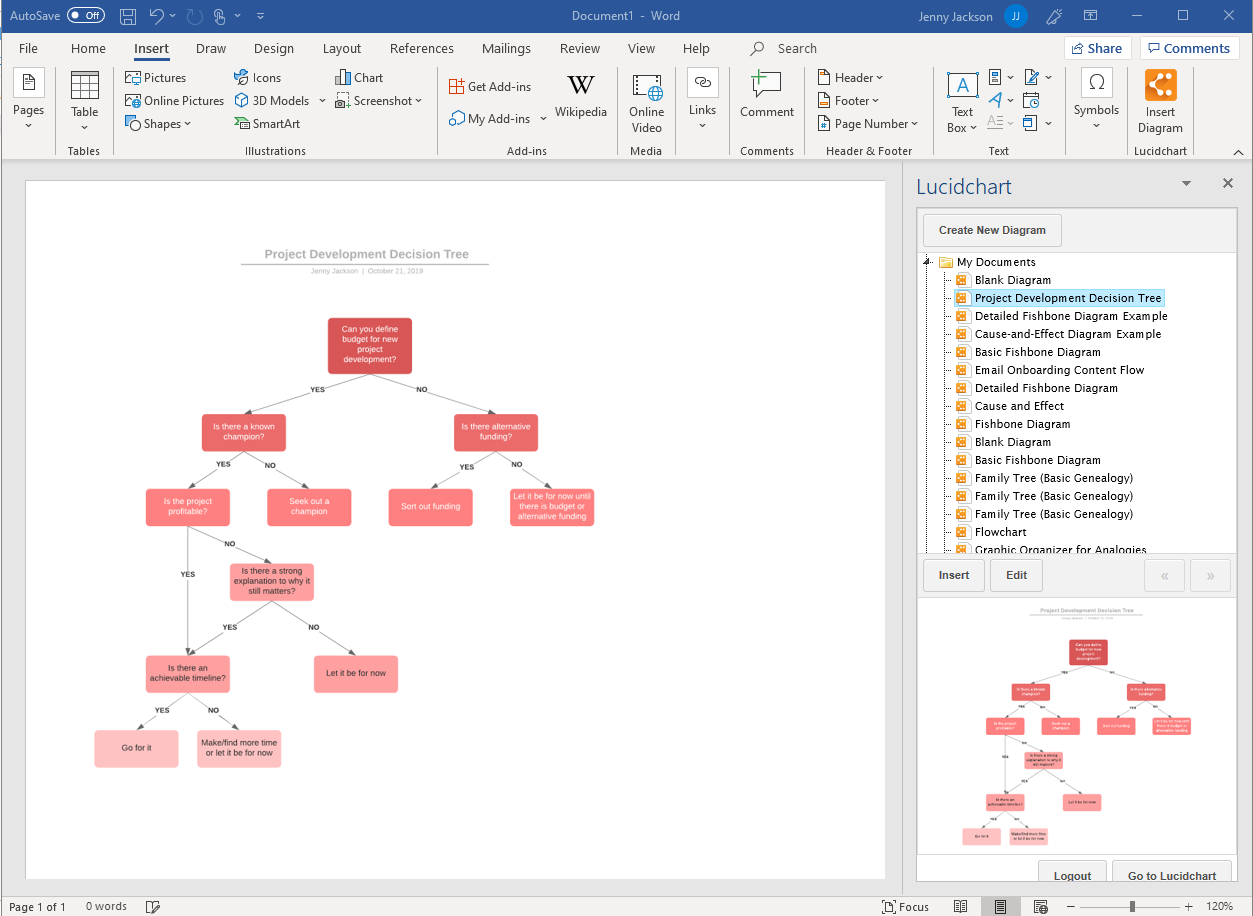
Insert your decision tree into MS Word as a high-resolution image using the Lucidchart add-in.
- In your Word doc, find the Lucidchart add-in in the upper-right corner.
- Click Insert Diagram.
- Select your decision tree diagram from the list.
- Check the preview. If it’s the correct diagram, click Insert.
- Select Edit to make changes to your decision tree in the Lucidchart editor pop-up window.
- Go back into Word.
- Click Insert Diagram.
- Select your updated decision tree from the document list.
- Click Insert.
- Save your document.
How to create a decision tree in Word using the add-in
Use the Microsoft add-in to easily access the Lucidchart editor to create and edit your decision tree without leaving Word.
- In your Word document, select Insert Diagram to open the Lucidchart panel.
- Click Create a New Diagram at the top of the panel to open the Lucidchart editor.
- Get started with either a blank document or a template.
- Drag and drop shapes within the Lucidchart editor to create your decision tree.
- After completing your decision tree, save it and close the editor.
- Select your new decision tree from the Lucidchart panel and then click Insert.

For additional help installing the Lucidchart add-in, visit the help center, opens in a new tab or watch the video tutorial below.
Lucidchart and Microsoft Word integration
Option #2: Make a decision tree in Word using the shape library or SmartArt
While this option is more cumbersome, you can make a decision tree from scratch using either the shape library or SmartArt in Microsoft Word. Both of these options require manually drawing and organizing lots of shapes, lines, and text, making the entire process more time-consuming than it is in Lucidchart.
How to make a decision tree using the shape library in Microsoft Word
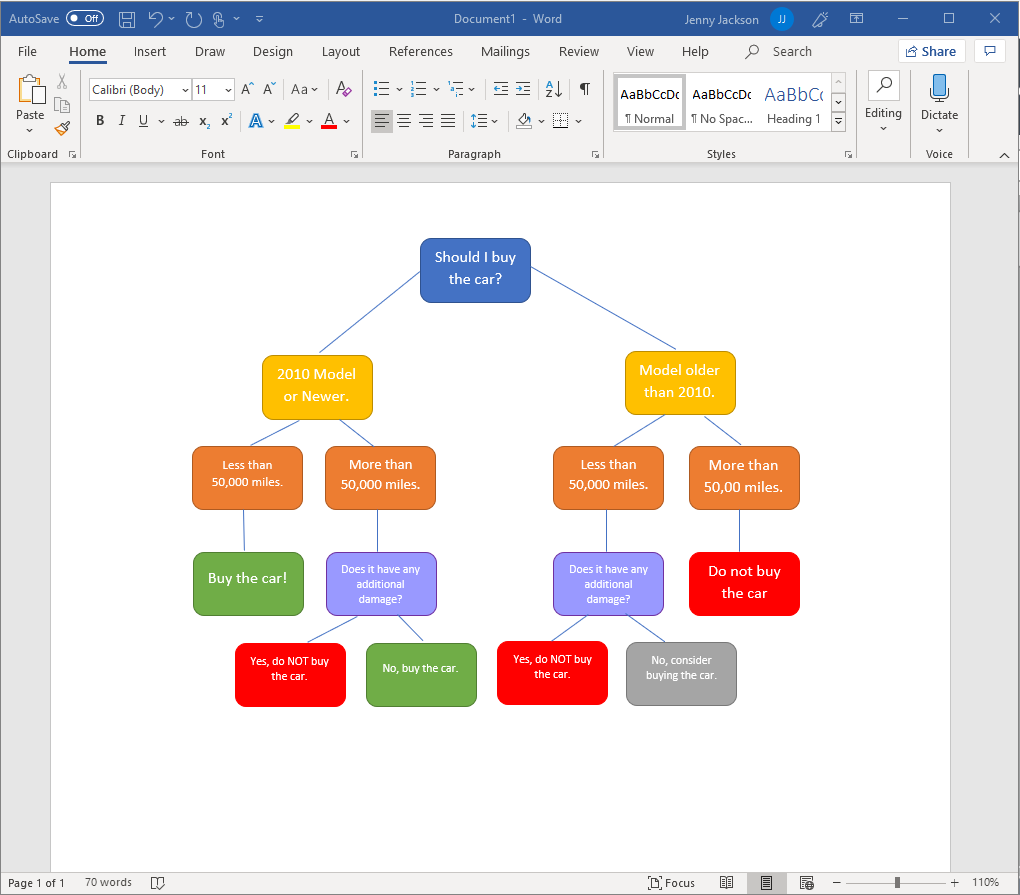
- In your Word document, go to Insert > Illustrations > Shapes. A drop-down menu will appear.
- Use the shape library to add shapes and lines to build your decision tree.
- Add text with a text box. Go to Insert > Text > Text box. Add and move text boxes to map out your decision tree.
- Save your document.
How to make a decision tree using SmartArt graphics in Microsoft Word
- In Word, go to Insert > Illustrations > SmartArt. A pop-up window will open.
- Go to Hierarchy, select the diagram that fits your needs, and click “OK.”
- Double-click Text to modify the text or use the text pane.
- Select the graphic, and click Add Shape to make the decision tree bigger.
- Save the spreadsheet once you’ve finished your decision tree.

Boost your decision tree diagrams in Word
Using the Lucidchart add-in for Word will save you time and help you create polished diagrams that you can collaborate on with your team. Here are a few of our top tips to give your diagramming a boost.
Share with collaborators
Easily share your decision tree with teammates and stakeholders. Generate a link, send an email, and more for quick collaborating. You can even share your document with non-Lucidchart users and control each collaborator’s permission levels.

Learn more about sharing and collaborating in Lucidchart.
Read moreIntegrate Lucidchart to your favorite apps
Did you know that Lucidchart has dozens of integrations to help you work faster, smarter, and more intuitively? Specifically, the Microsoft Graph and Copilot integration harnesses the power of AI to help teams easily find and access documents within their Lucid account from any Microsoft 365 product. Talk about efficiency!

View all of Lucid’s integrations.
Go nowLeverage data linking
Enhance your diagrams with data linking. You can easily import datasets from Excel spreadsheets, Google Sheets, and CSVs to make data visualization a breeze. Keep your information updated by refreshing and replacing your datasets as you modify your diagram, ensuring you always have the latest information.
Eliminate the stress of manually creating a decision tree in Word. Diagramming in Lucidchart is the collaborative, efficient way to visualize the best path forward.

Ready to create your own decision tree? Jump into Lucidchart and try now.
Try free